🧩 Mapping Your Work Order Fields
Mapping ensures that your Work Order information flows correctly between Sage 100 Contractor and Followup CRM before you begin creating, updating, or syncing records.
-
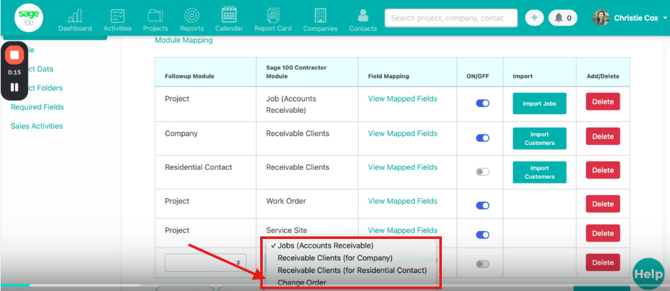
Go to Company Settings → ERP Integration and select Work Order from the module dropdown.
-
Click View Mapped Fields to open the mapping window where you can select fields between Followup CRM and Sage 100 Contractor.
-
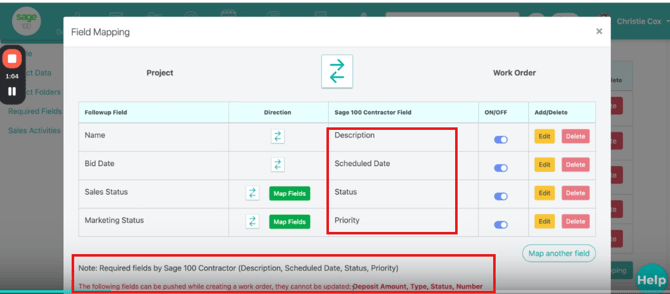
Confirm that the required Sage fields are included (these cannot be removed):
-
📝 Description
-
📅 Schedule Date
-
🔄 Status
-
⭐ Priority
-
-
Note that some fields can only be pushed when creating a work order and cannot be updated later due to Sage limitations:
-
💵 Deposit Amount
-
🏷️ Type
-
🔢 Number
- This is a Sage limitation, not Followup.
-
- Add any additional fields you want to map. When finished, close the window, your selections are saved automatically.
🛠️ Creating a Work Order
Once your mapping is set, you can start the work order creation workflow inside the project.
-
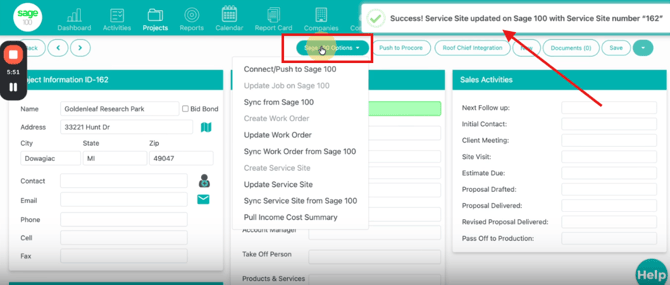
In the project, open the Sage 100 Contractor options.
You'll see:
-
➕ Create Work Order
-
✏️ Update Work Order
-
🔄 Sync Work Order
A dropdown will appear showing the companies connected to Sage 100.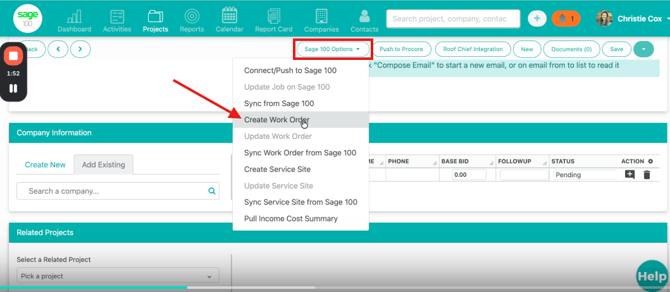
-
In the project, open the Sage 100 Contractor options and select Create Work Order.
-
Choose the company that is already connected to Sage. If the contact is already synced, you will see a confirmation message.
-
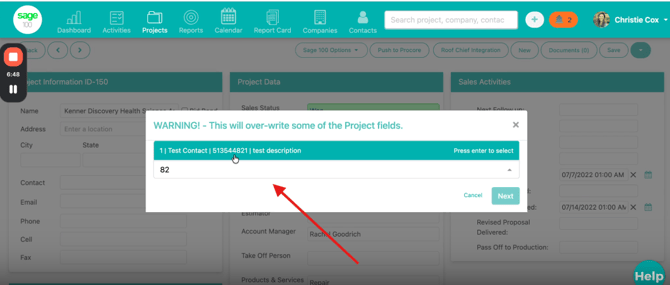
Followup will fetch all Service Sites associated with that customer. Select the service site you want to use.
-
If you want the project to reload with the mapped service site information, enable the reload option. This will automatically populate the project with the mapped fields, such as service site name and address.
-
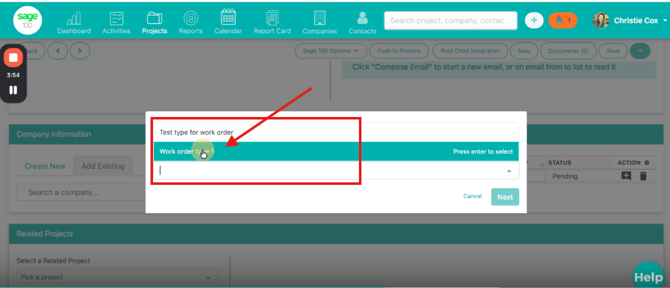
Click Next and select the Work Order Type, which is required by Sage 100 Contractor.
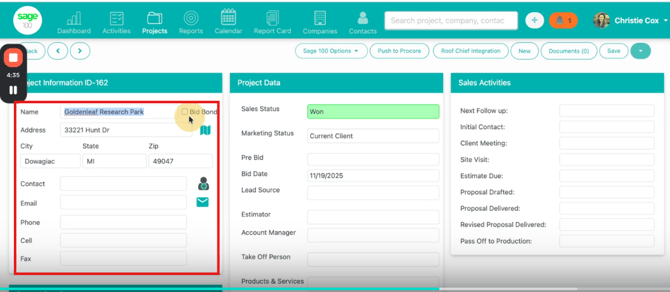
- Followup will process the request and create the work order. Once completed, the project page reloads showing:
✔️ You’ll see:
-
The service site name and address populated
-
Work order number
-
Customer details
A log of all fields updated during the sync
✏️ Updating a Work Order
If you need to edit information after a work order has been created, you can update it as long as the fields are included in the mapping and are supported by Sage.
-
Edit any project fields that you want to update.
-
Click Update Work Order in the Sage 100 Contractor menu.
-
Only mapped and updatable fields will be pushed to Sage.
-
A confirmation message will appear once the update is successful.
🔄 Syncing an Existing Work Order
If the work order already exists in Sage 100 Contractor, you can link it to a Followup CRM project through the sync function.
-
Select Sync Work Order from the Sage 100 Contractor menu.
-
Enter part of the work order number to search for it.
-
Select the correct work order and click Next.
-
The project will reload with all information synced from Sage, including:
-
Service Site details
-
All mapped fields
-
A log showing what data was updated or applied
-