Watch the video guide or click "Get Started" for a click-by-click guide below:
How to Create Quote & Pricing Content
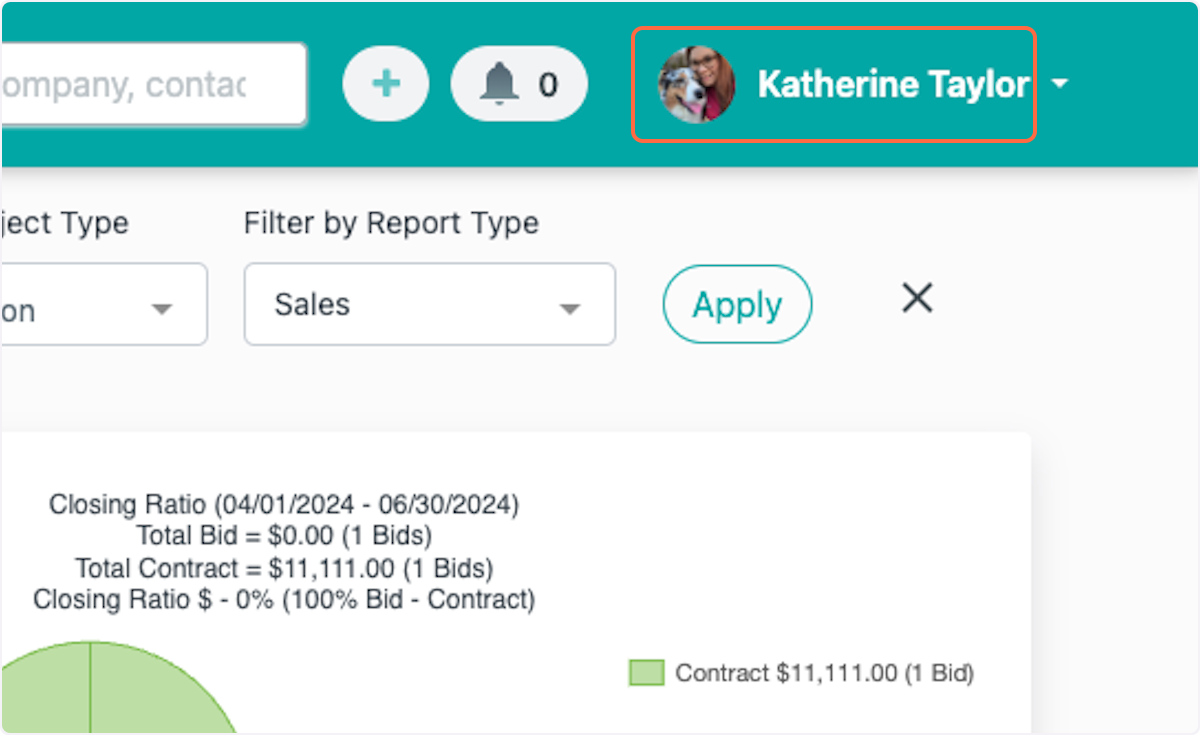
1. Click on your name in the top right corner
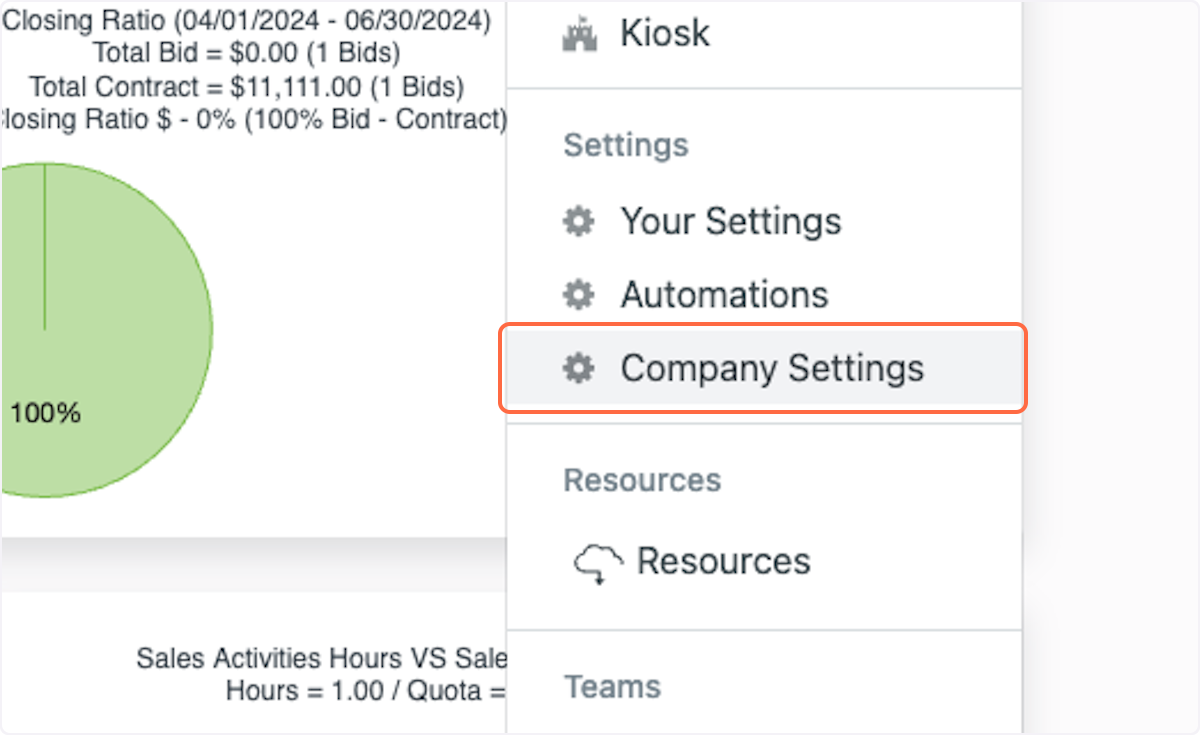
2. Click on Company Settings
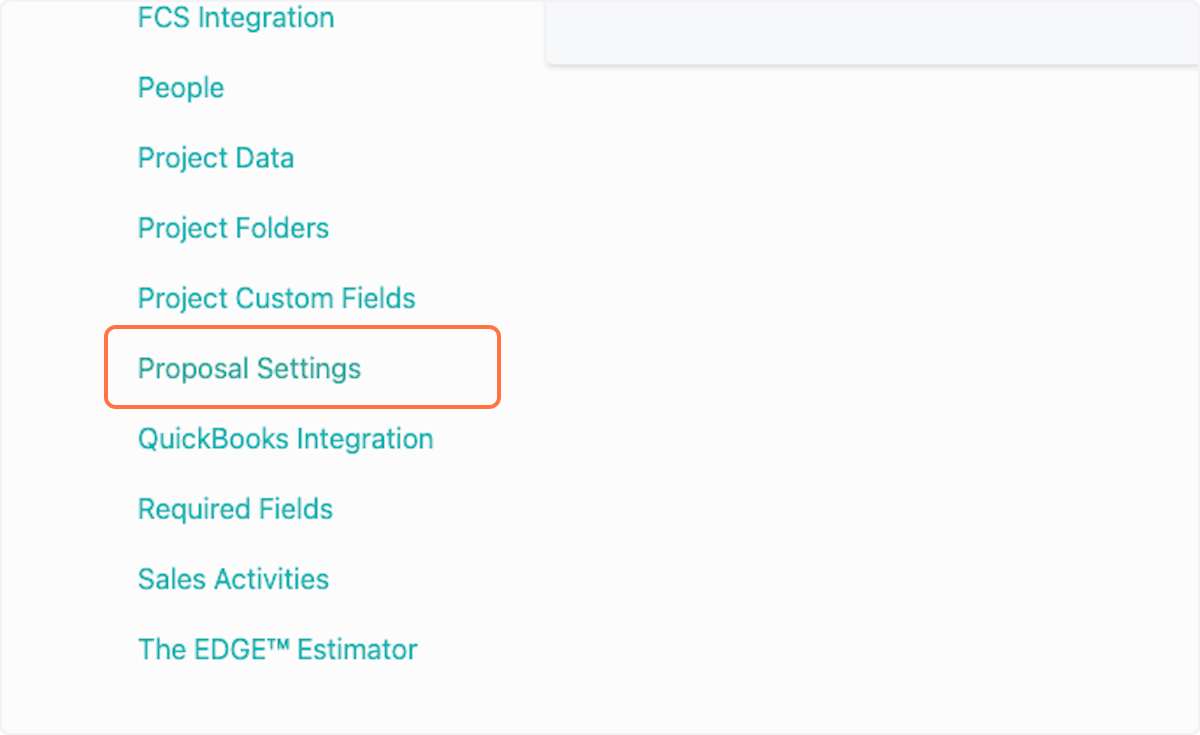
3. Click on Proposal Settings
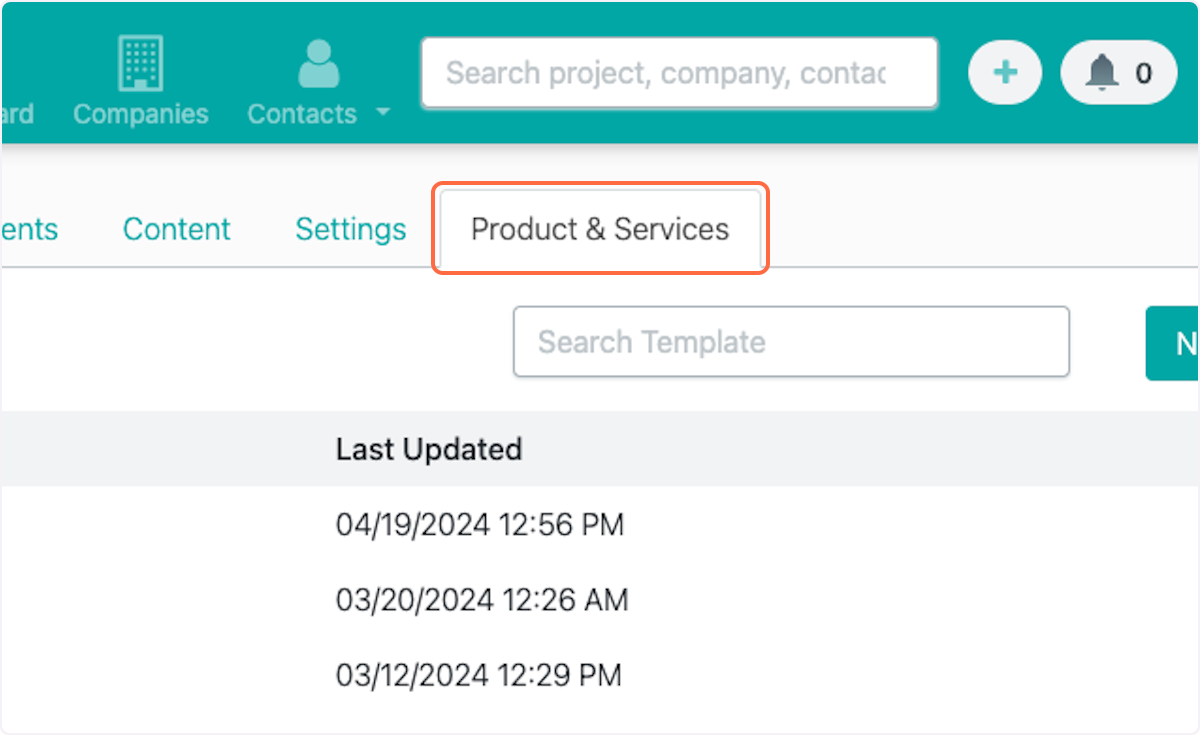
4. Click on Product & Services
New content to add:
Import or Export Products & Services
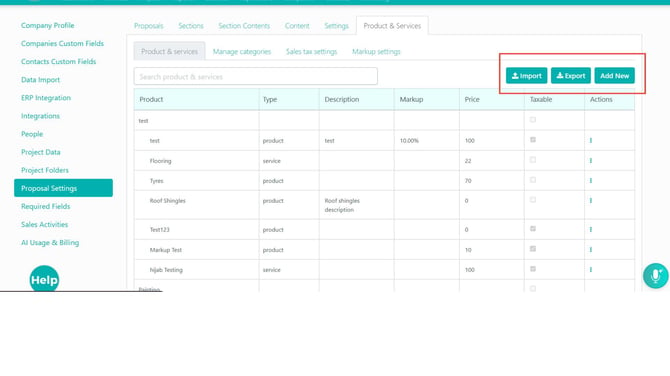
From the Product & Services tab, admins can use Import and Export to manage products and services in bulk.
Use Import when you need to add or update multiple products and services at once.
Use Export when you need to download the current Products & Services list for review, backup, or bulk editing.
Recommended workflow:
- Export the current Products & Services list.
- Save a backup copy.
- Make updates in the exported file.
- Import the updated file.
- Review the Products & Services tab after processing.
- Test a proposal quote to confirm pricing appears correctly.
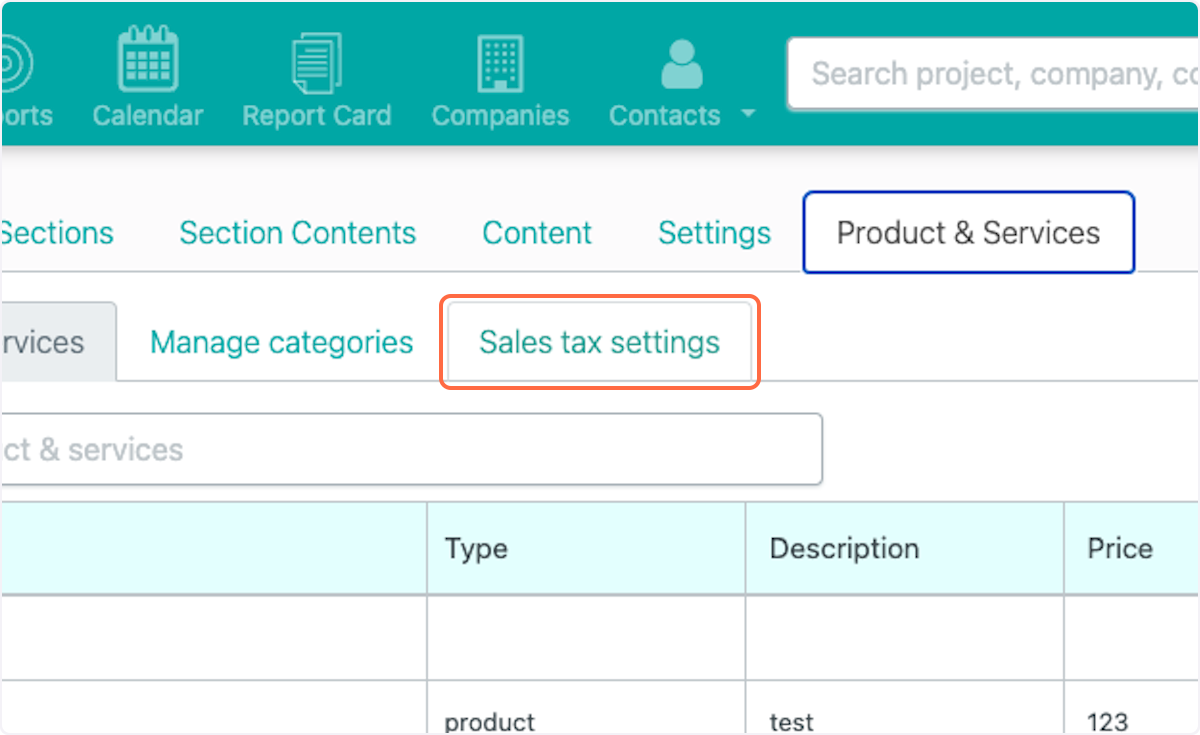
5. Click on Sales tax settings
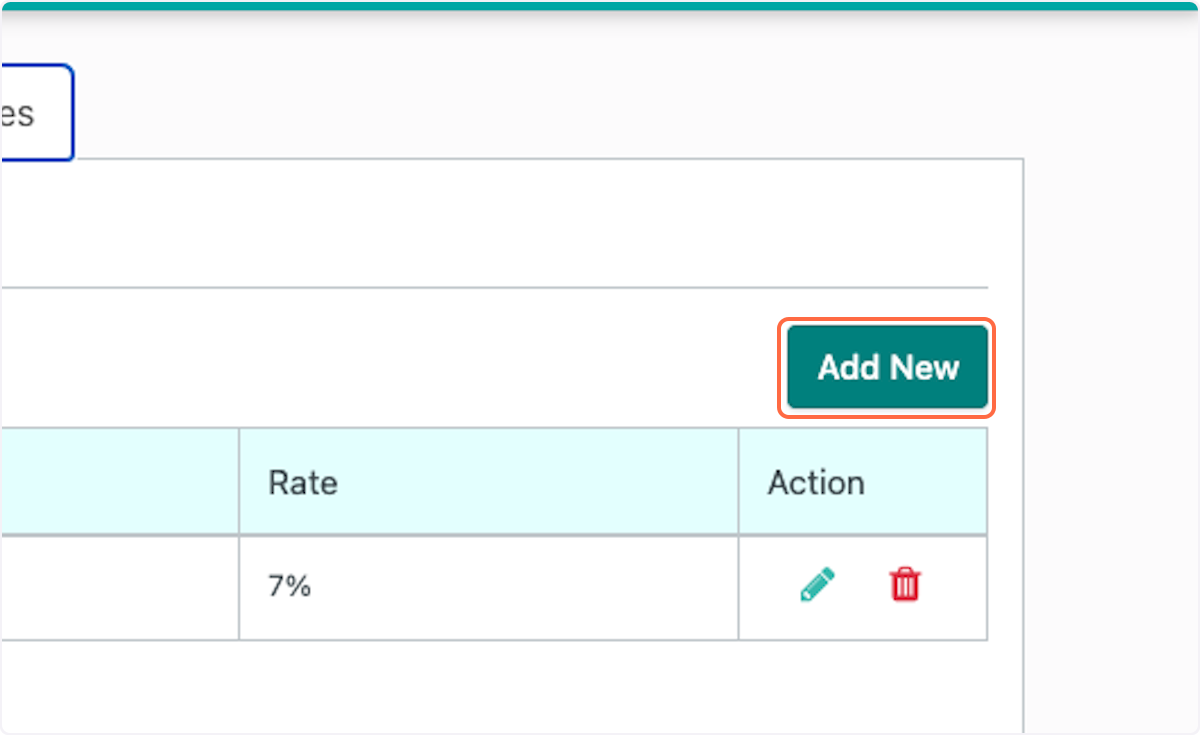
6. Click on Add New
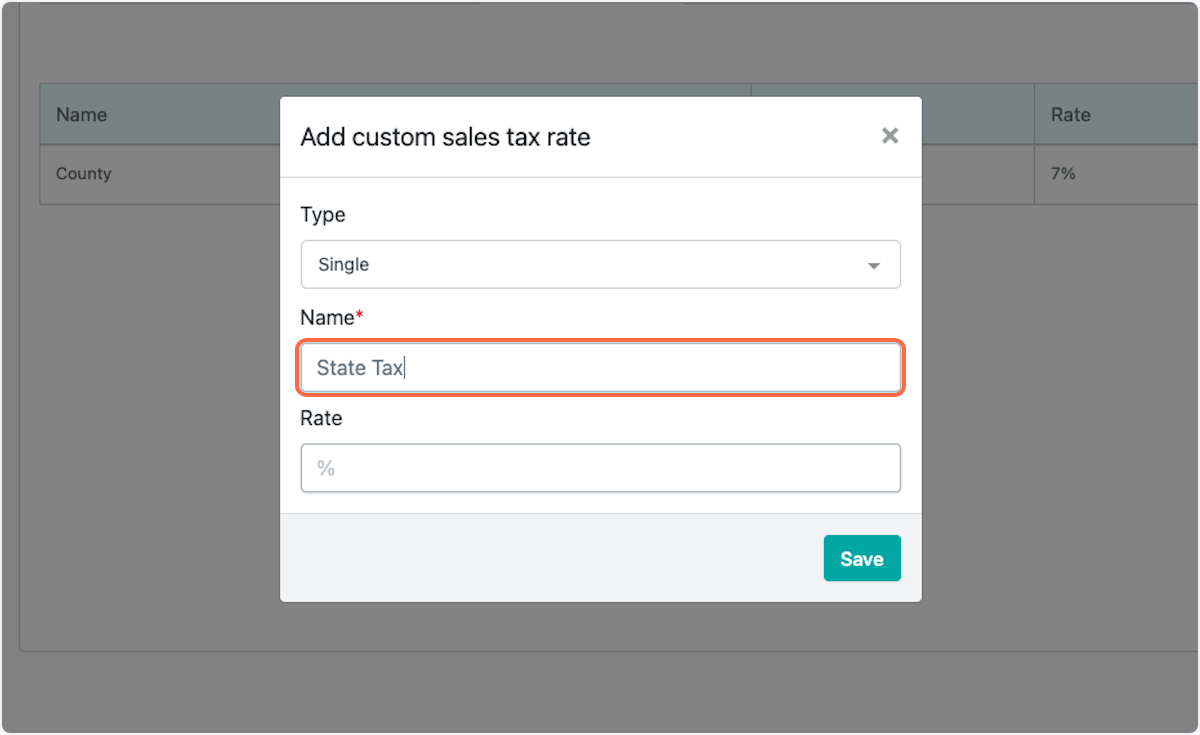
7. Select Type (Single or Combined), Enter Name and Rate
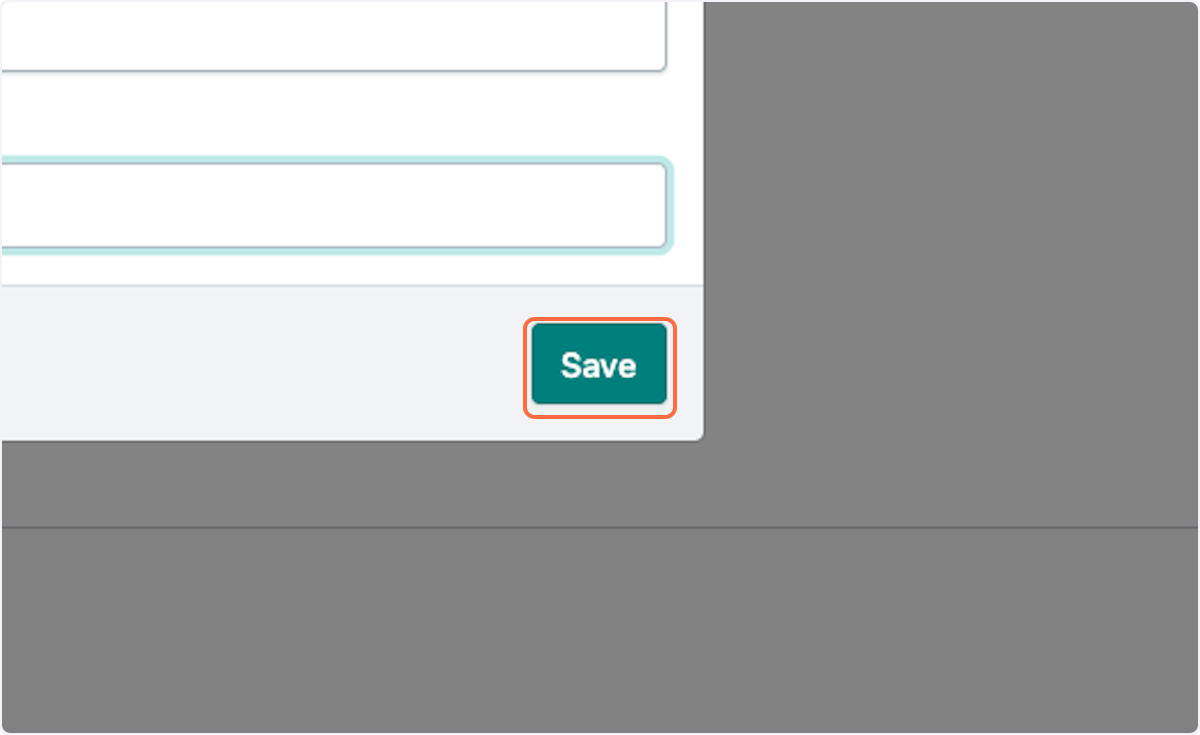
8. Click on Save
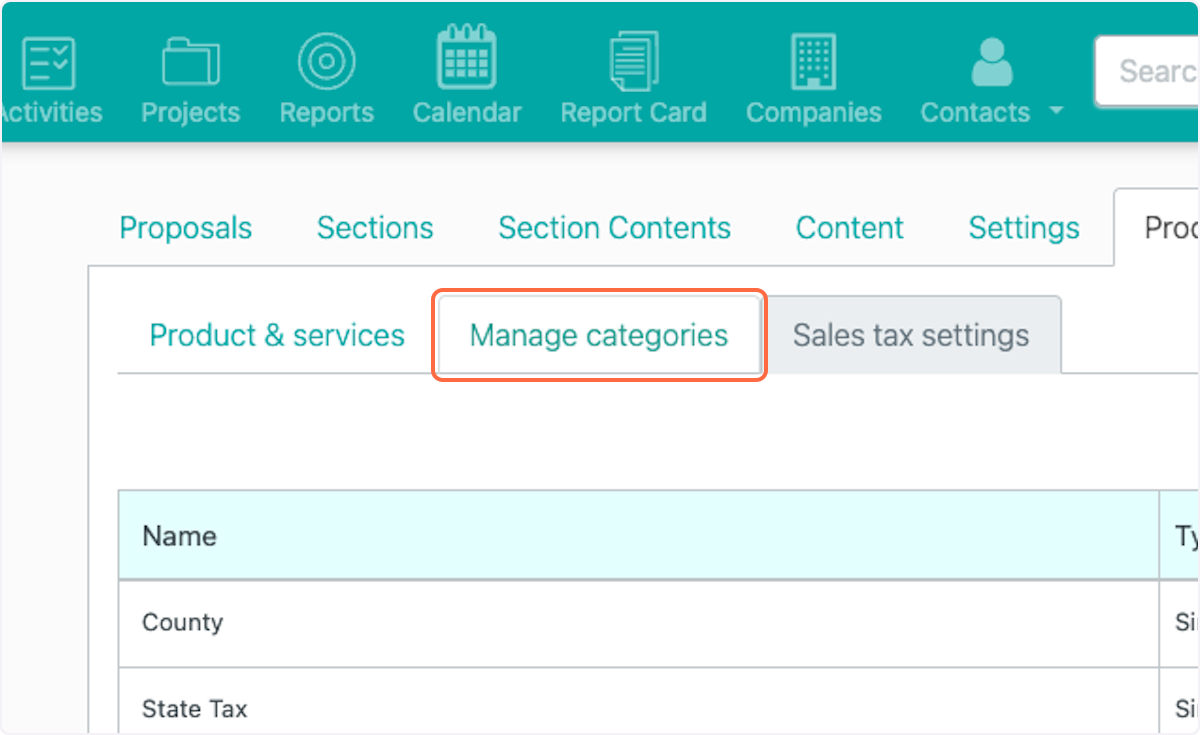
9. Click on Manage categories
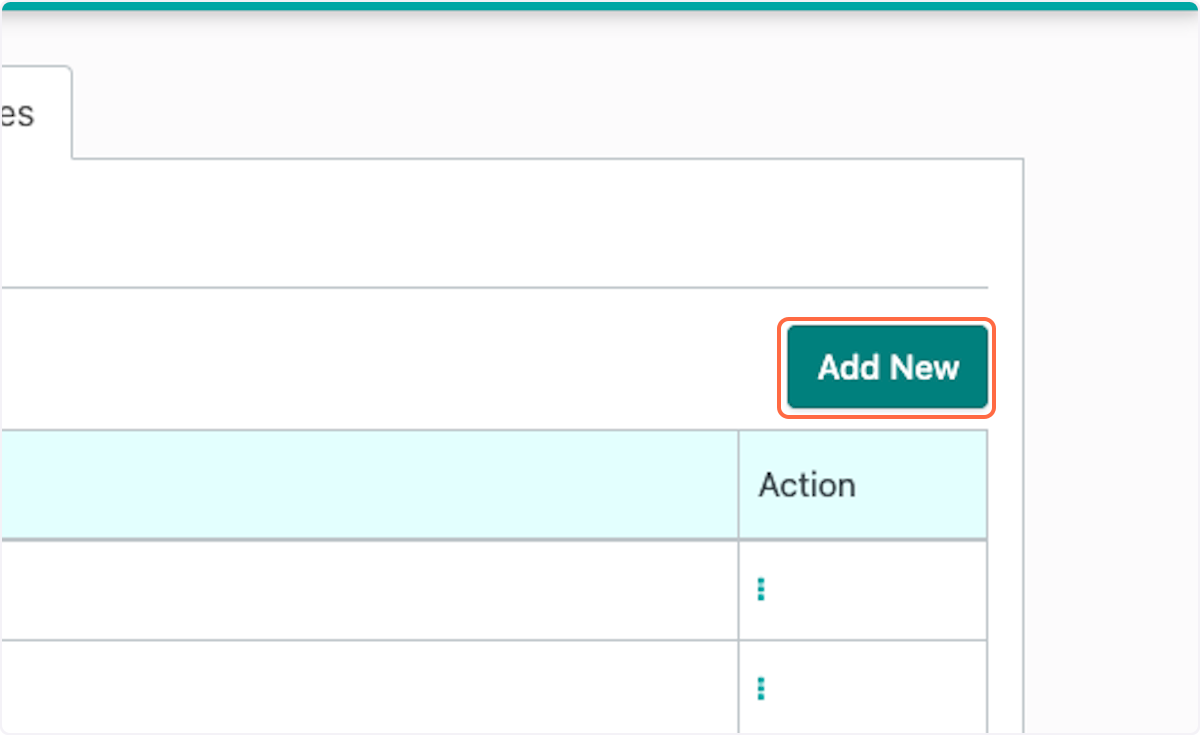
10. Click on Add New
11. Type category name
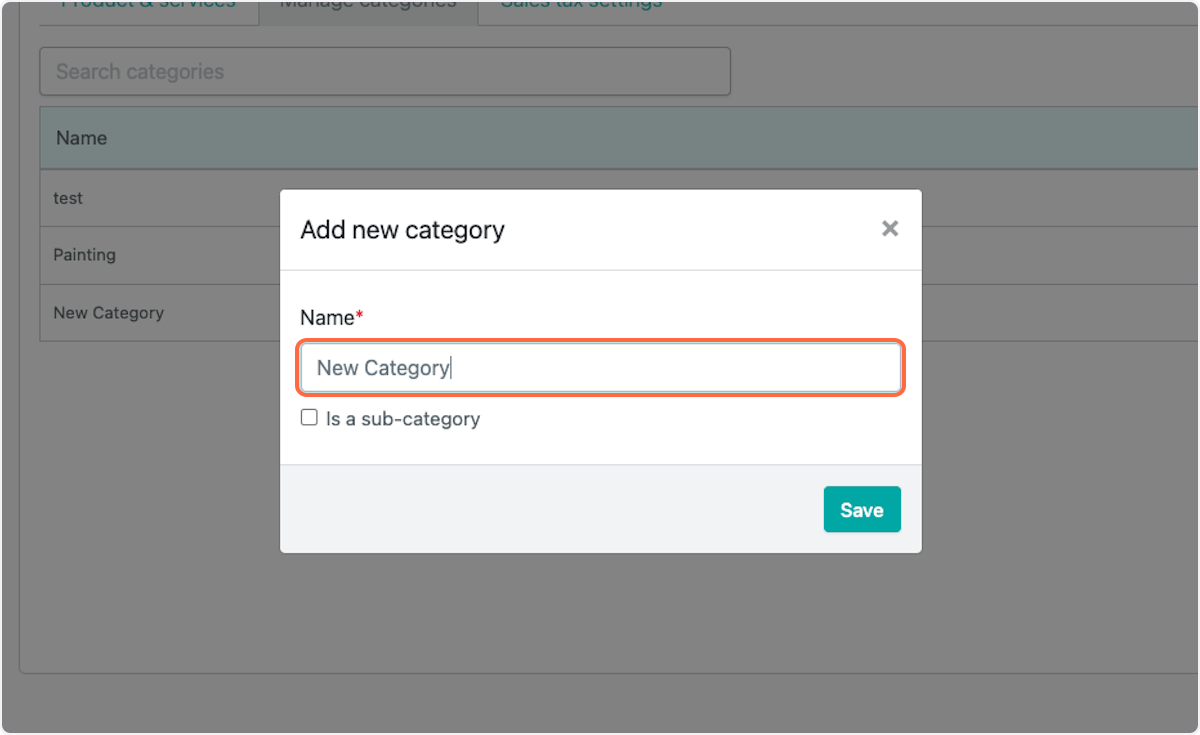
12. If you are adding a subcategory, select "Is a sub-category" checkbox
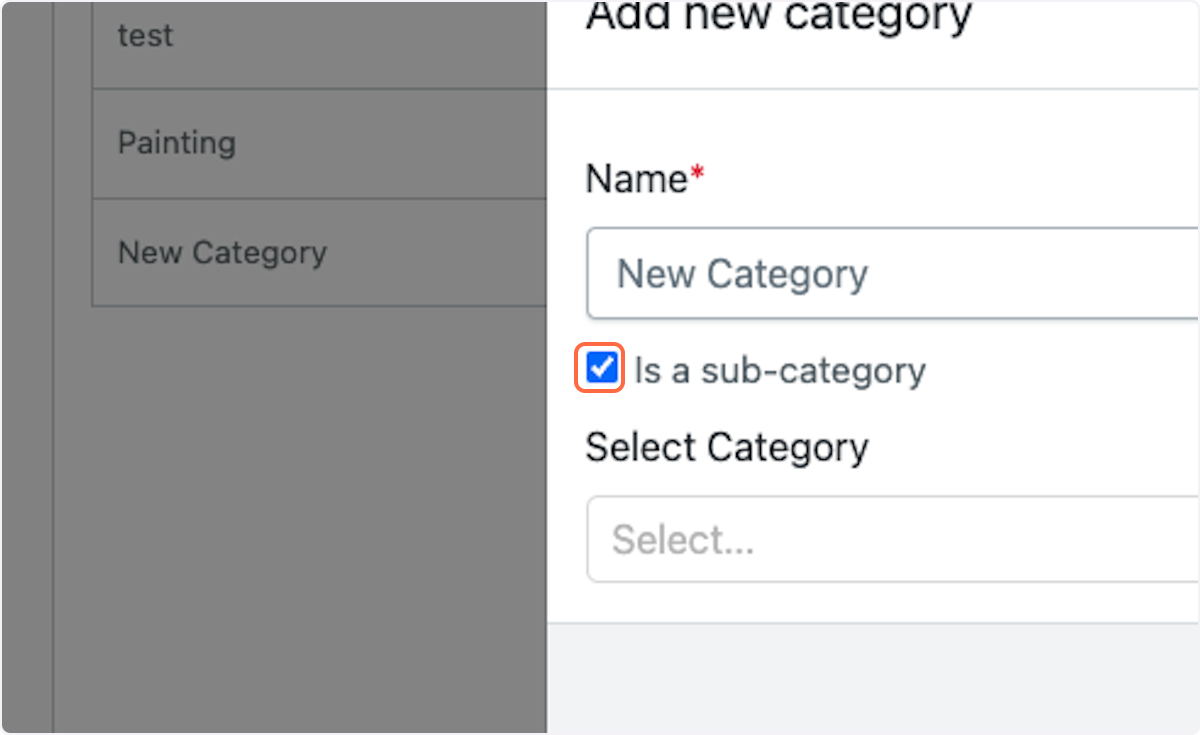
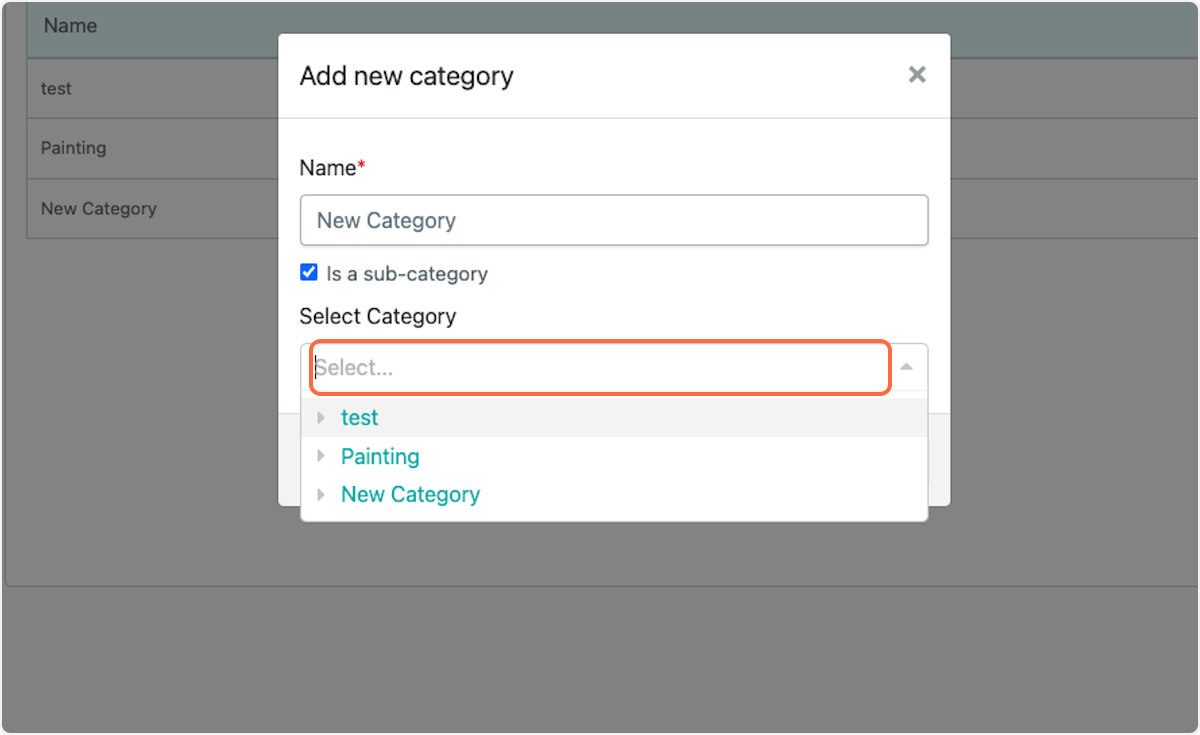
13. If you are adding a subcategory, select primary category
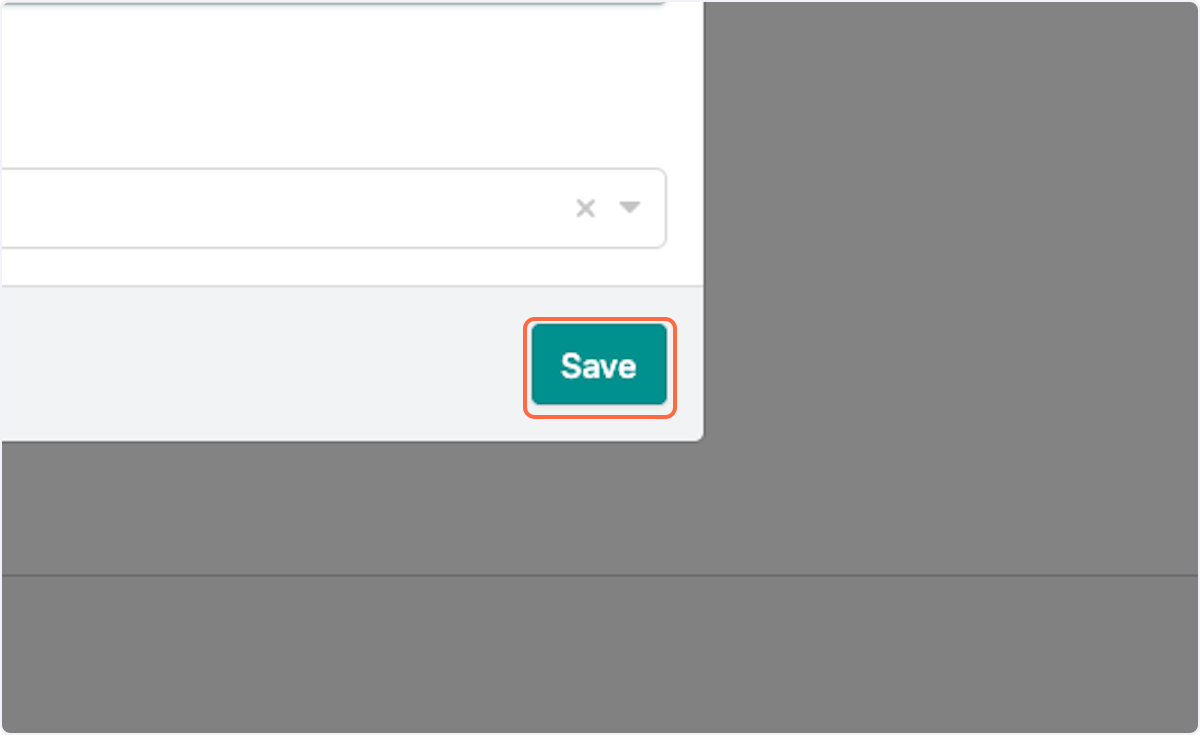
14. Click on Save
15. Click on Product & Services
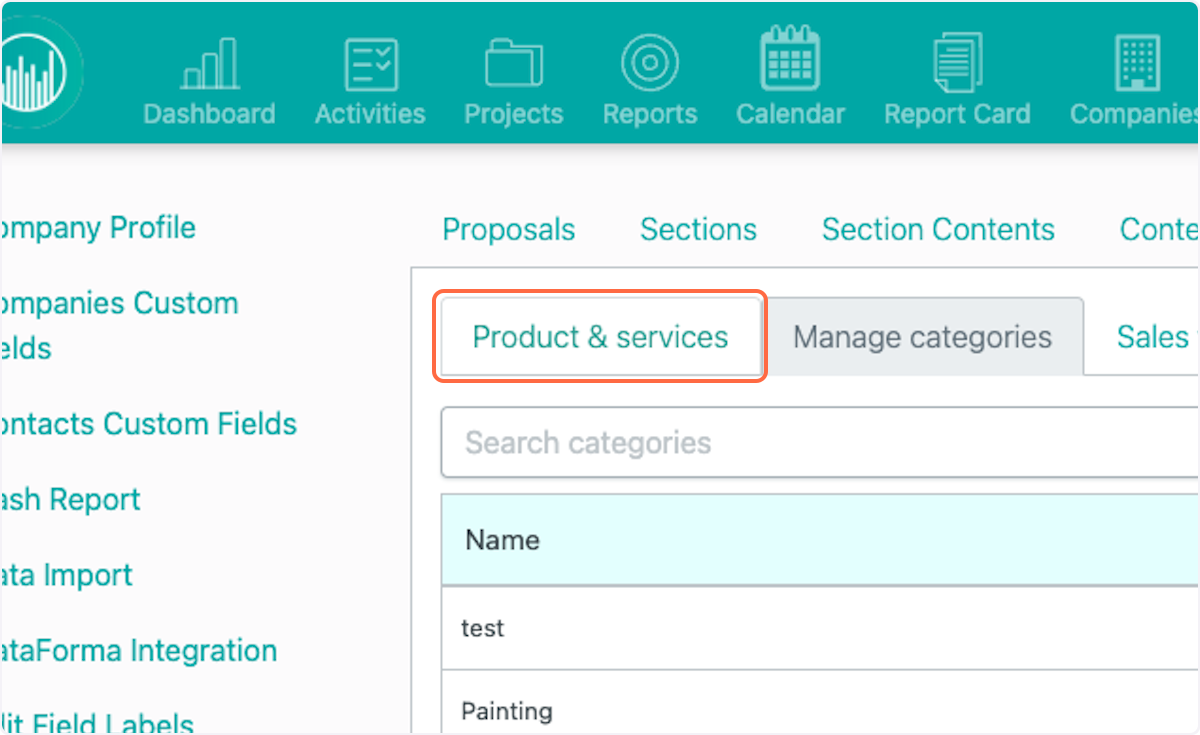
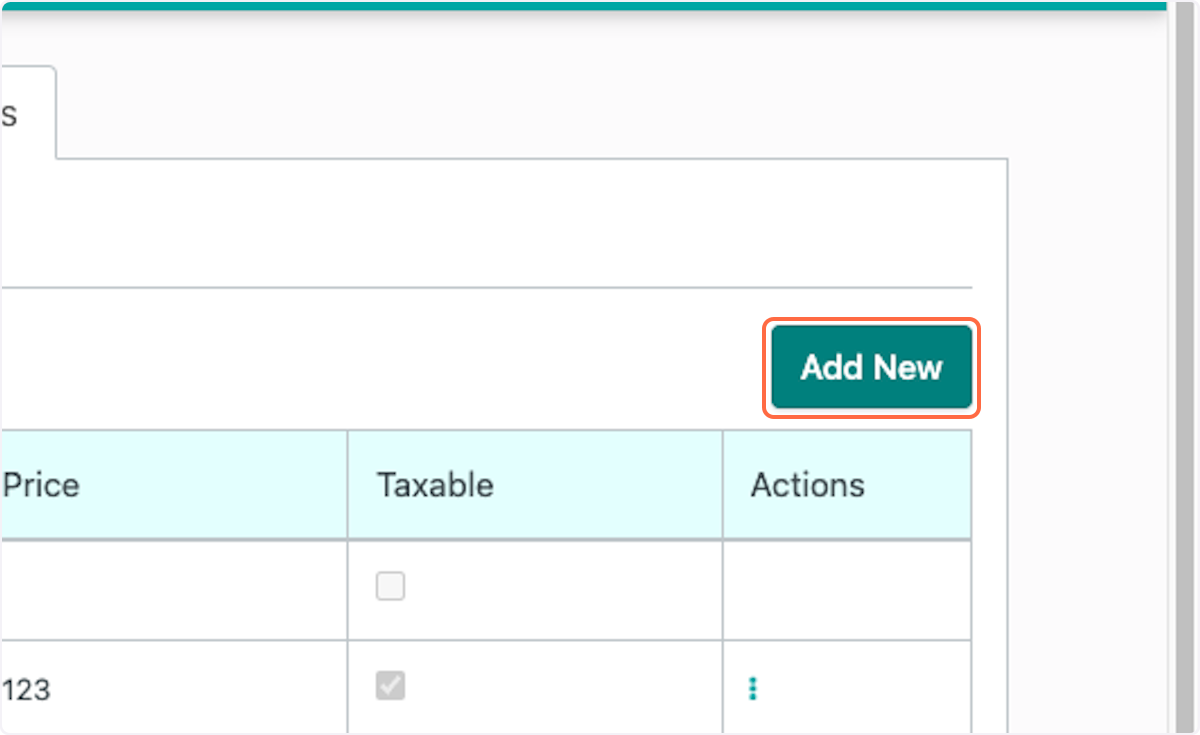
16. Click on Add New
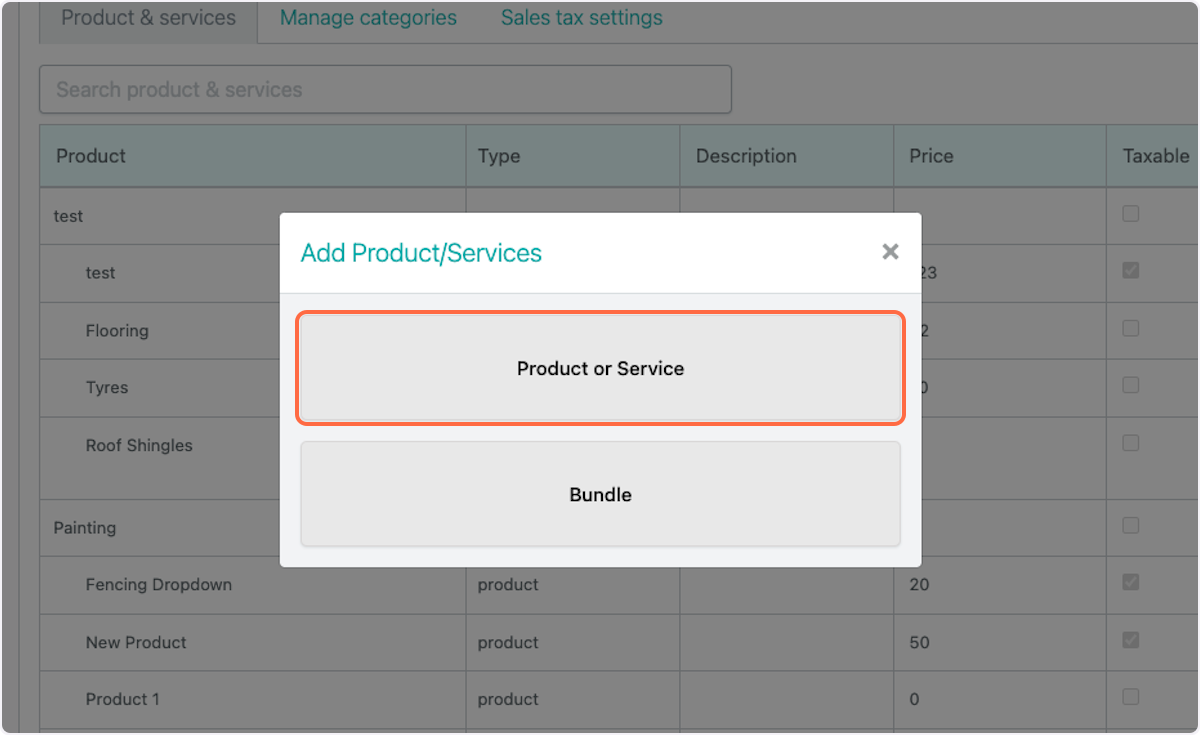
17. Select "Product or Service" or "Bundle"
18. Select Type (Product or Service)
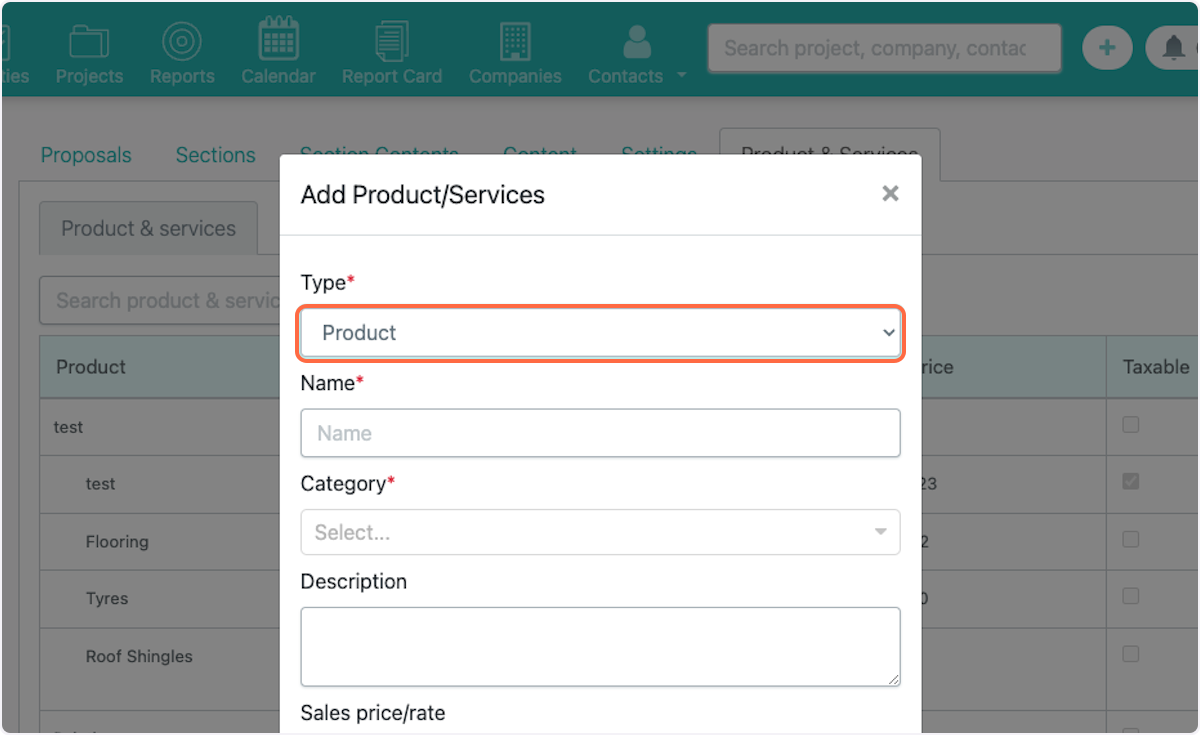
19. Type Product/Service Name
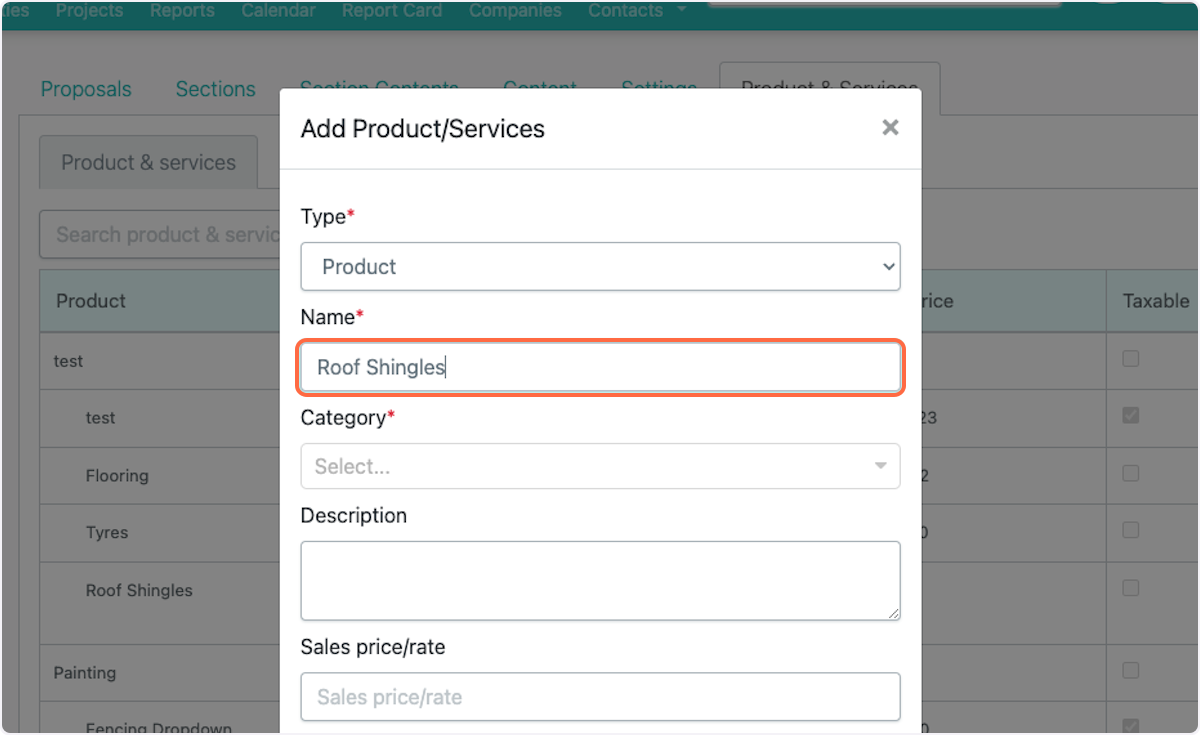
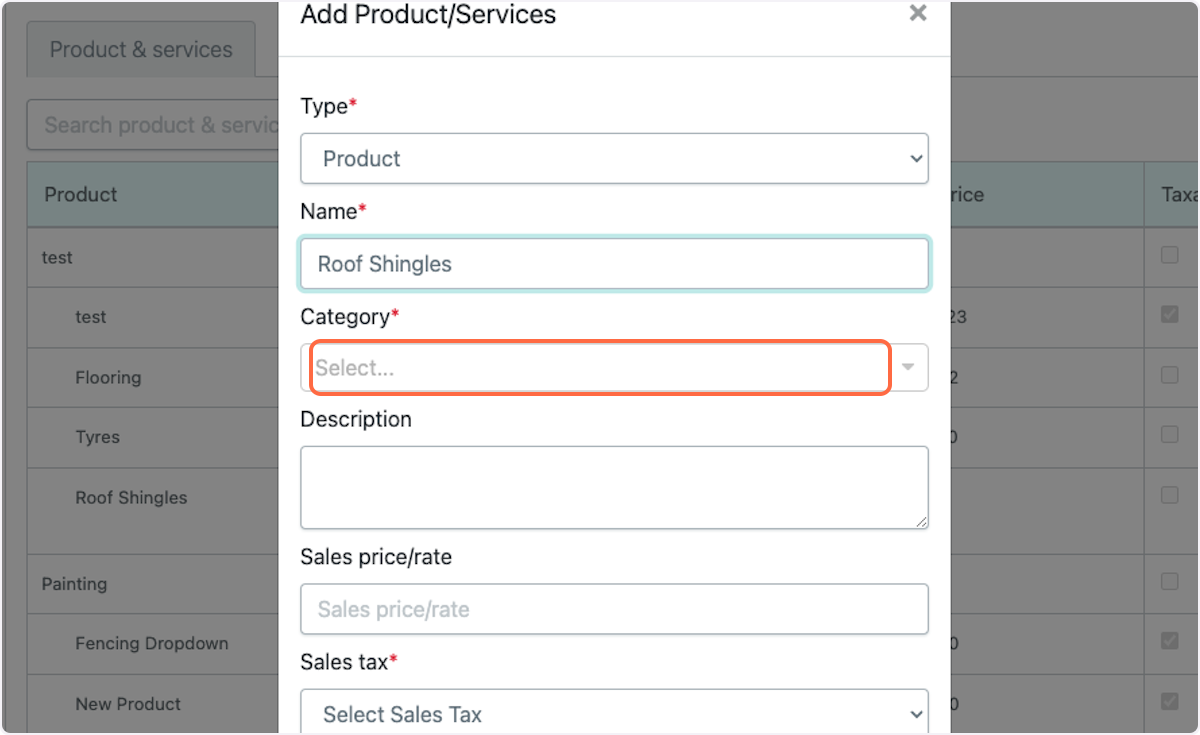
20. Select Category
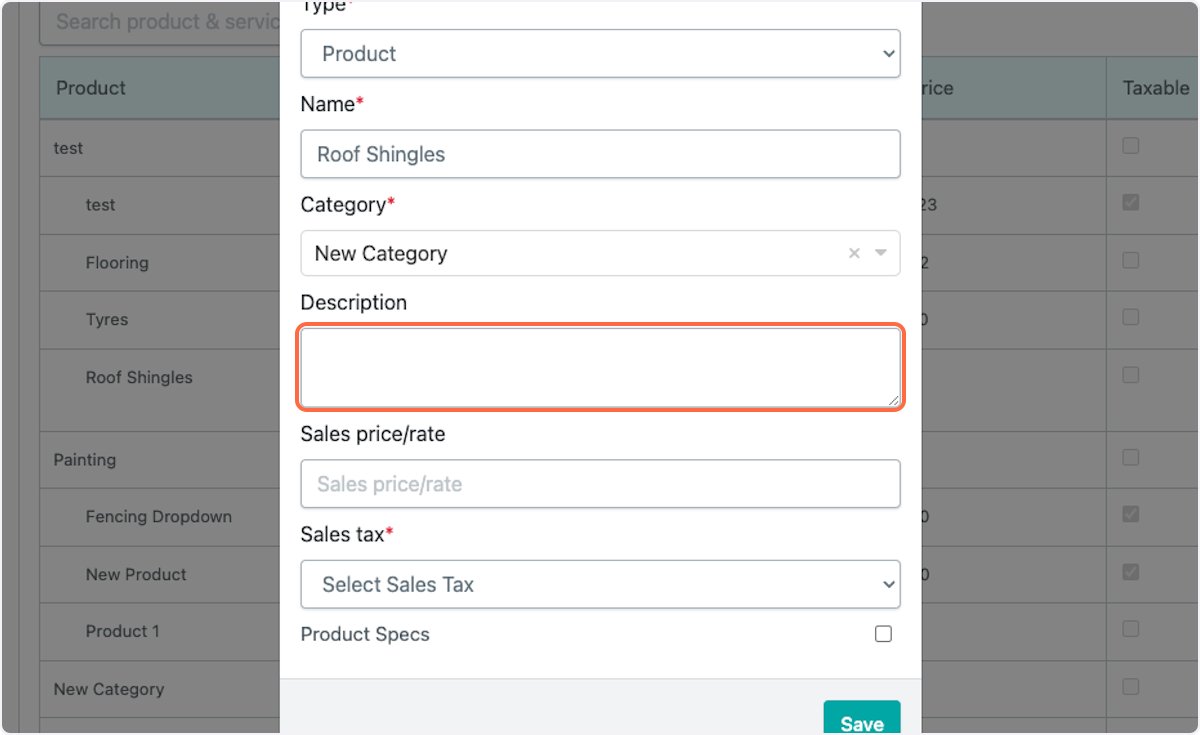
21. Add a description
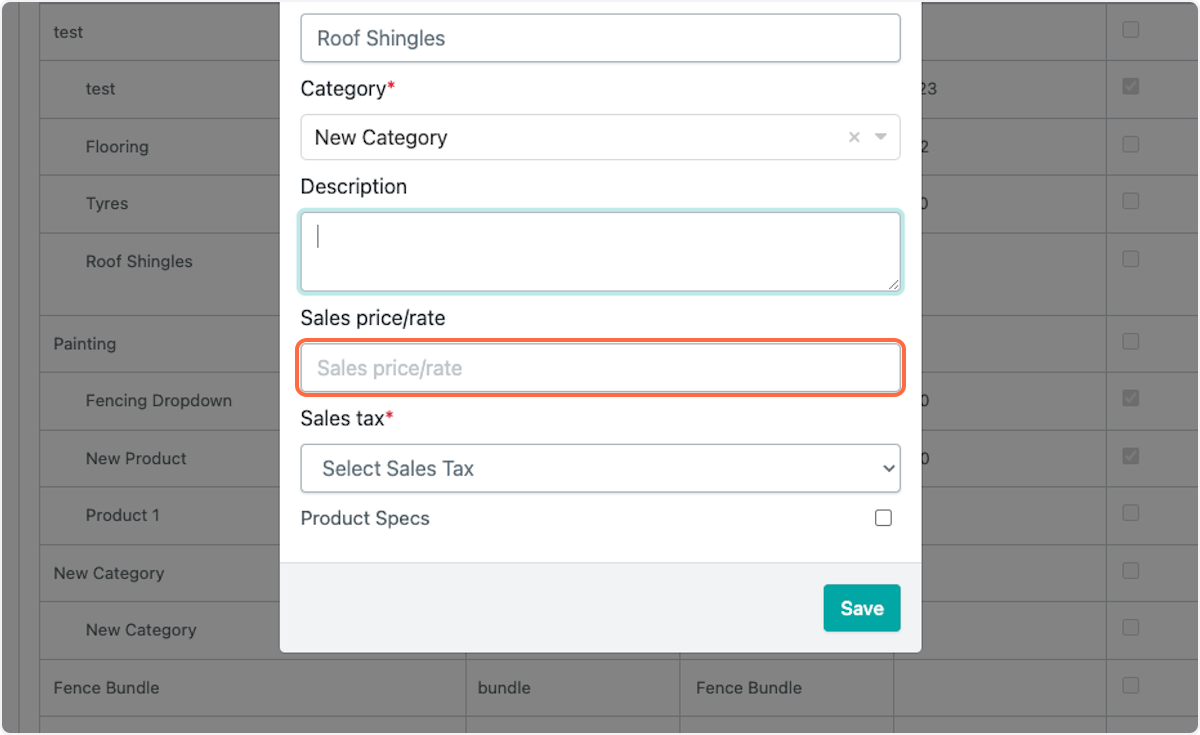
22. Add a sales price/rate and select Sales Tax (Taxable or Non-taxable)
23. To add additional details check Product Specs
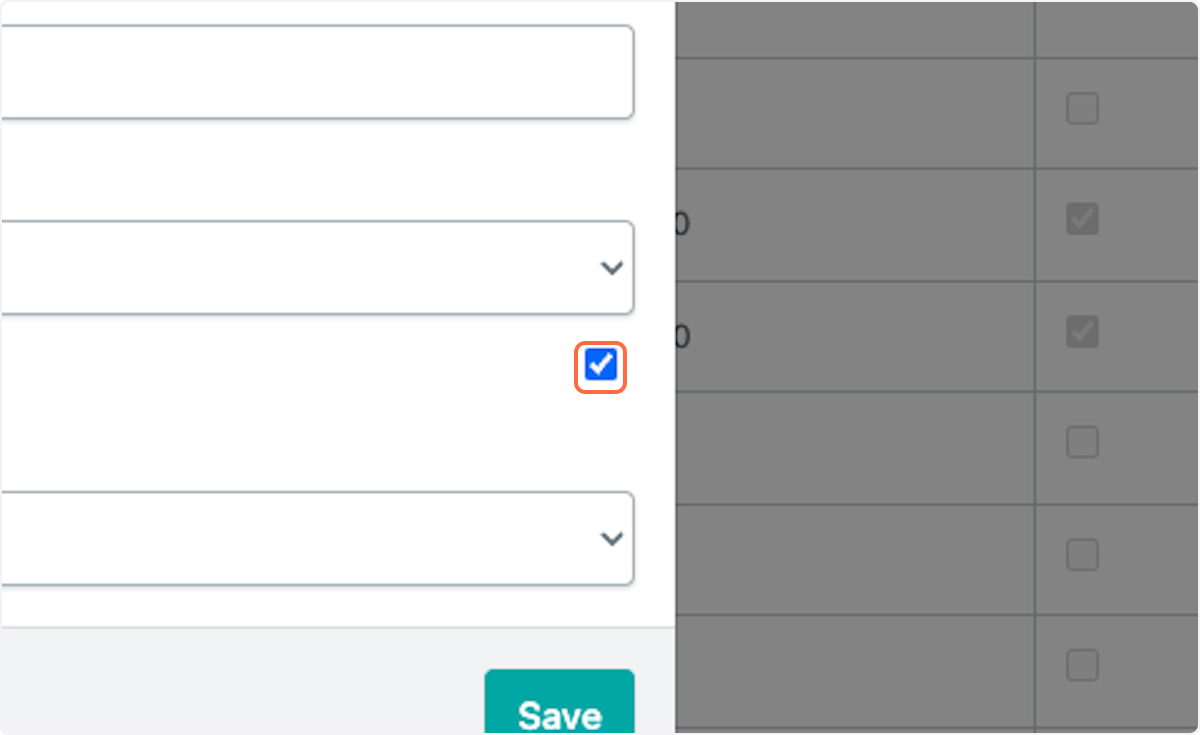
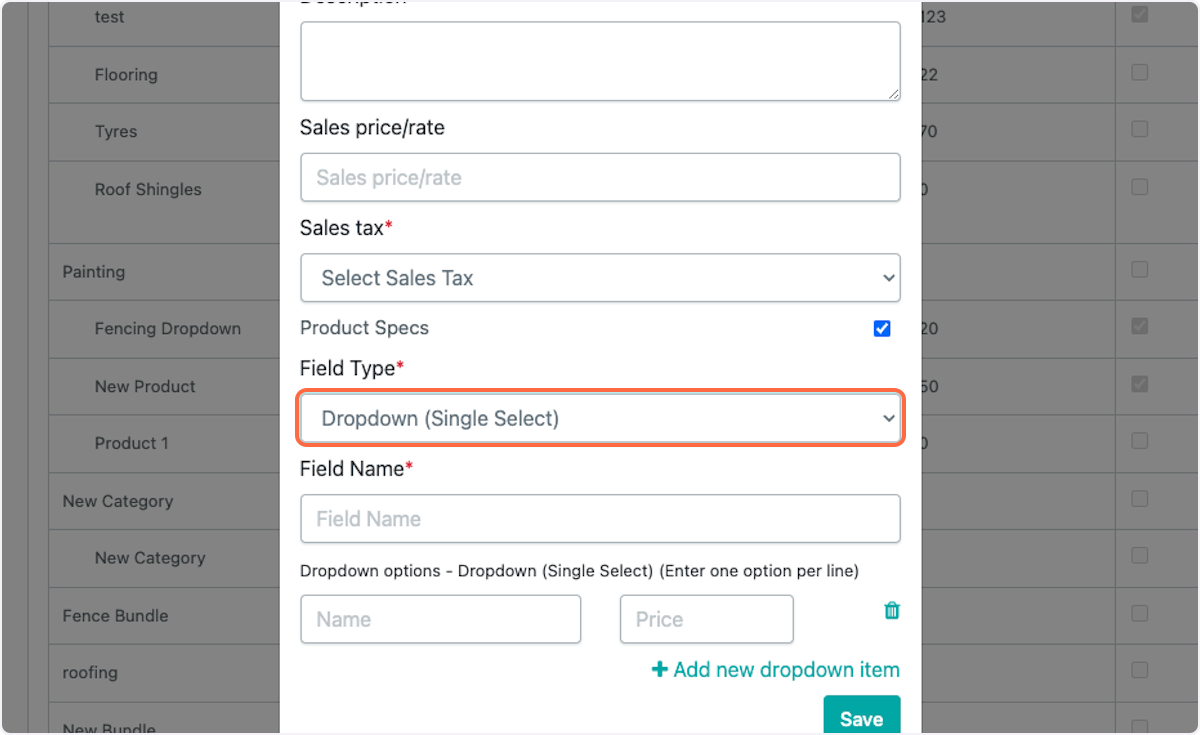
24. Select Field Type (Single Select, Multi Select, Radio, Text)
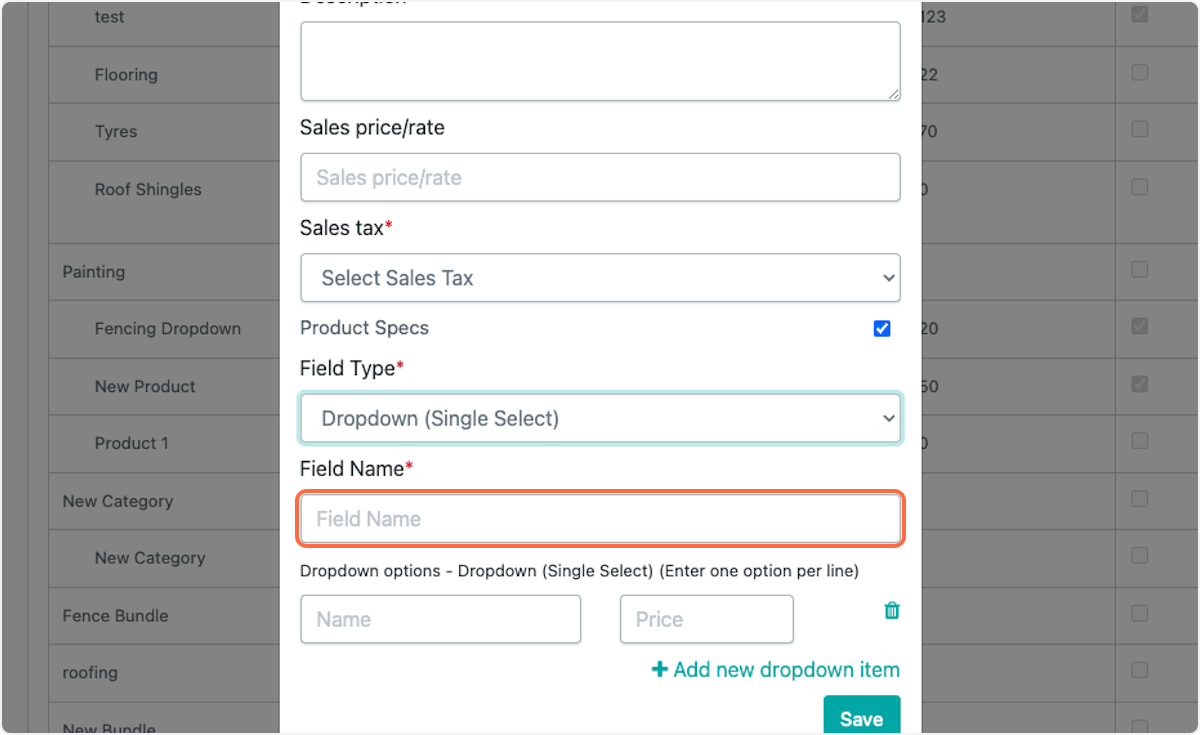
25. Enter Field Name
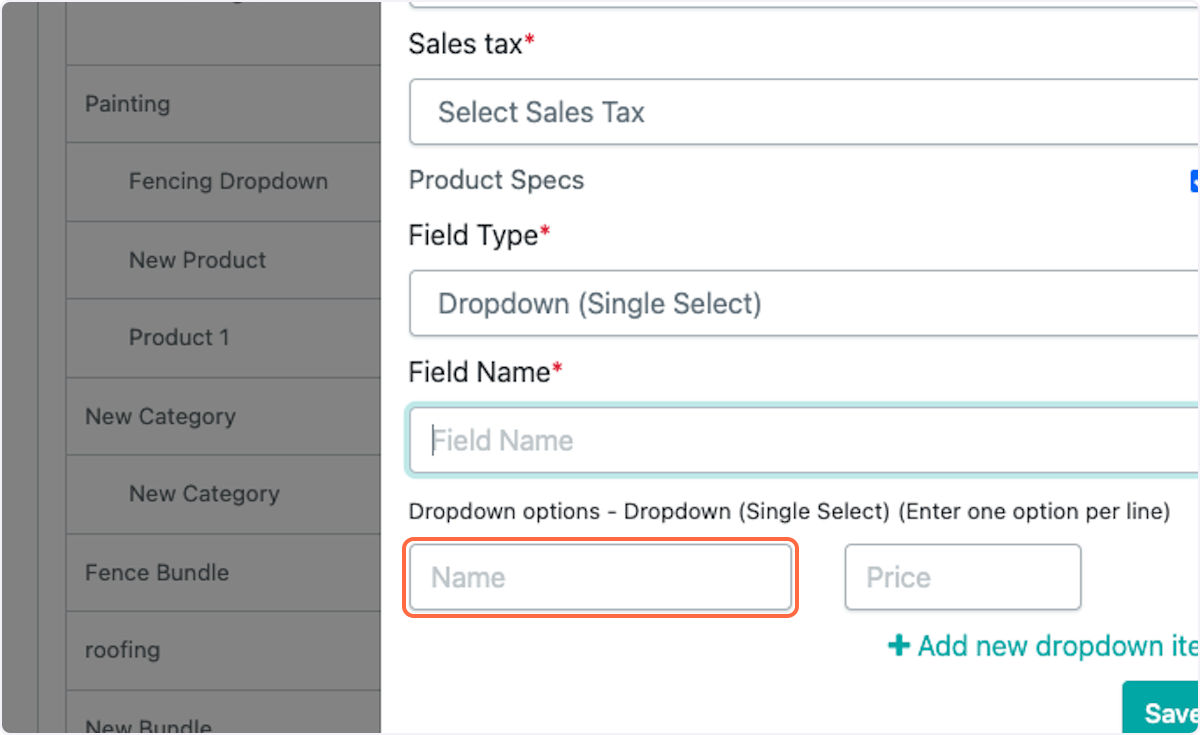
26. Add additional information if needed (dropdown selections, prices etc)
27. Click on Save
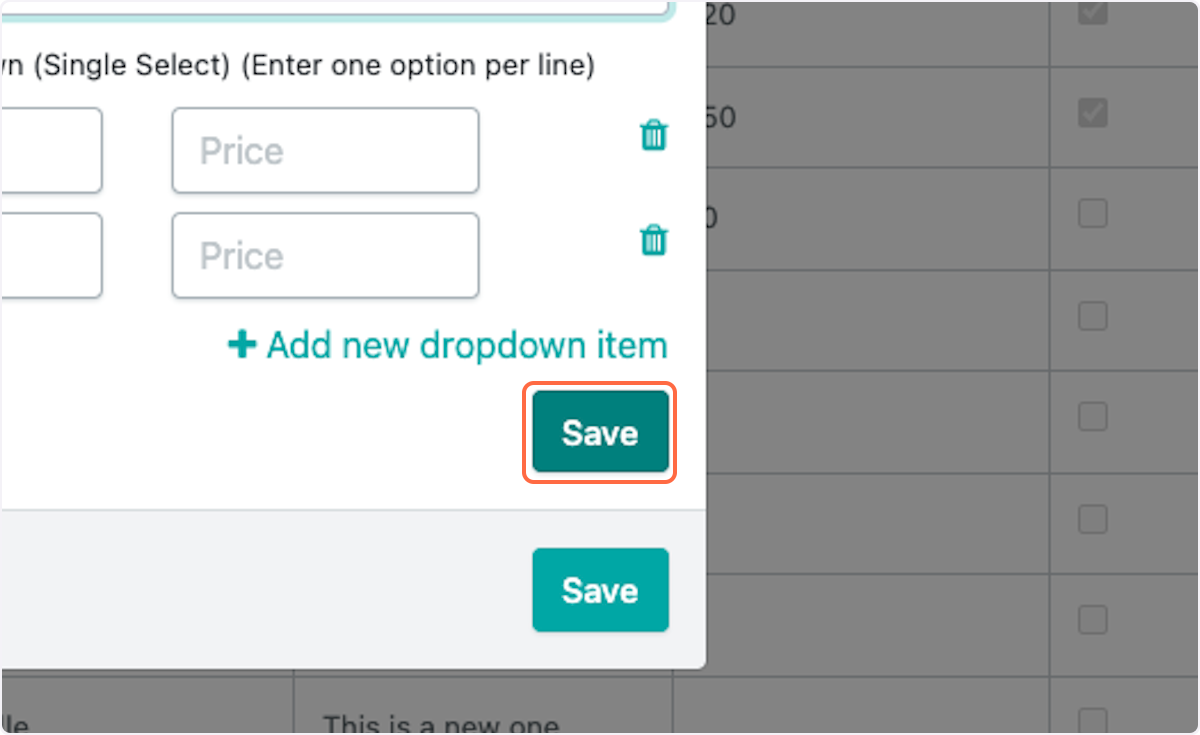
28. Click on Save
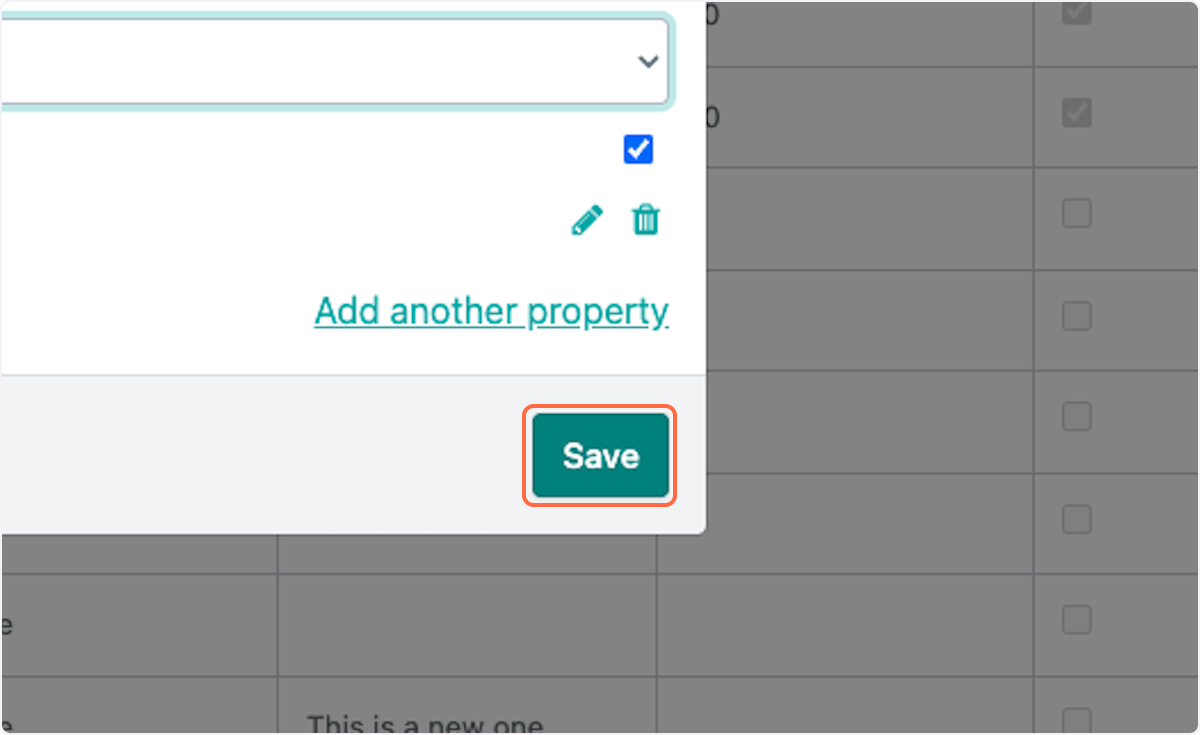
29. Click on Content
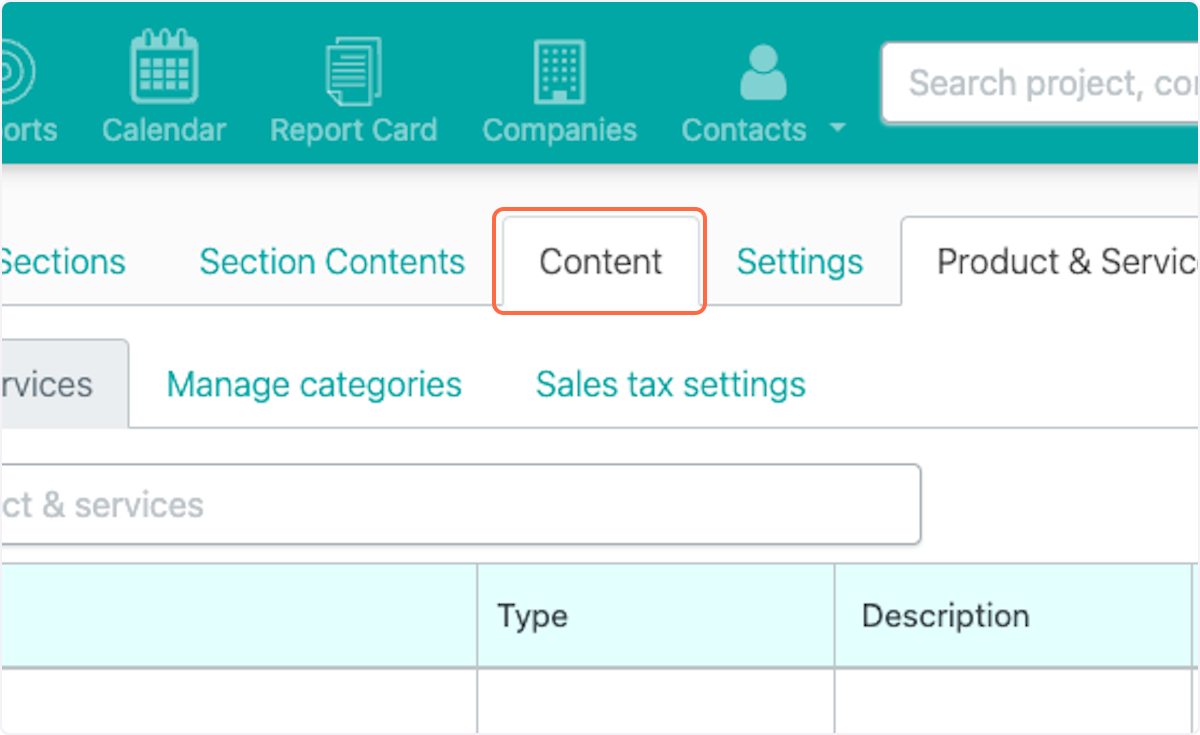
30. Click on New Content
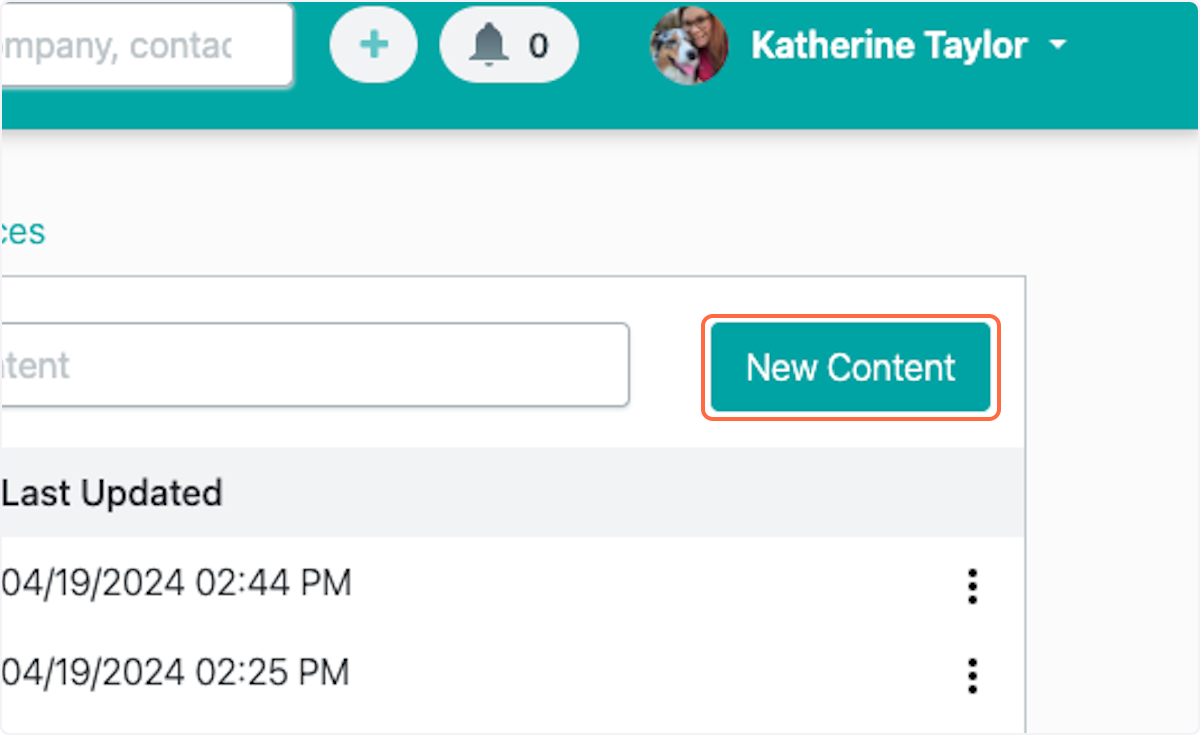
31. Enter Content Name
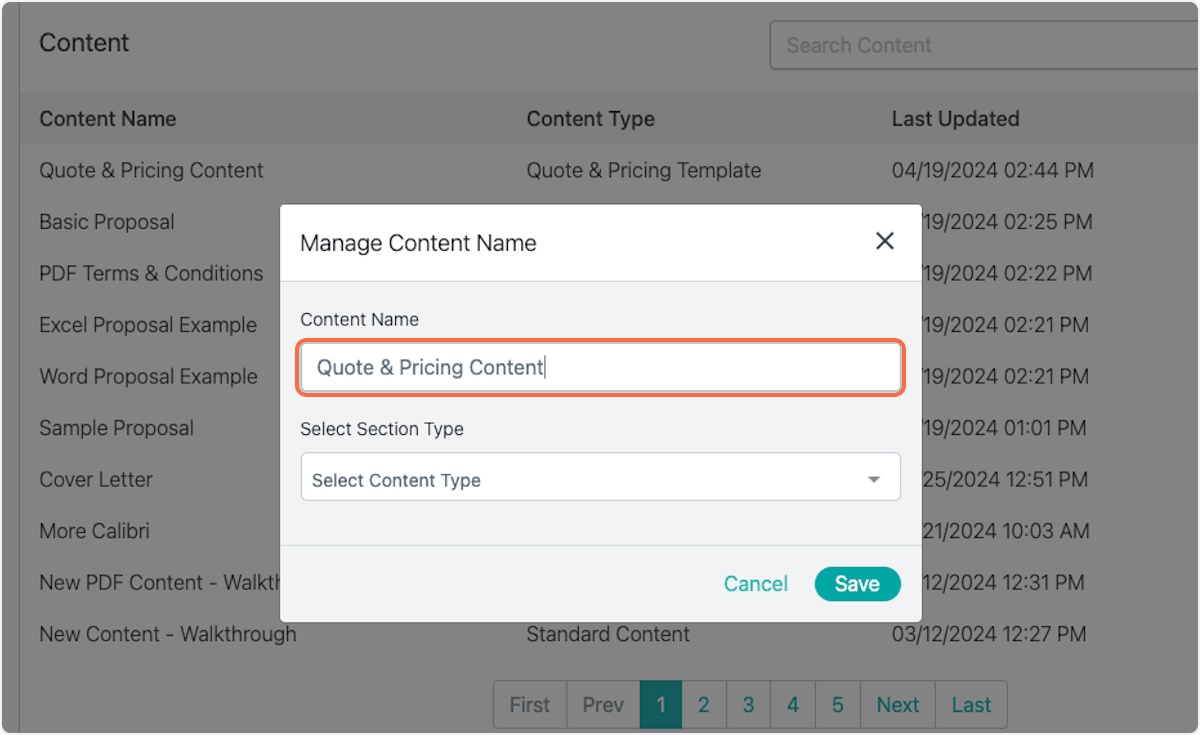
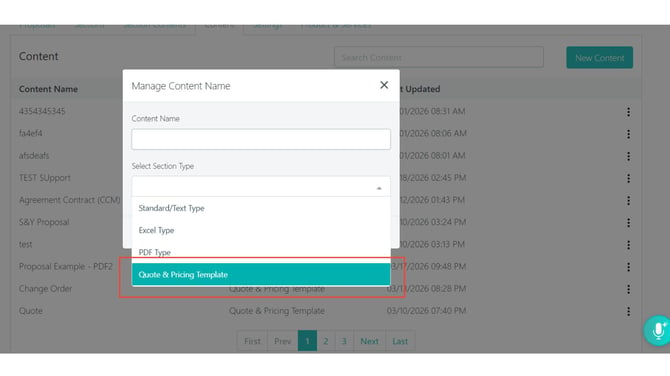
32. Select Section Type "Quote & Pricing Template"
Select Section Type "Quote & Pricing Template"
or after the quote template setup steps.
New content to add:
Use Markup in Quote Pricing
Quote pricing can include both discounts and markups.
A discount reduces the proposal subtotal.
A markup increases the proposal subtotal.
Markup may be applied as:
- Markup Percentage
- Markup Value
Use markup when your team needs to add margin, overhead, or another pricing increase to the proposal subtotal.
Before saving or sending a proposal, always review the final quote total to confirm the markup was applied correctly.
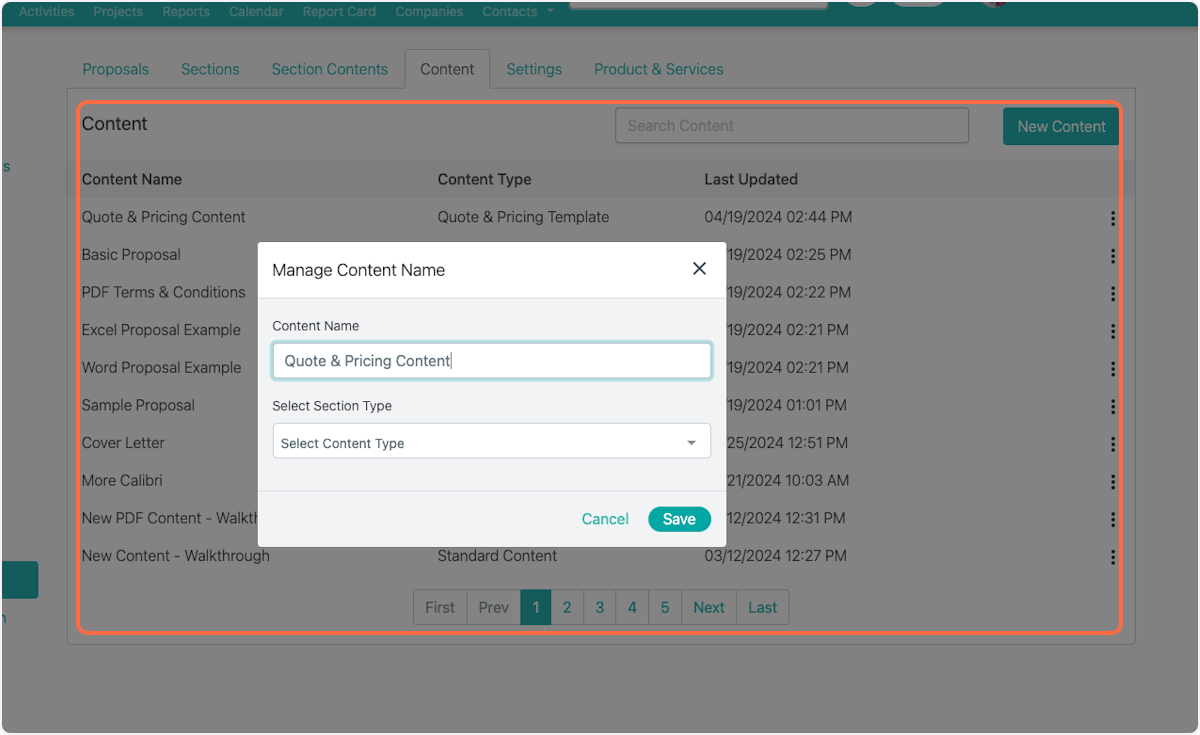
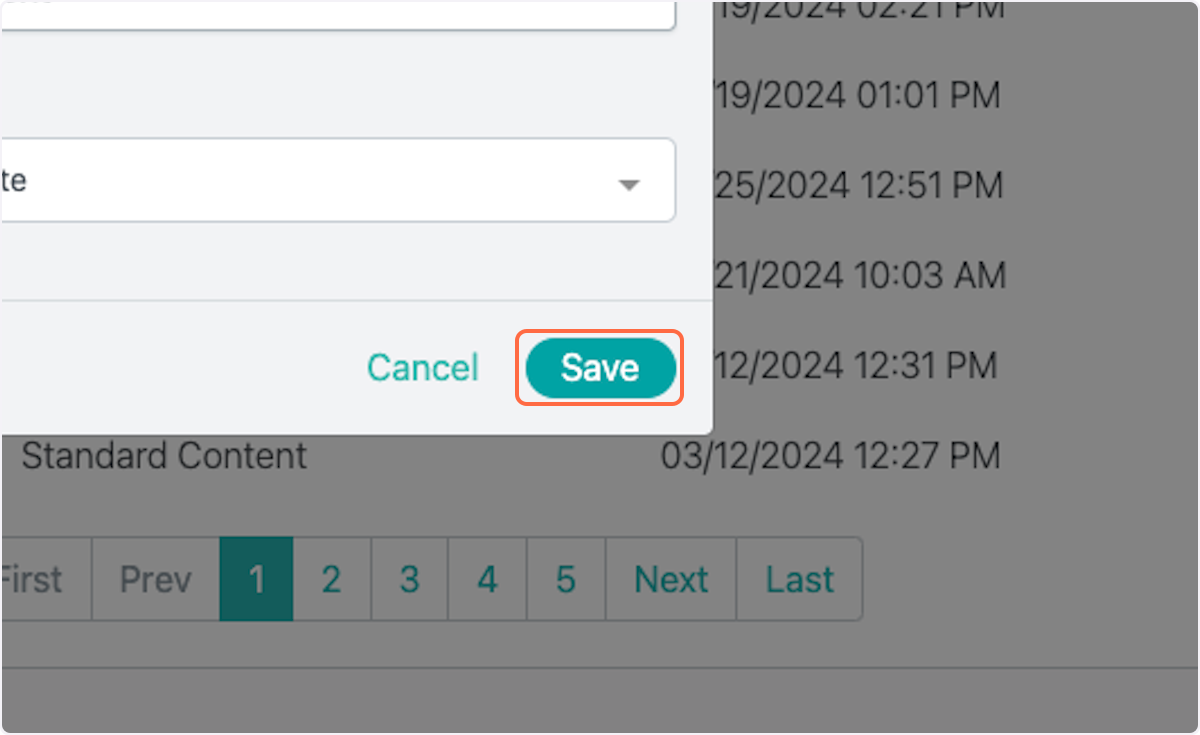
33. Click on Save
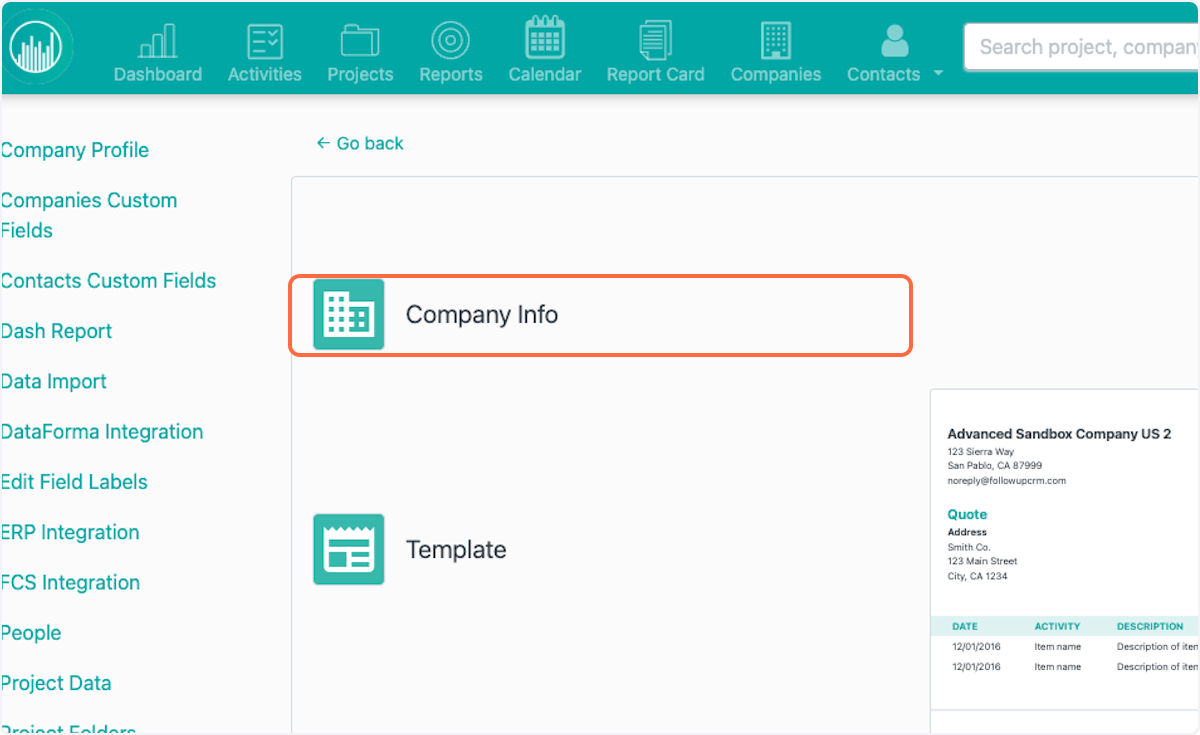
34. Add Company Info
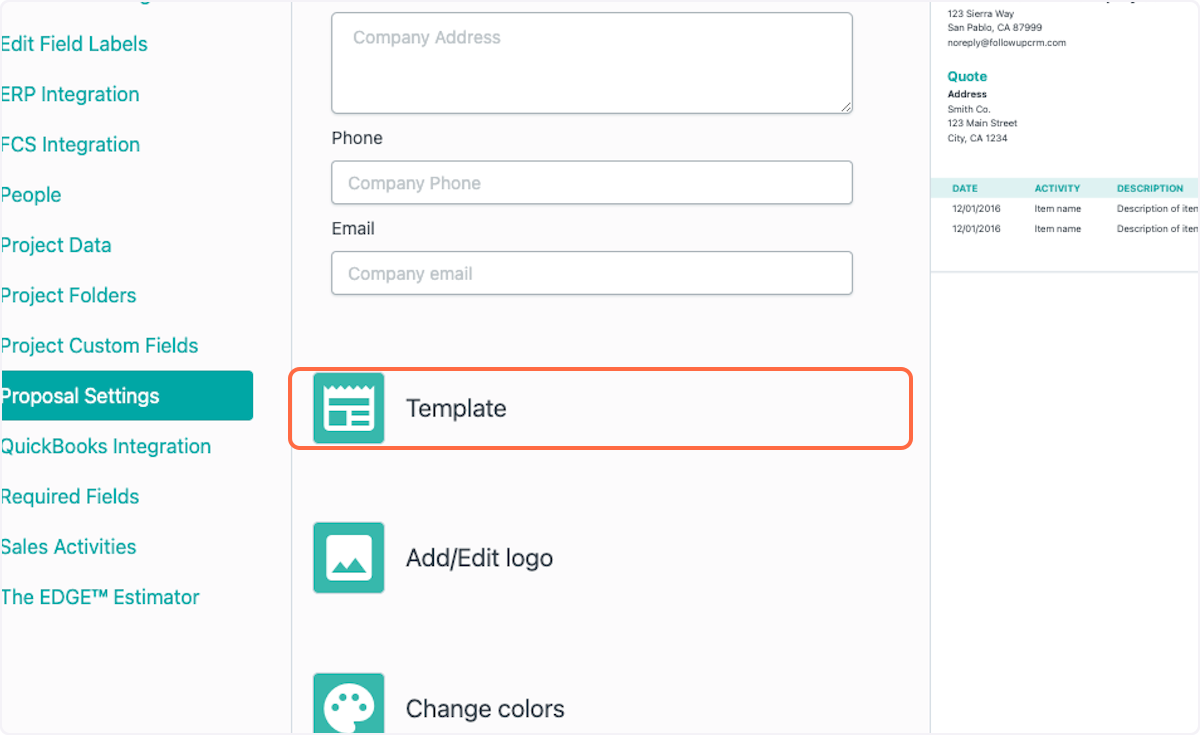
35. Select Template type
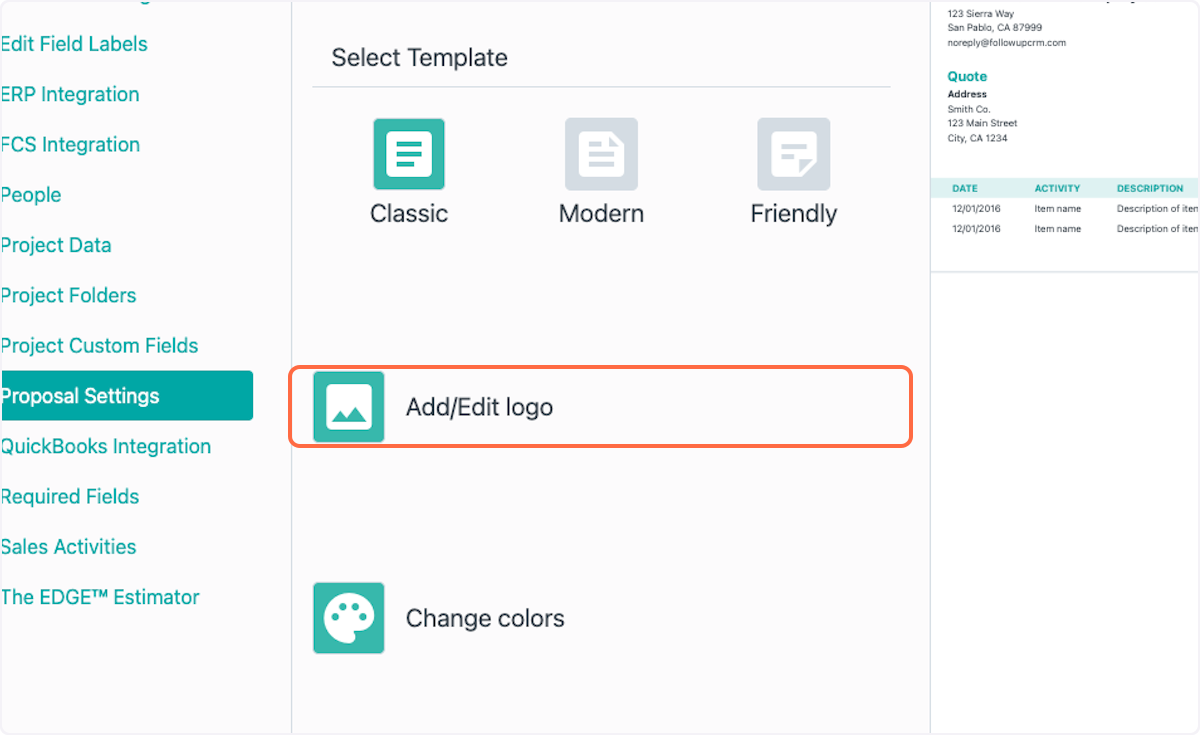
36. Add/Edit Logo
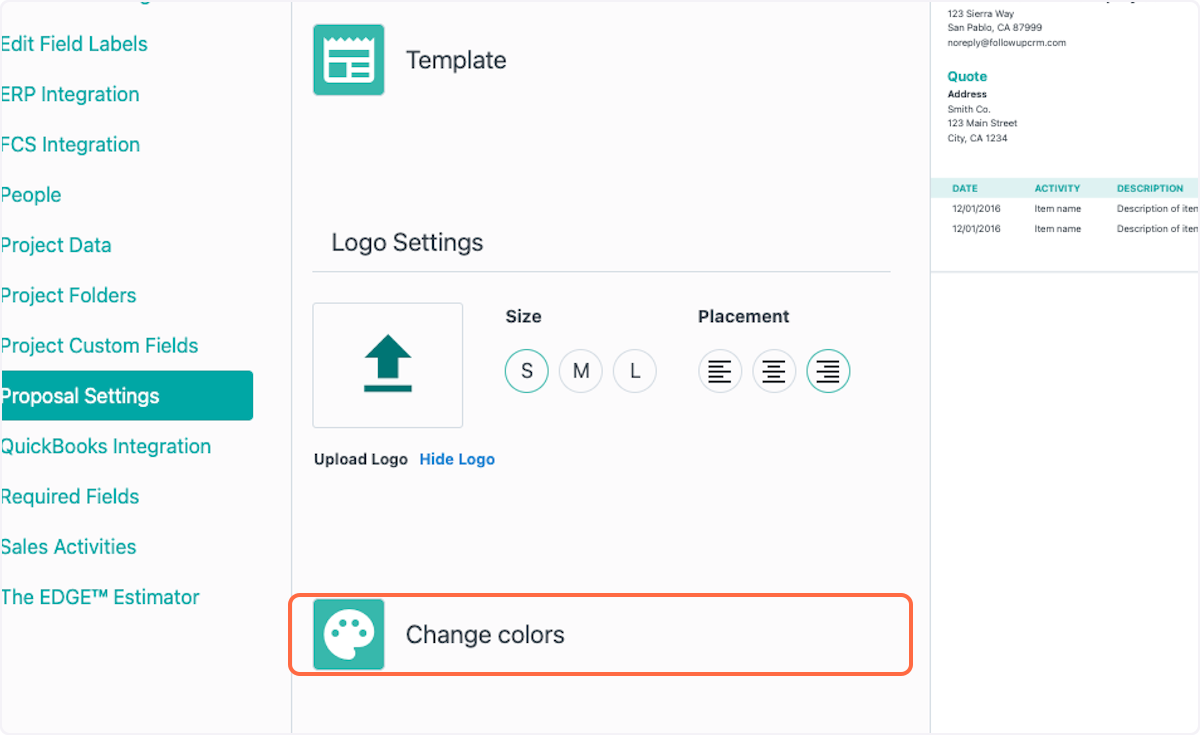
37. Change template colors
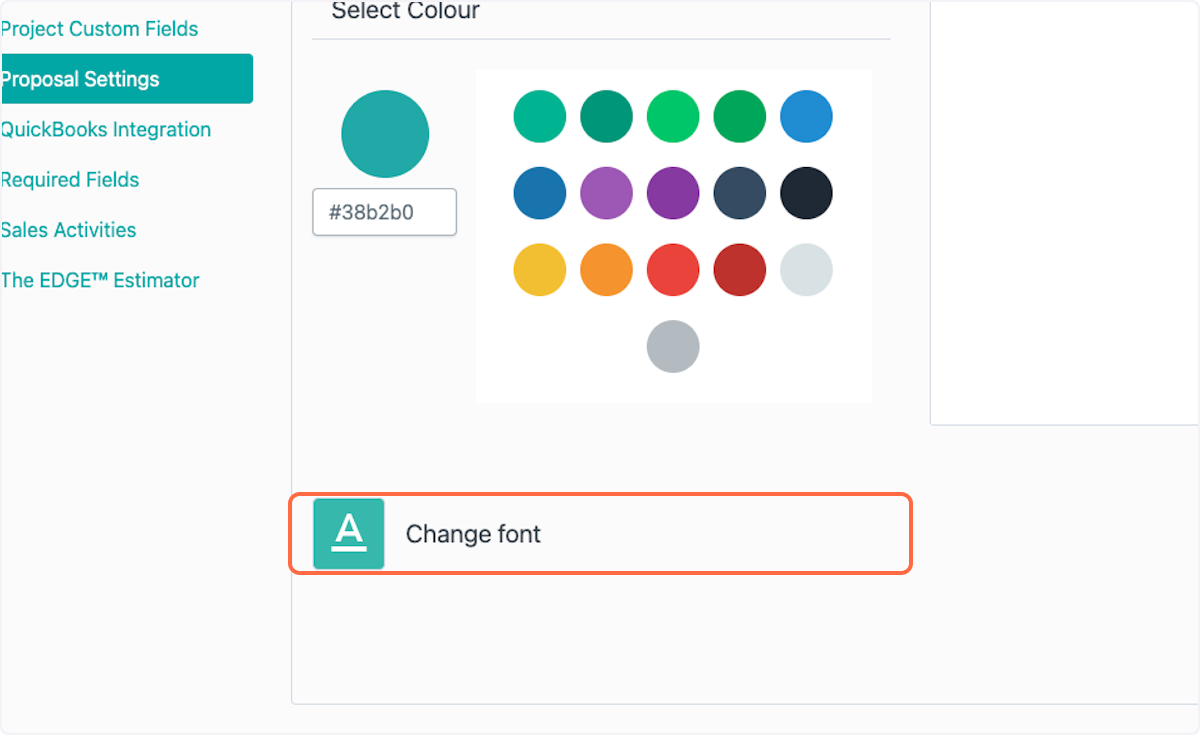
38. Change template font
39. Click on Save