
Overview
The Vista integration helps your team keep ERP and CRM records aligned with less manual data entry.
You can configure which modules to sync, control how fields map between systems, and monitor sync activity for visibility and troubleshooting.
Supported scope includes:
- AR Customers
- JC Jobs
- Change Orders
- SM Work Orders
- SM Service Sites
- JC Contracts
ℹ️ Note: Some module behavior may run through project-linked sync logic depending on your team’s mapping configuration.
Step-by-Step Instructions
✅ Step 1: Confirm prerequisites
- Verify you have admin-level access in Followup CRM.
- Confirm your Vista connector credentials/token are ready.
- Identify which modules you want to enable first.
⚙️ Step 2: Open Vista integration settings
- Go to Settings in Followup CRM.
- Select Integrations.
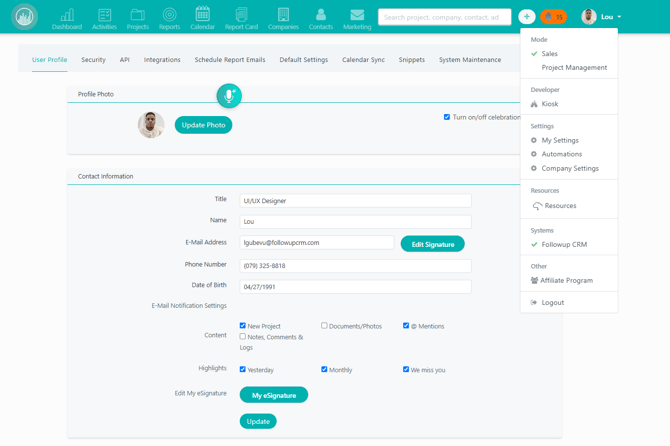
- Open Vista integration settings.
🔐 Step 3: Connect and authenticate
- Enter or generate the connector token/credentials.
- Run the connection test.
- Save the integration once the connection passes.
🧩 Step 4: Enable sync modules
- Turn on the modules you want to sync.
- Recommended starting point:
- AR Customers
- JC Jobs
- Save your module configuration.
🗺️ Step 5: Configure field mappings
- Open the mapping editor for each enabled module.
- Map Followup CRM fields to Vista fields.
- Configure dropdown/value mappings for lookup fields.
- Save and activate mappings.
⚠️ Important: Do not enable full sync until required fields are mapped.
📥 Step 6: Run initial import
- Run import for each enabled module.
- Review imported records in Followup CRM.
- Fix validation or mapping errors and rerun as needed.
🔄 Step 7: Validate bi-directional sync
- Update a test record in Followup CRM and confirm it updates in Vista.
- Update a test record in Vista and confirm it updates in Followup CRM.
- Verify field values match expected mappings.
📊 Step 8: Monitor sync activity
- Open Vista sync activity/logs.
- Review status values:
- Queued
- Processing
- Succeeded
- Failed / Needs Attention
- Resolve root-cause issues, then retry failed items.
Result
After completing these steps, your Vista integration will be connected, mapped, and operational for selected modules, with sync monitoring in place for ongoing reliability.
Best Practices
- 🚀 Start with a small rollout (1–2 modules), then expand.
- 🧪 Always test both sync directions before full production usage.
- 🧹 Standardize dropdown values early to reduce mapping errors.
- 📌 Track and resolve “Needs Attention” items daily during rollout.
- 📄 Document final mapping decisions for faster onboarding and support.
Happy Selling!