For a step-by-step guide on how to add multiple GC's to a project, click "Get Started."
1. From your dashboard, navigate to a project and scroll down to the Company Information section.
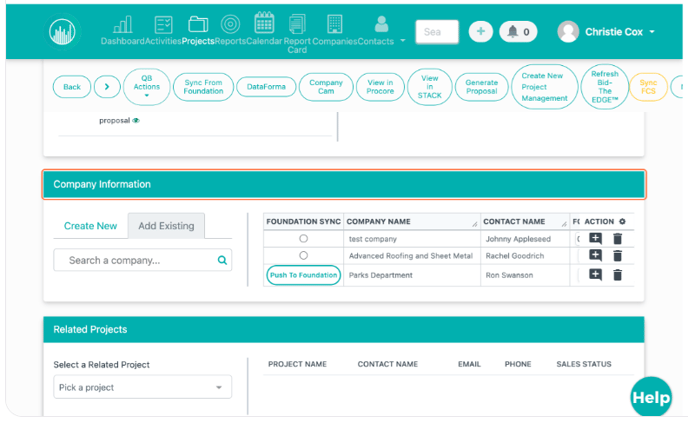
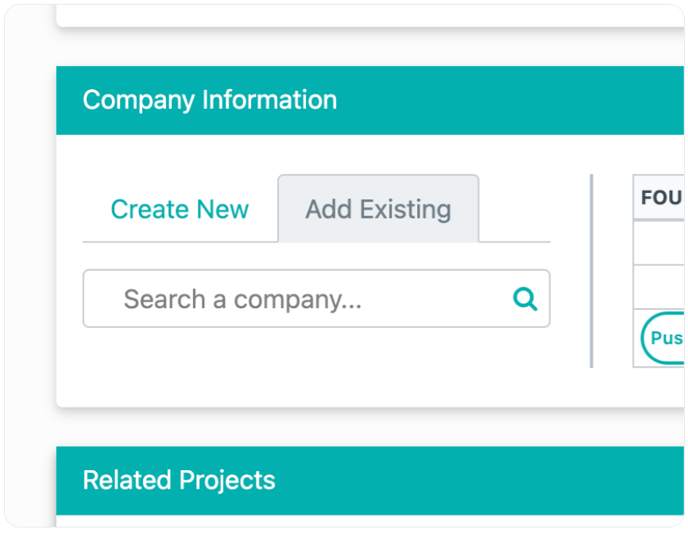
2. You'll see that there are now two tabs on the left for creating a new company or adding an existing company to the project.
If you know that the company you would like to attach is already in the system, you can click Add Existing, select your company, and click Add Now.
Or if you need to create a new company altogether, you can do that here as well in Create New.
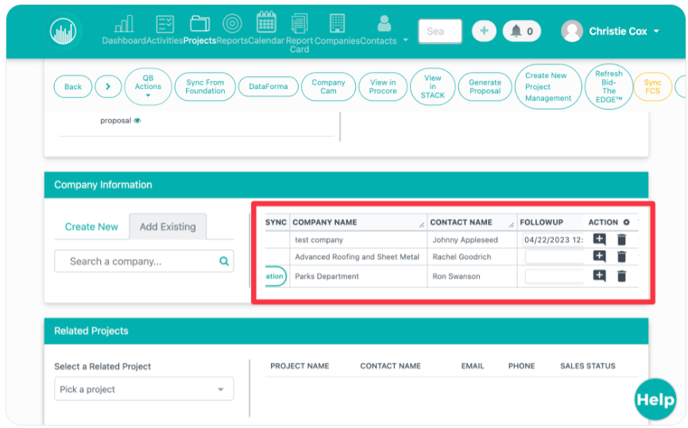
3. You'll notice you can scroll to the right within the table and the Action box will remain fixed in place.
4. Click the Icon gear in the Action box to customize which columns you would like to see in the table.
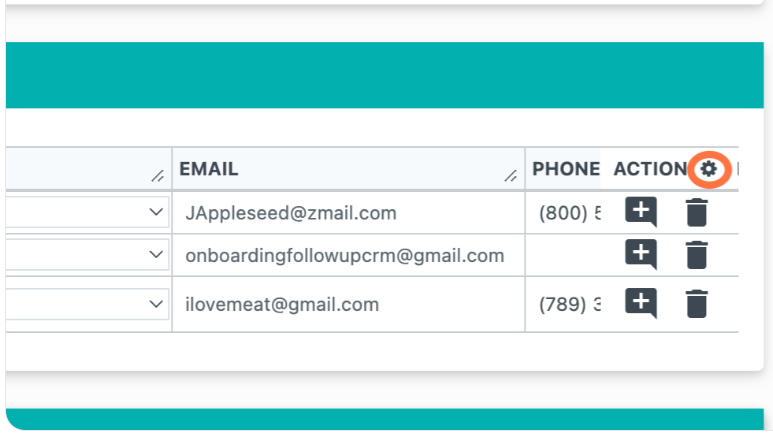
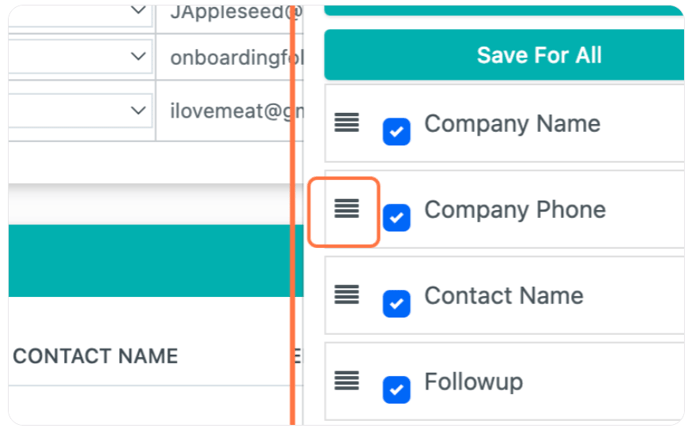
5. Click the three lines to drag and reorganize the order.
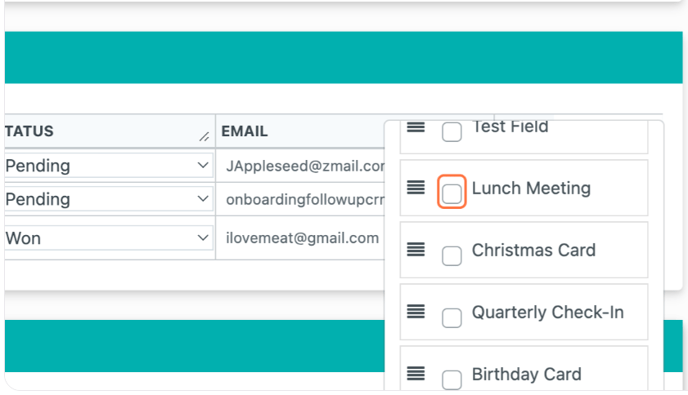
6. Uncheck any boxes you do not wish to see on the table.
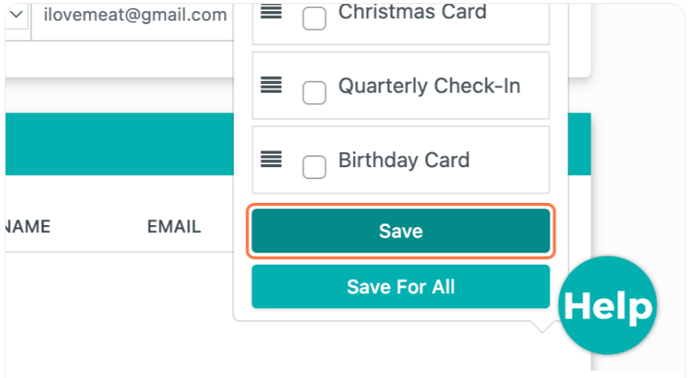
7. Click on "Save" to save the view for this project only, and click "Save For All" to save as a default view for your entire team.
8. Click and drag the hashmarks on the right side of the column headings to resize the view.

Happy Selling!
Need more help? Sign-up for additional Office Hours Training