1. Help Center
  2. Proposal Generator
  3. Proposal Generator (User Level)

How to Create a Proposal

This article applies to all user levels who have the Proposal Generator add-on module in Followup CRM

Watch the video guide, or click "Get Started" for a click-by-click guide below. 


How to Create a Proposal

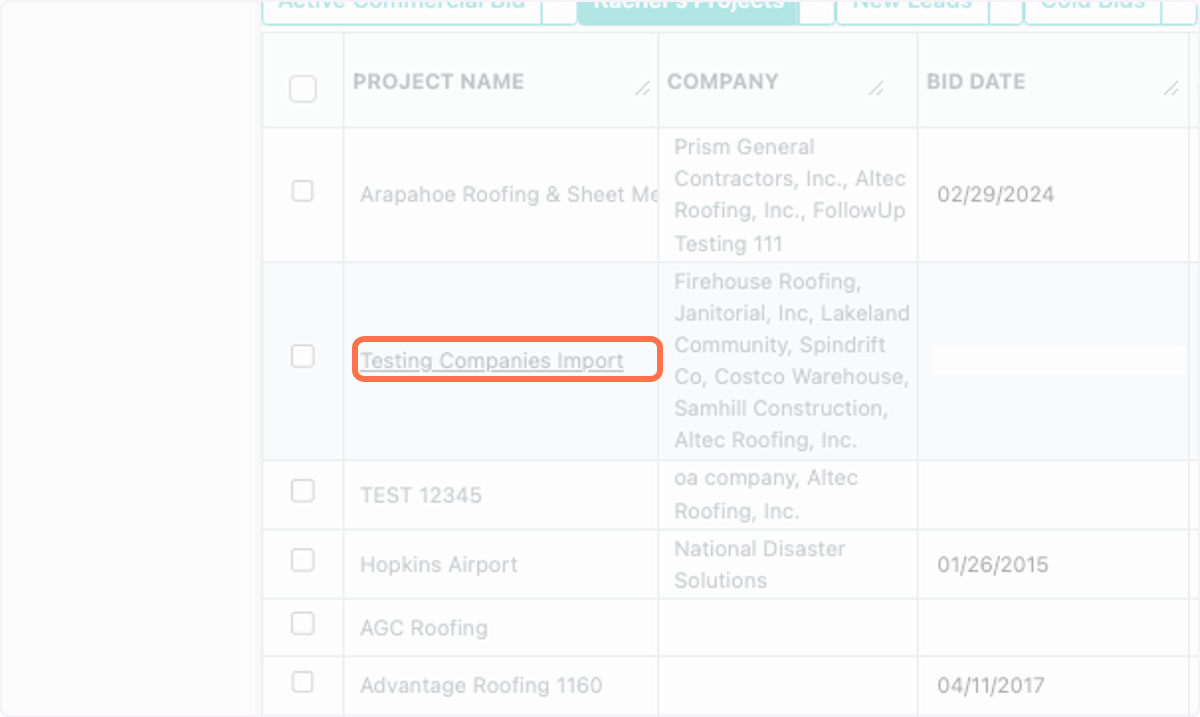
1. From the Project page, open the Project that you're ready to create the proposal for.

From the Project page, open the Project that you're ready to create the proposal for.

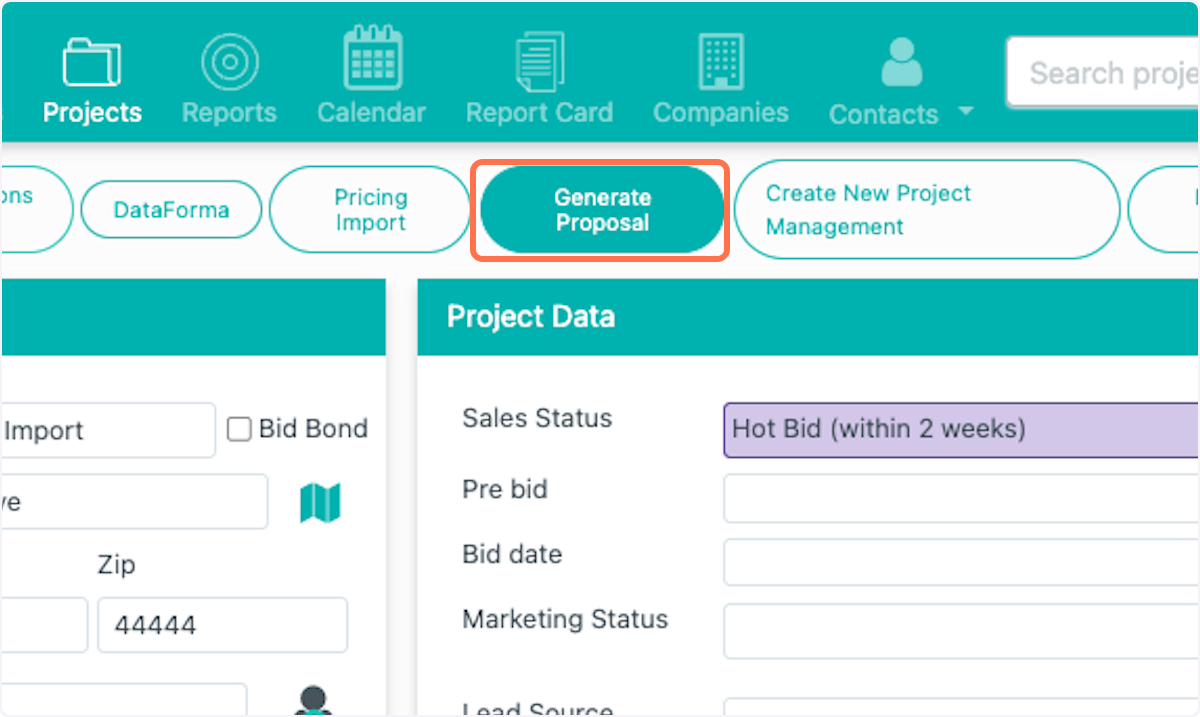
2. Click on Generate Proposal

Click on Generate Proposal

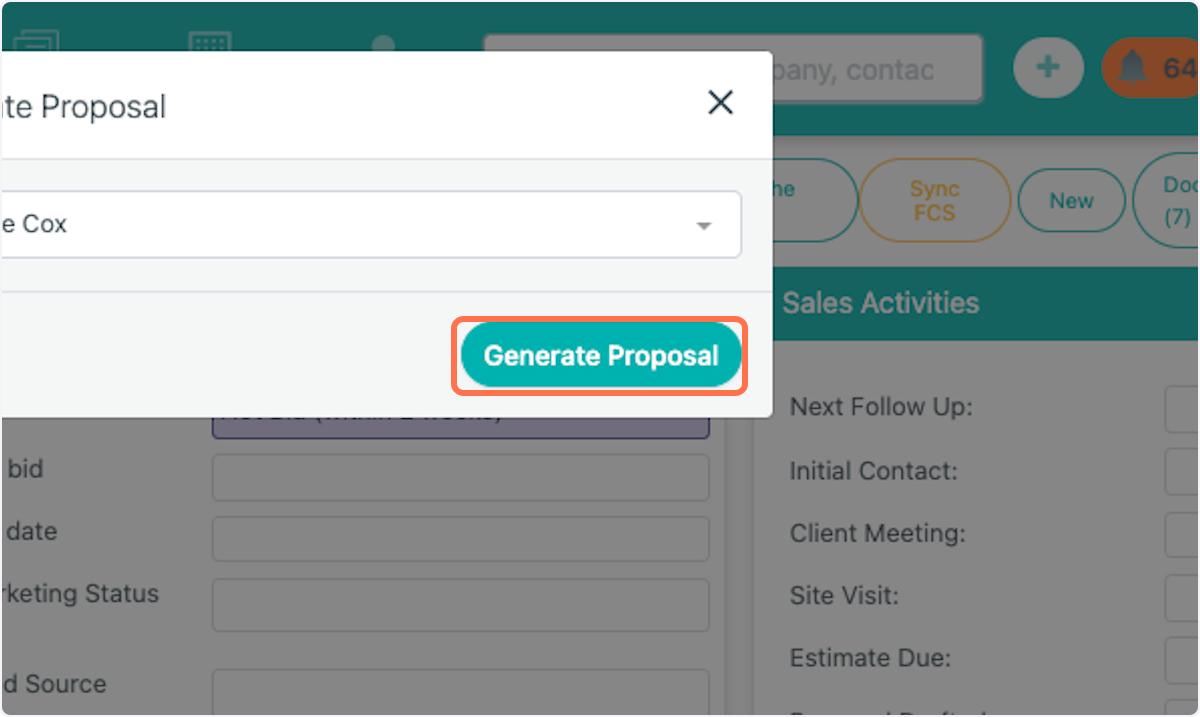
3. Select a contact you'd like to generate the proposal for.

Select a contact you'd like to generate the proposal for.

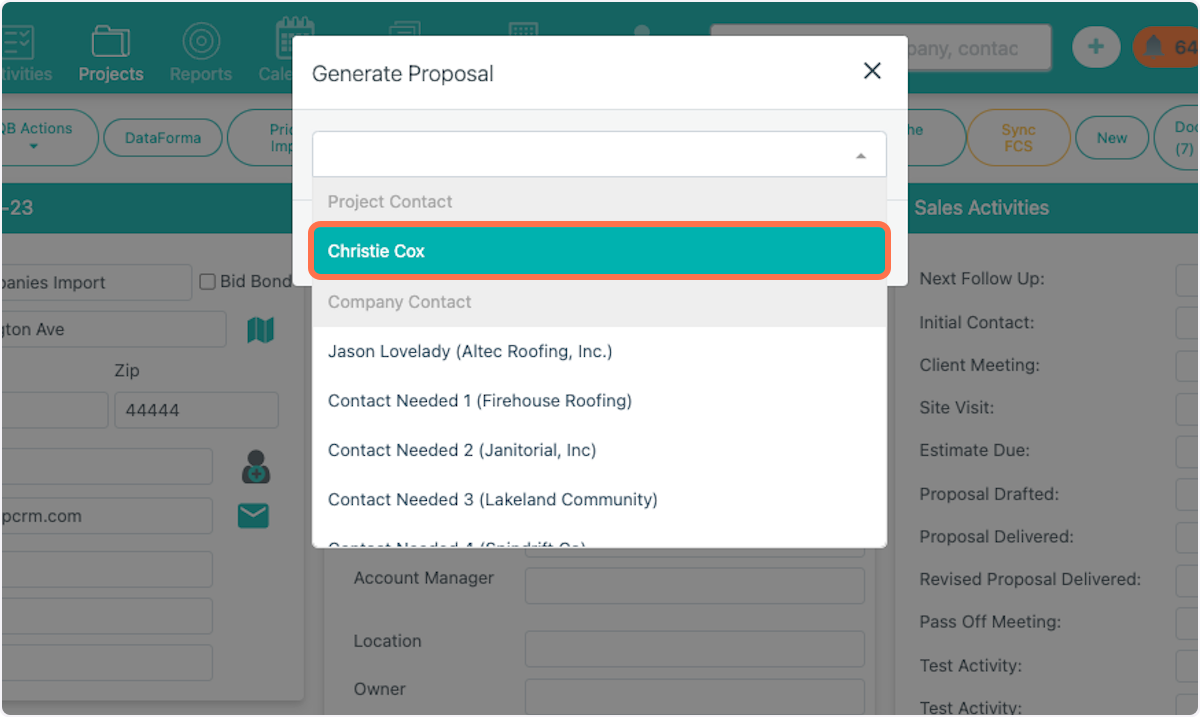
4. Click on Generate Proposal

Click on Generate Proposal

5. This opens up the Proposal Generator editor. On the left you'll find your different templates. On the right are all the mapped fields you can insert into your Proposal. These fields will automatically pull in the details from your project page once you generate a review.

This opens up the Proposal Generator editor. On the left you'll find your different templates. On the right are all the mapped fields you can insert into your Proposal. These fields will automatically pull in the details from your project page once you generate a review.

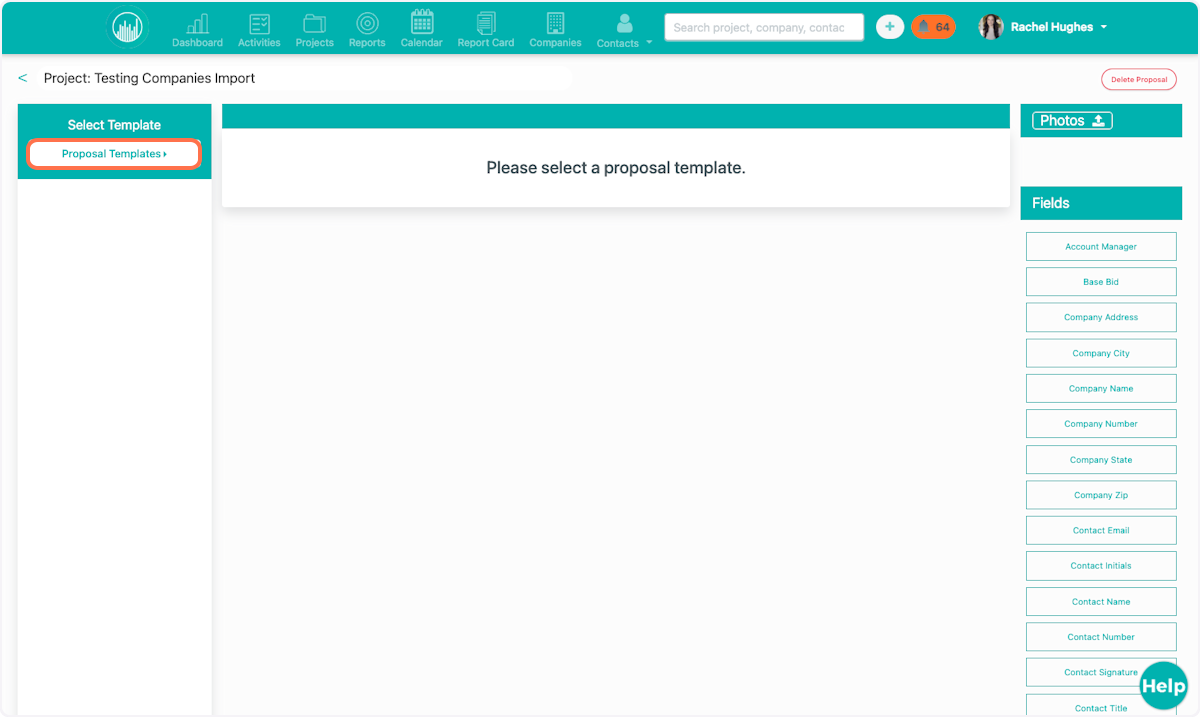
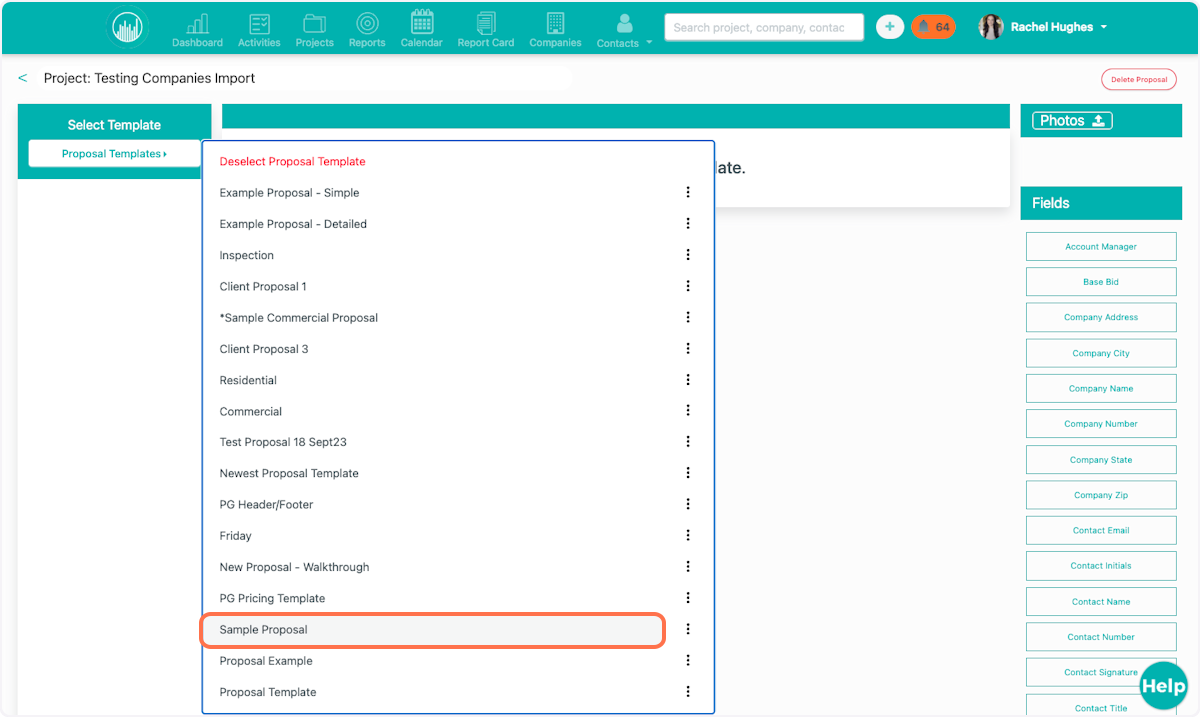
6. Choose which template you'd like to use.

Choose which template you'd like to use.

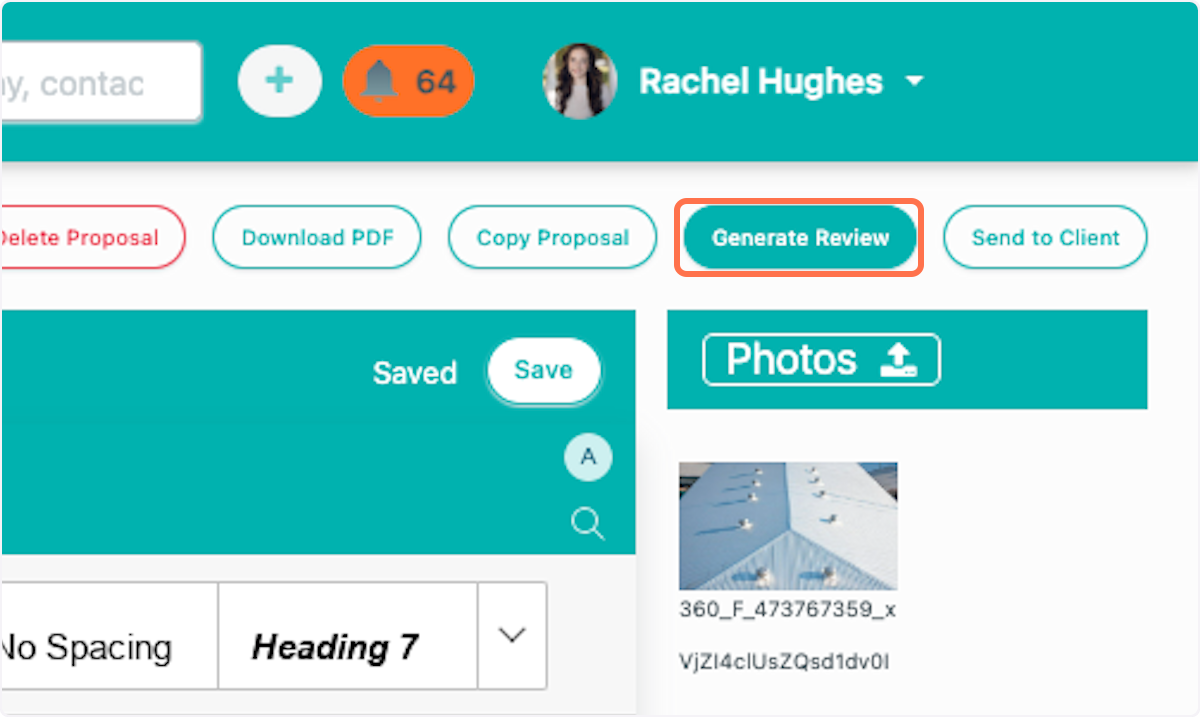
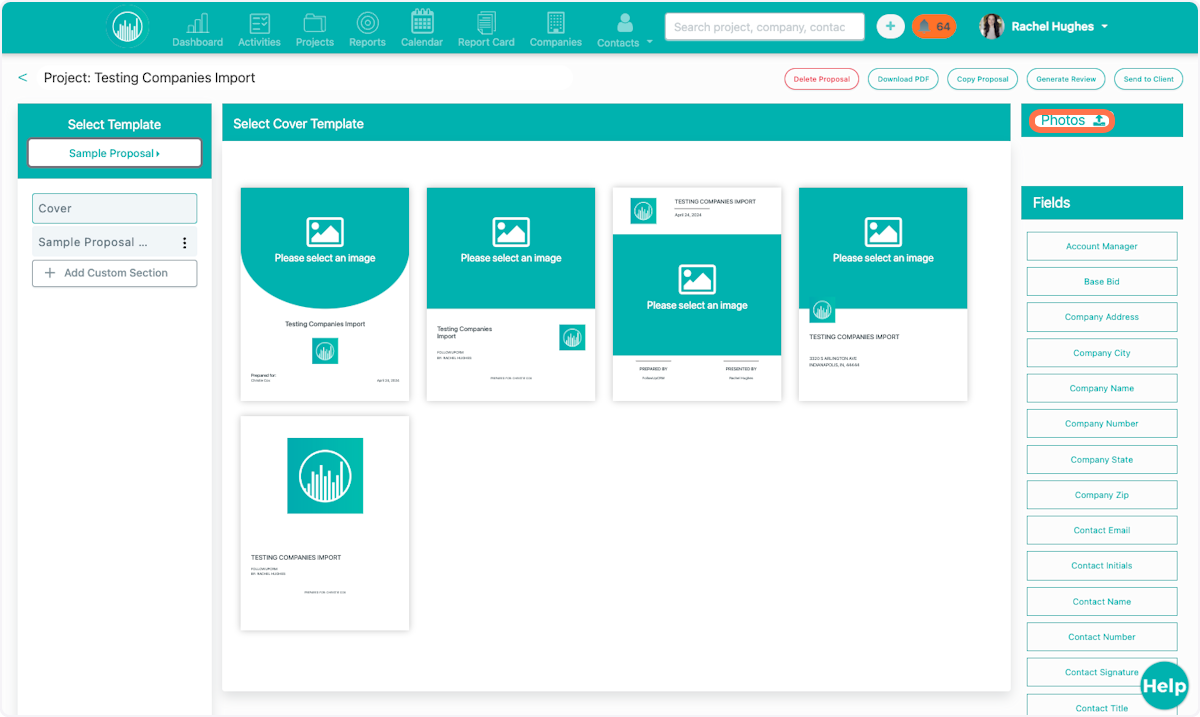
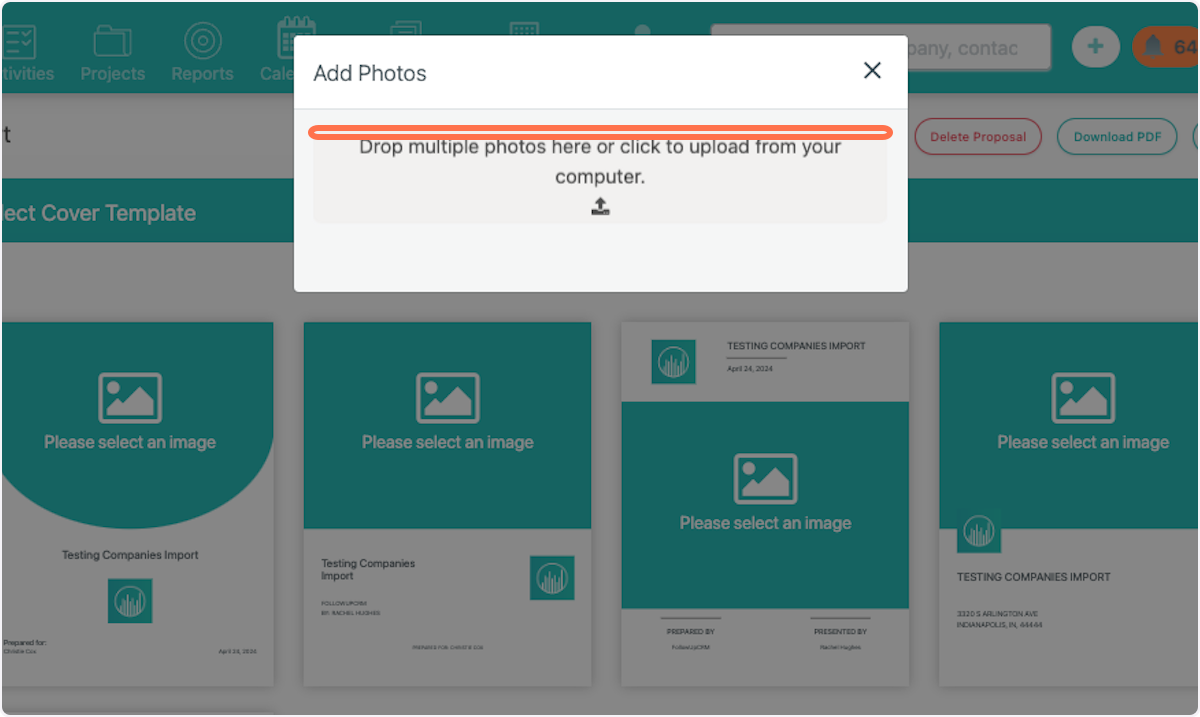
7. To use a photo on the cover page, click "Photos"

To use a photo on the cover page, click "Photos"

8. Select a site photo from your device.
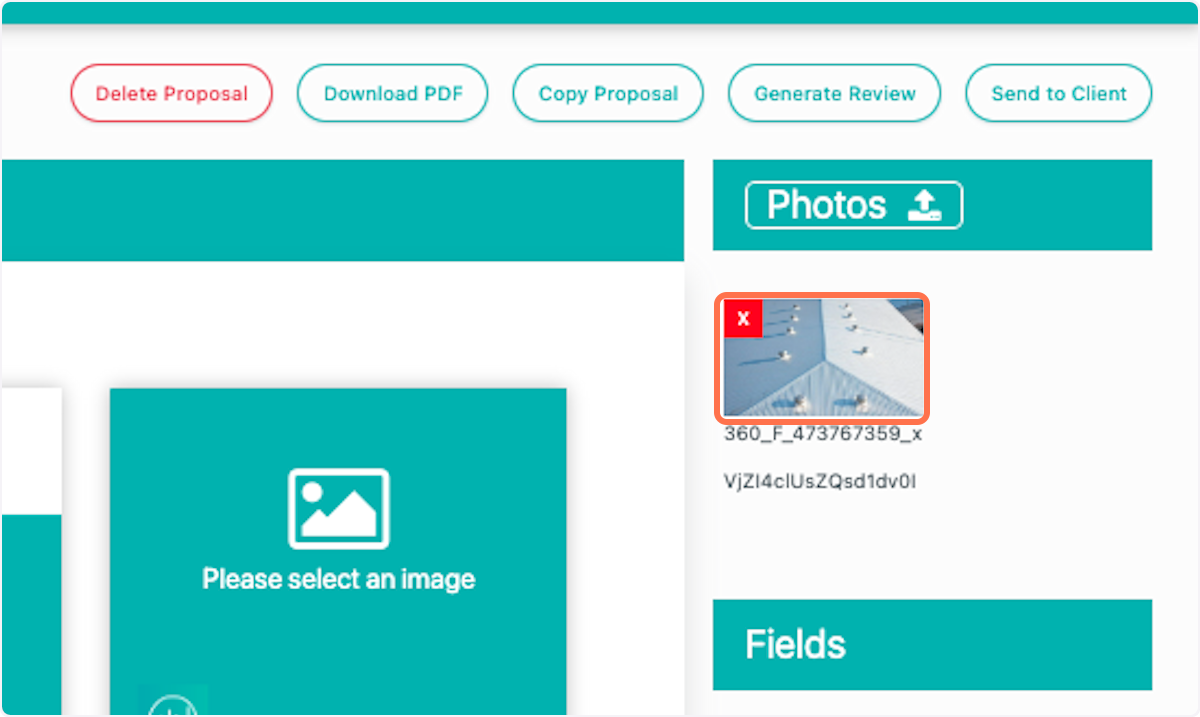
Select a site photo from your device.

9. Click on image

Click on image

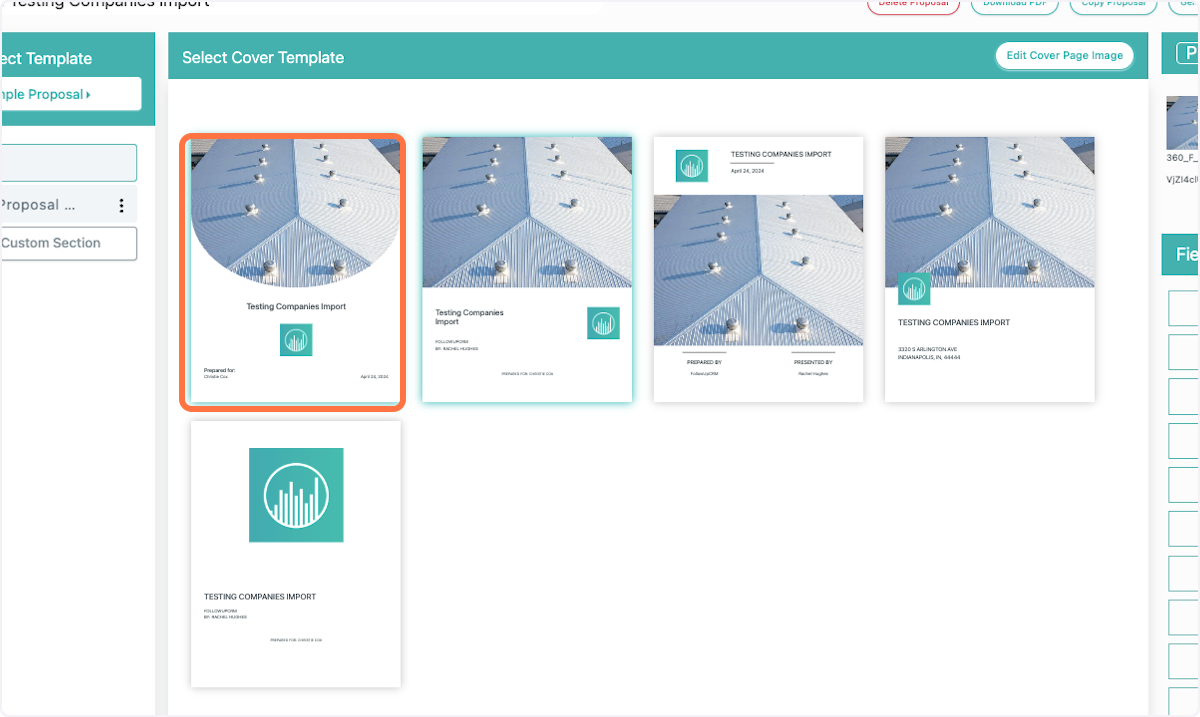
10. Select which Cover Page Layout you'd like to use.

Select which Cover Page Layout you'd like to use.

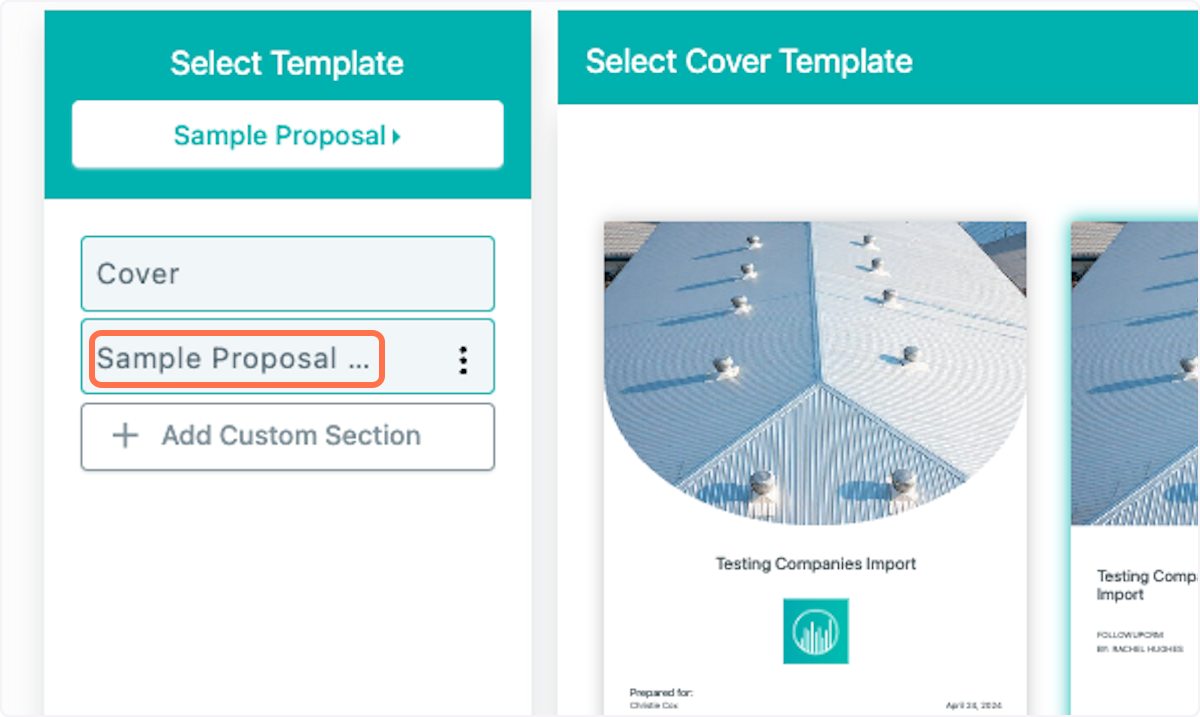
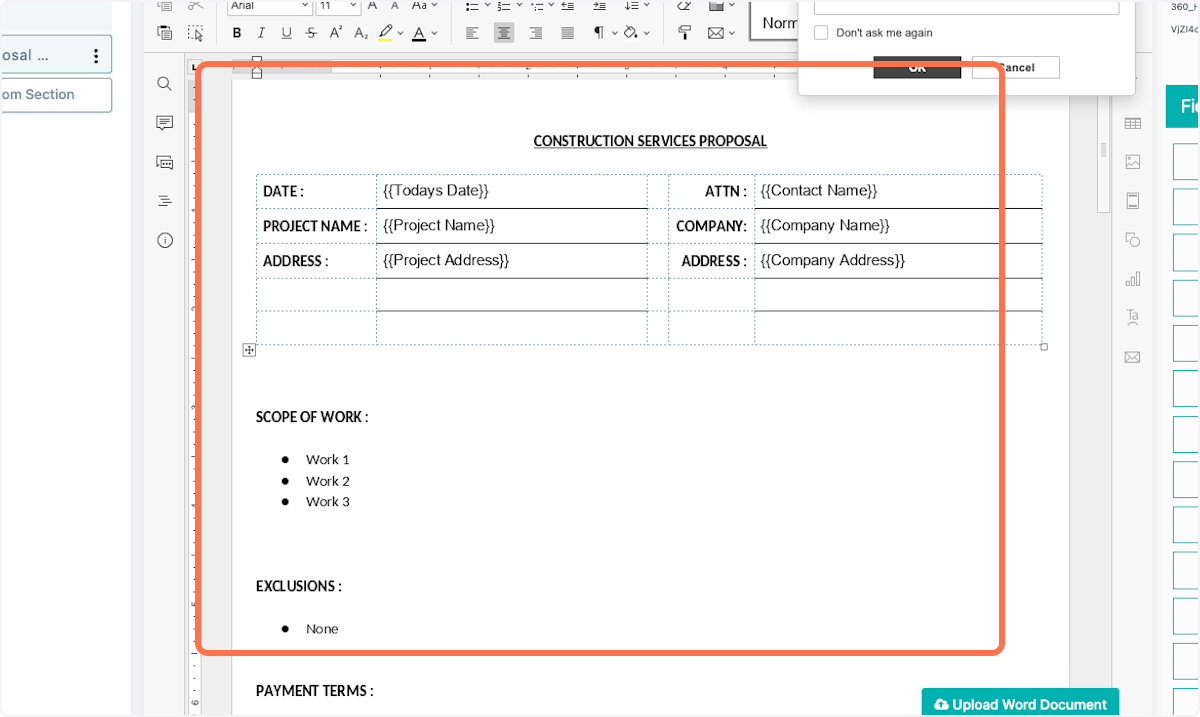
11. To edit the body of your proposal, click on the other section.

To edit the body of your proposal, click on the other section.

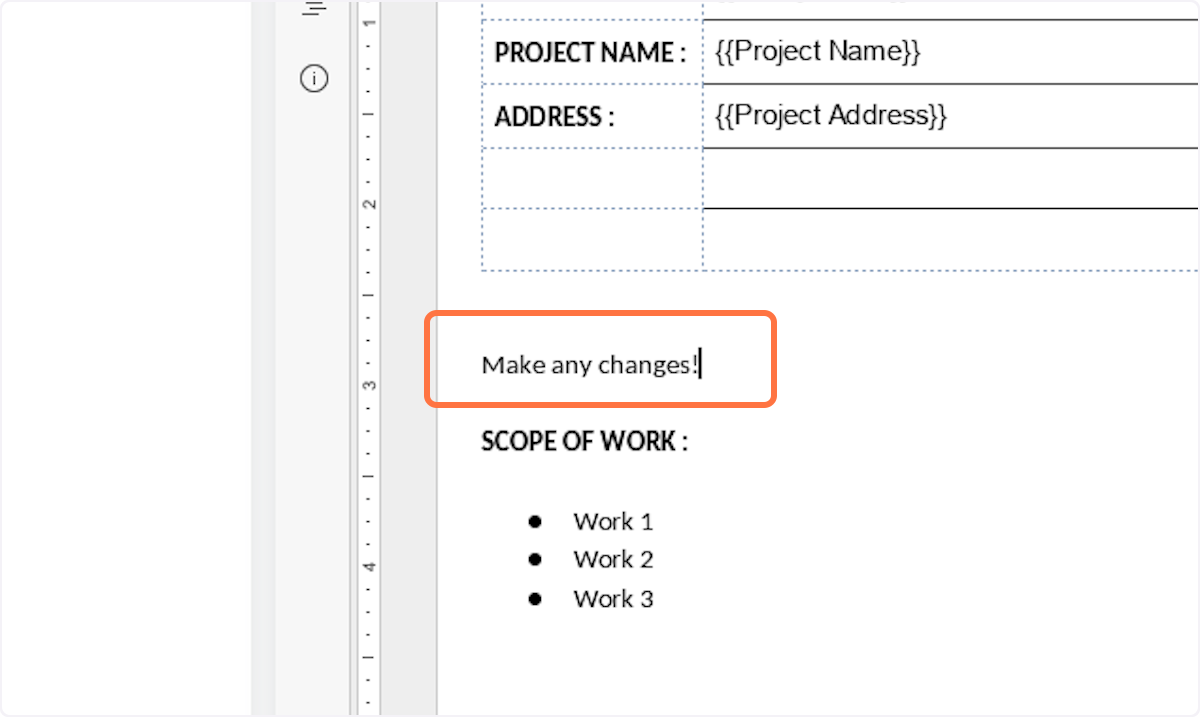
12. This opens up the editor that works very similarly to Microsoft Word. Here you can make any changes you'd like. To add mapped fields, simply click where you want to insert them, then choose the field from the right hand side.

This opens up the editor that works very similarly to Microsoft Word. Here you can make any changes you'd like. To add mapped fields, simply click where you want to insert them, then choose the field from the right hand side.

13. You can type directly into the document as well.

You can type directly into the document as well.

14. Once you're satisfied with your Proposal, click "Generate Review" to see how it will look before you send it to the client.

Once you're satisfied with your Proposal, click "Generate Review" to see how it will look before you send it to the client.