When entering a new file in Followup CRM, you’ll notice a section located underneath the “Job Information” section titled “Pre-qualifications.” In this article, we’re going to breakdown what this section is and how to use it. Please note that the fields in this section are the default across all accounts and cannot be changed. However, the information in each of the field drop-downs are completely customizable. In this example, we’re going to use one of our top-performing clients as an example to show you how they use this section.
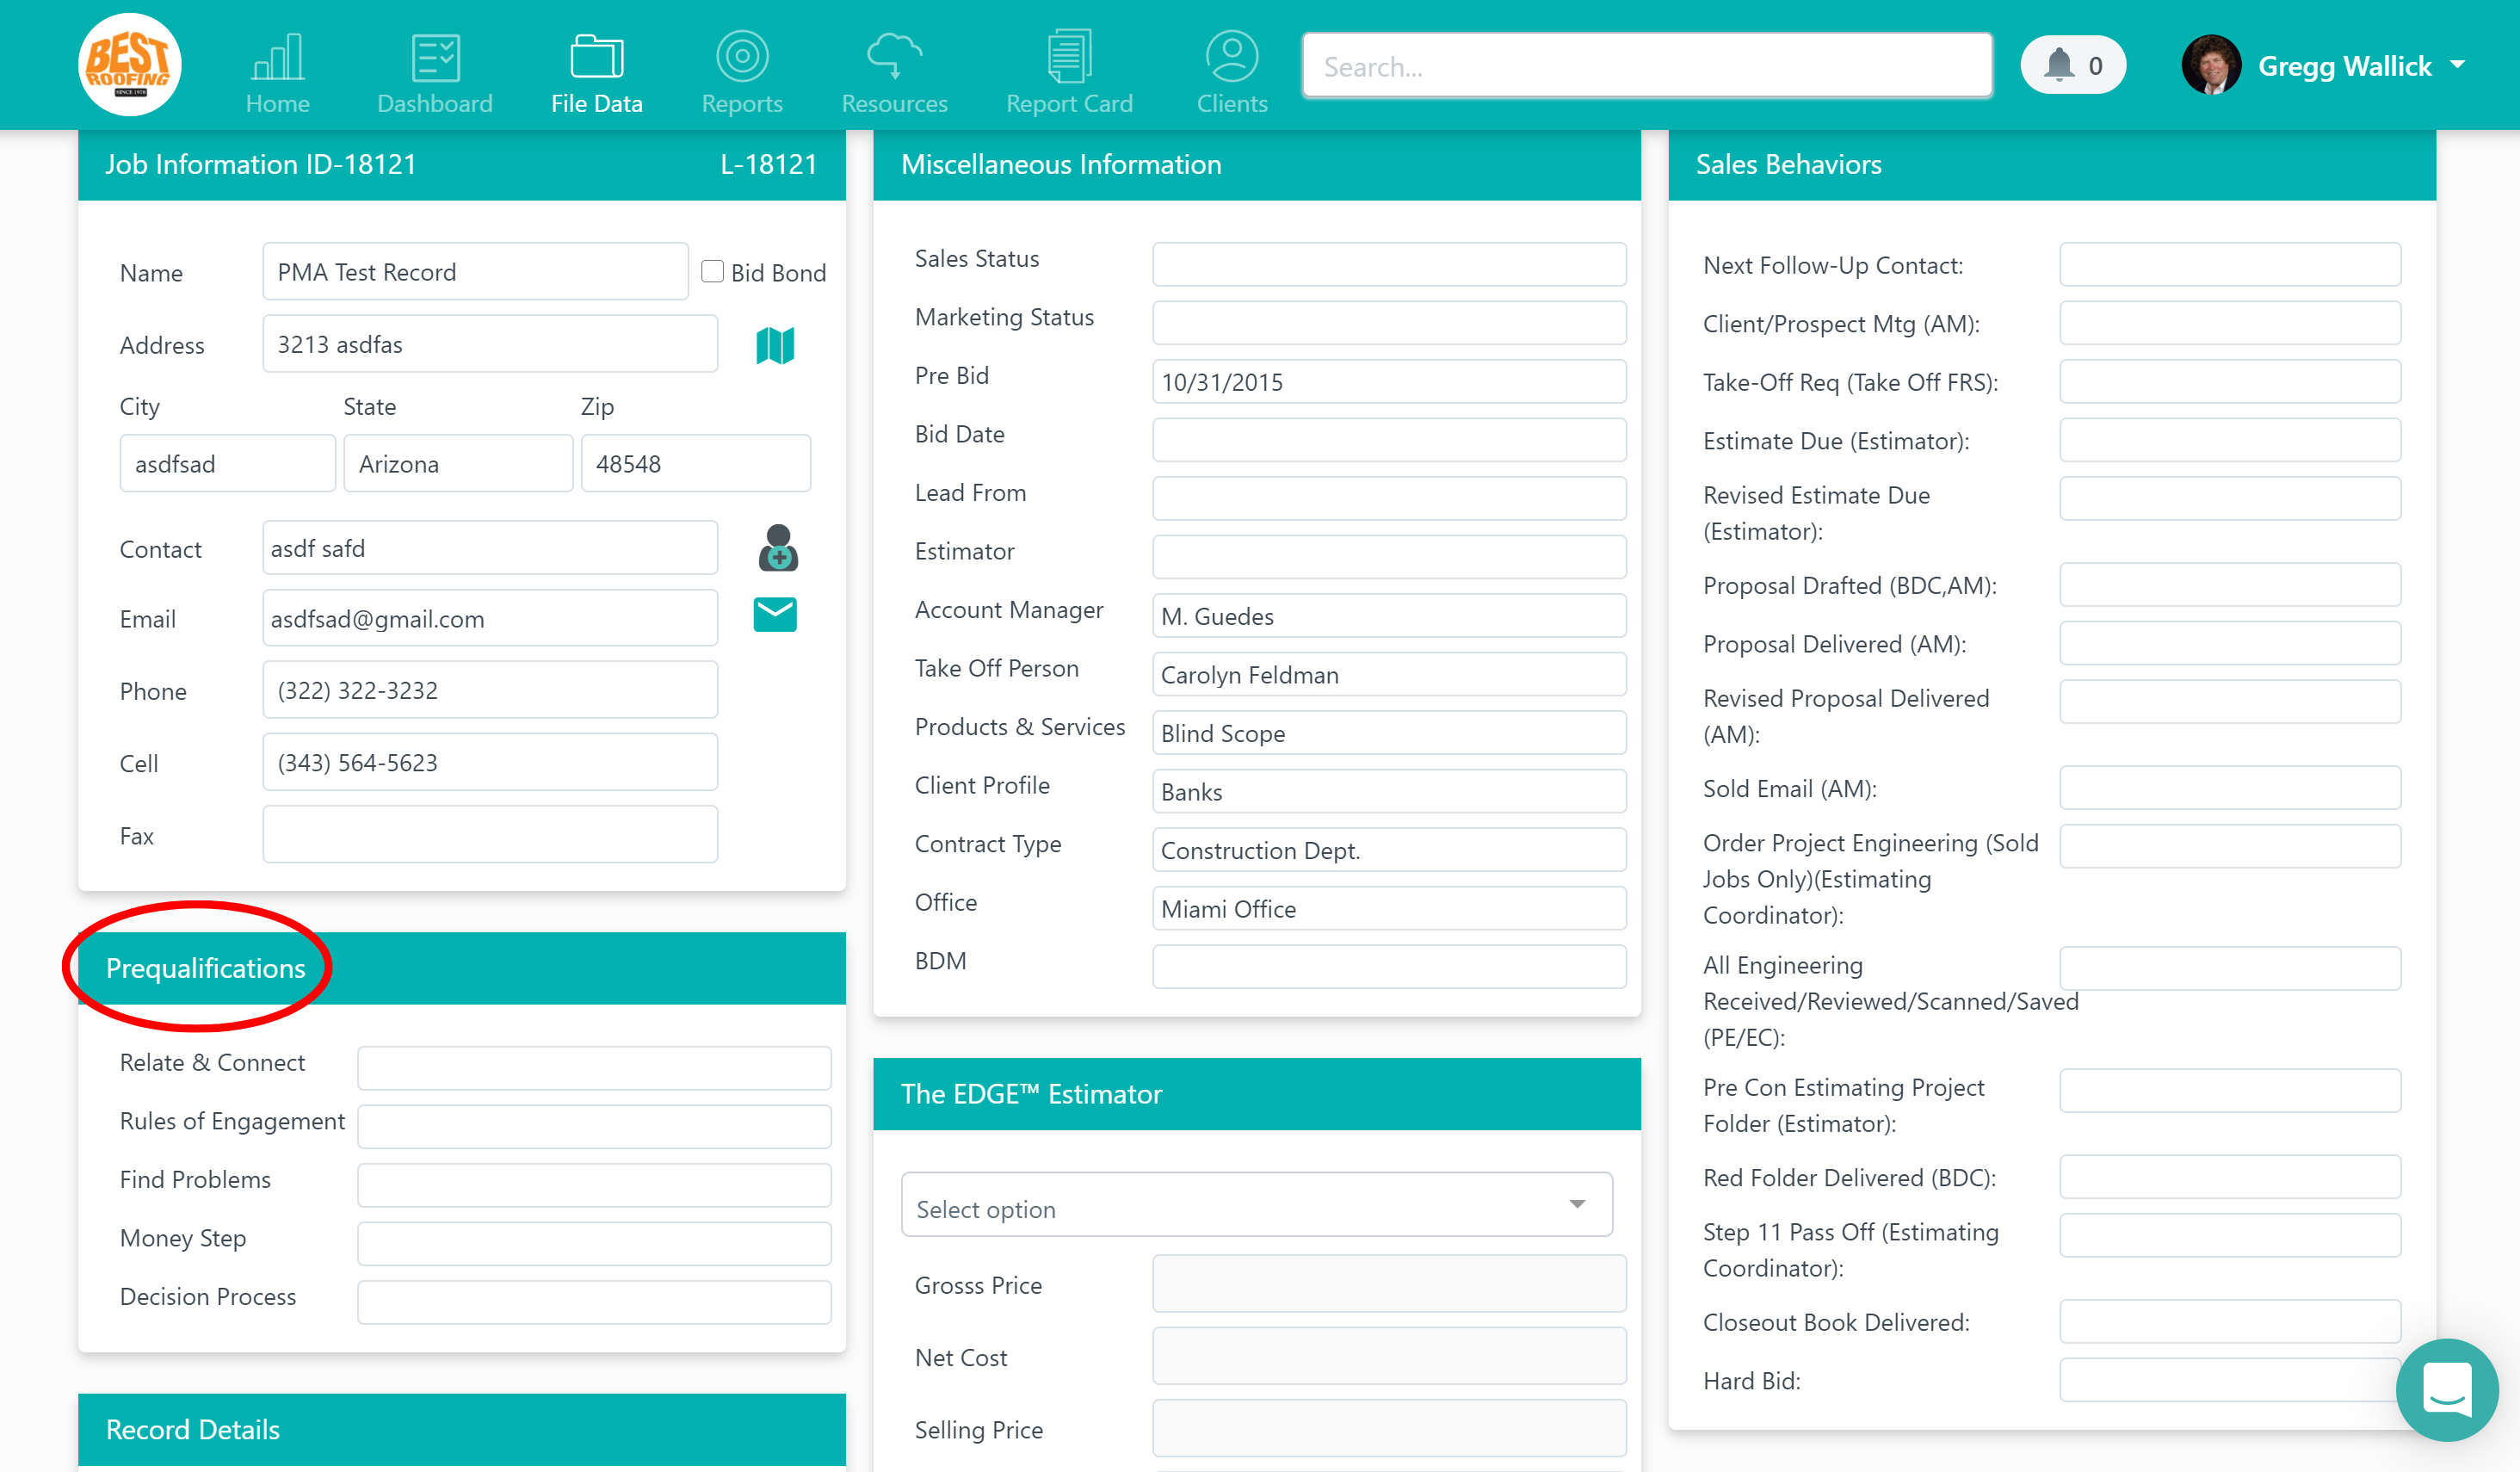
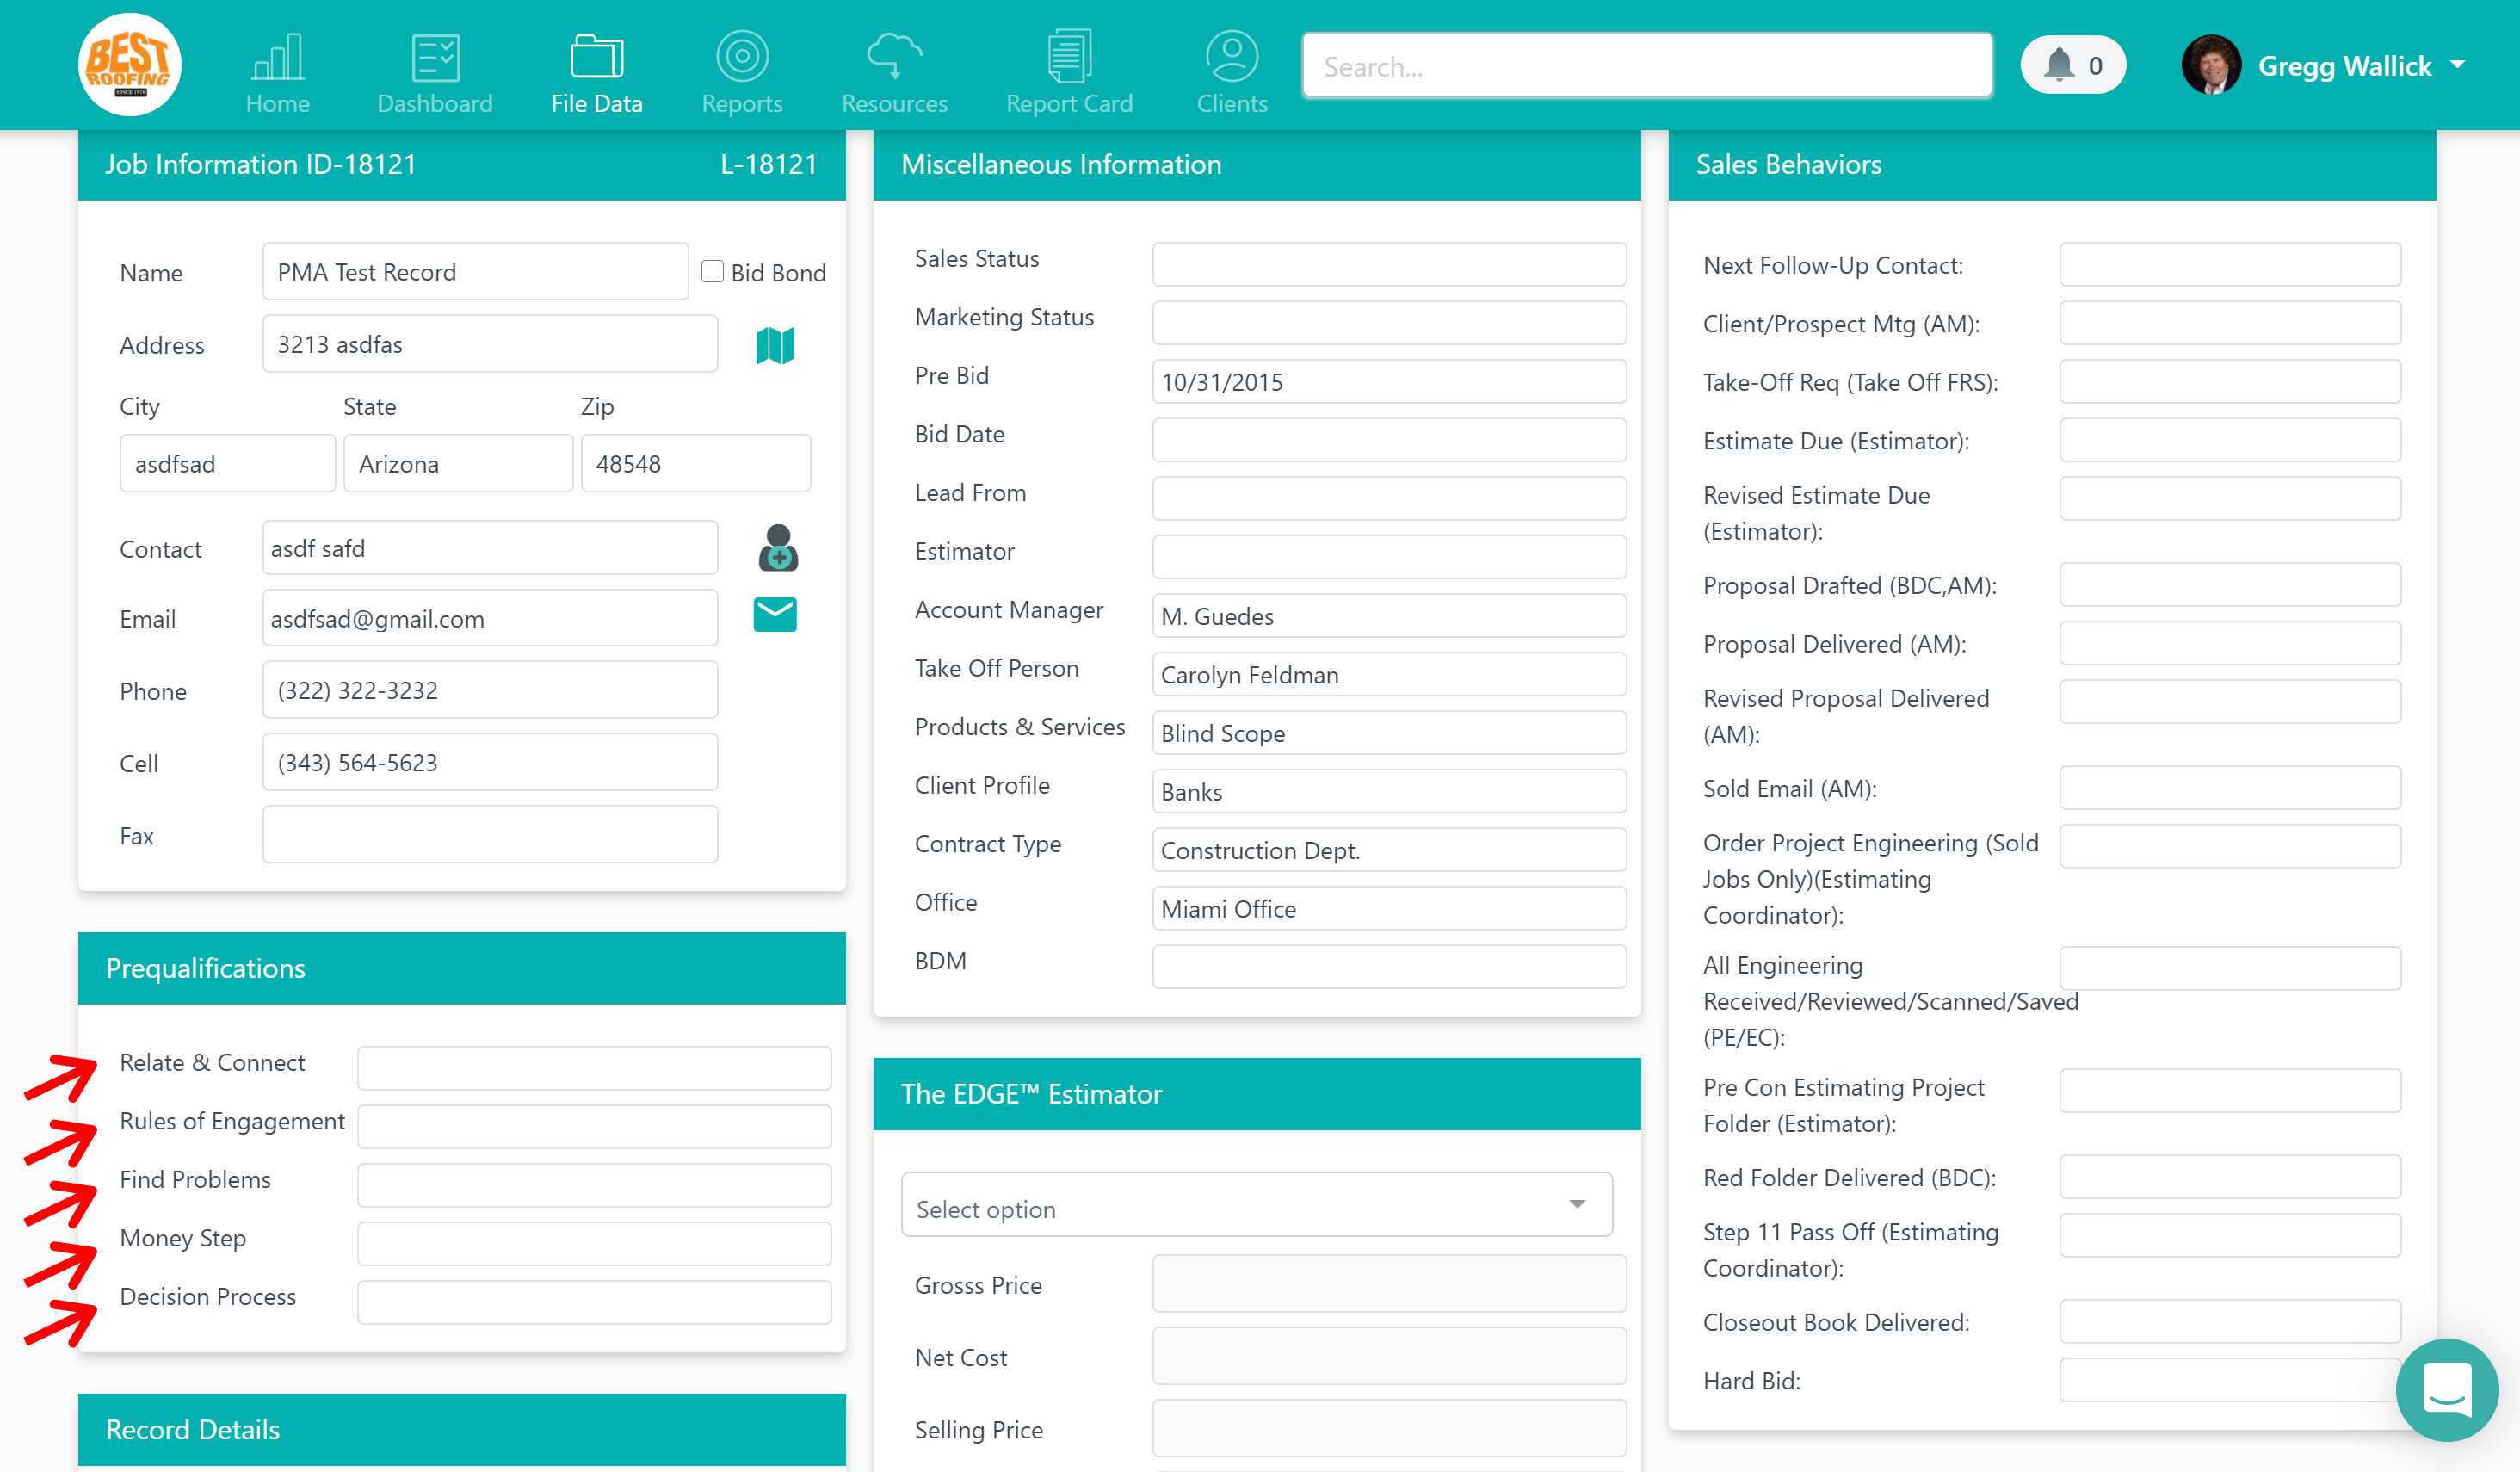
The four fields in the pre-qualifications section are “Relate & Connect,” “Rules of Engagement,” “Find Problems,” “Money Step,” and “Decision Process.” These fields represent the steps in what’s called the “Sandler Training Method.” This is a widely used sales method that helps structure your sales process and the conversations that need to be had in order to close a deal. We highly encourage all our users to look into this strategy and apply it to their process. We have dedicated an entire Followup Academy course to this method that we recommend taking to help streamline your sales process and win more deals (click here to view the course).
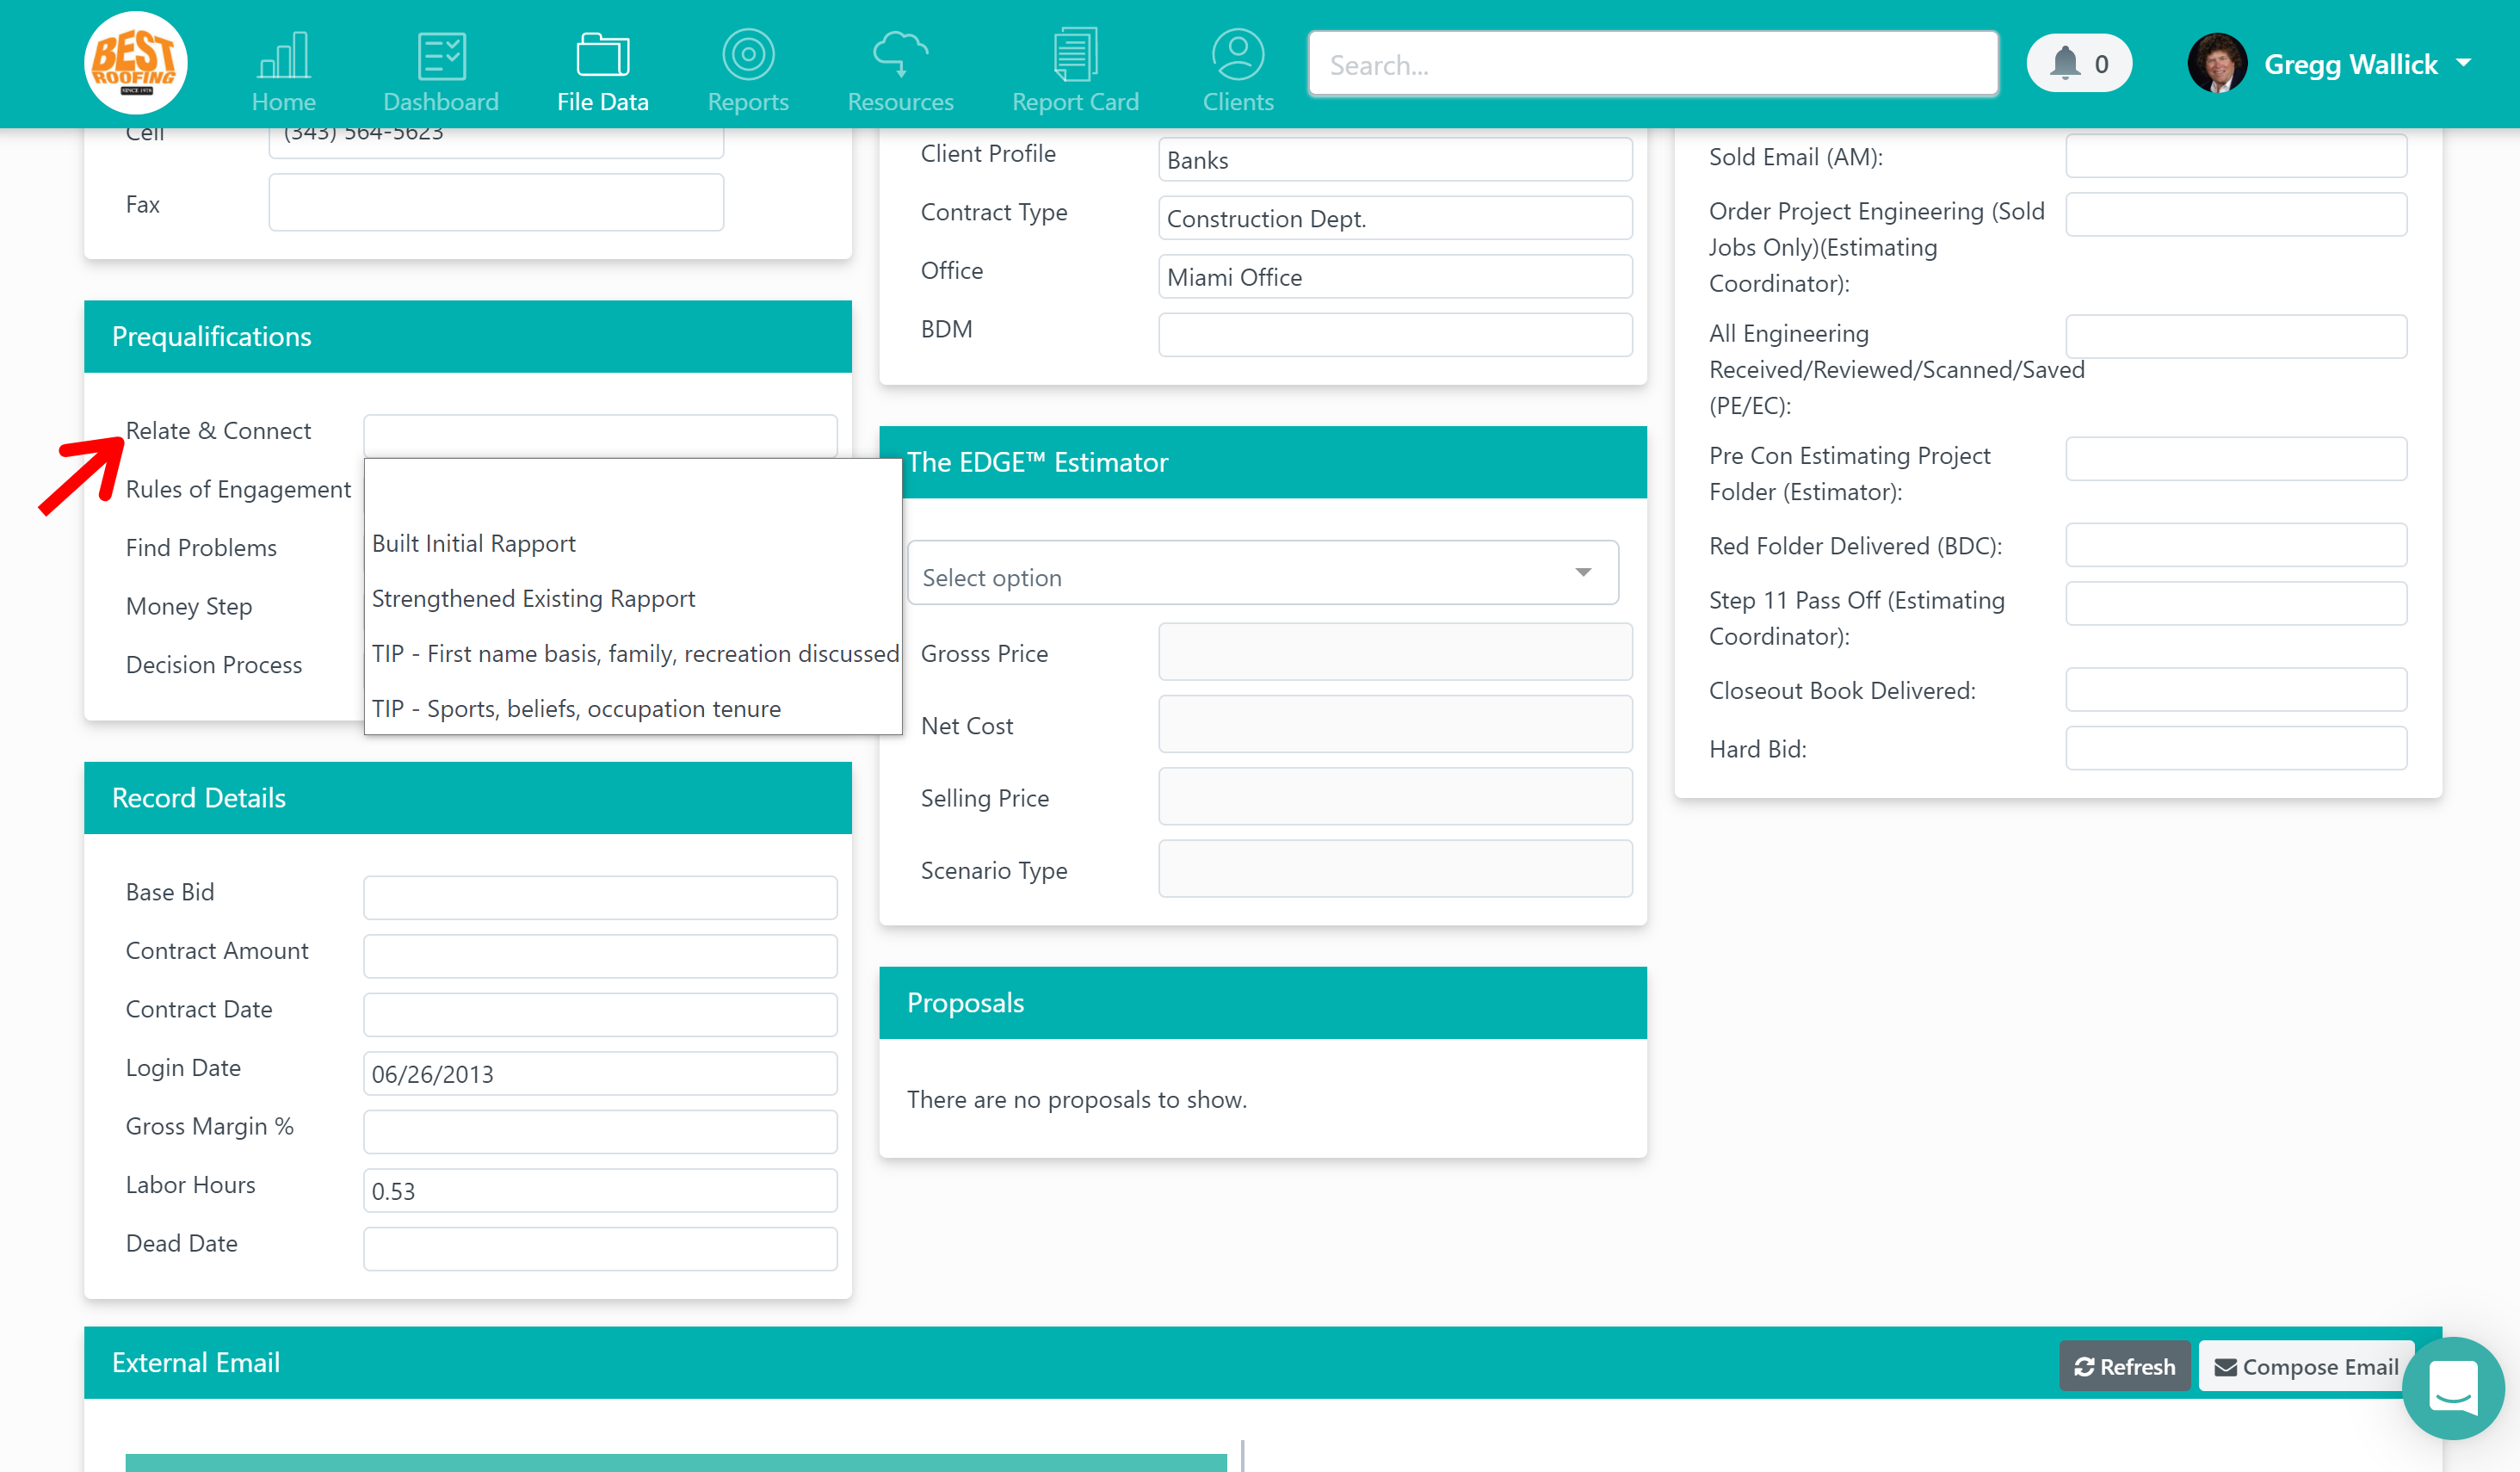
Relate & Connect
In the “relate & connect” drop-down, Best Roofing has the following options: “Built initial rapport” and “Strengthened existing rapport.” You’ll also notice a couple of “tips,” including “TIP - first name basis, family, recreation discussed” and “TIP - sports, beliefs, occupation tenure.” These tips are exactly what they suggest. When you’re on a call with a prospect and are in the initial “relate & connect” phase of the sales process, these tips are displayed to help you shape your conversations. Once you’ve related and connected with your lead, you can select one of the first two options in the drop-down to show that you’ve successfully pre-qualified your lead in this phase.
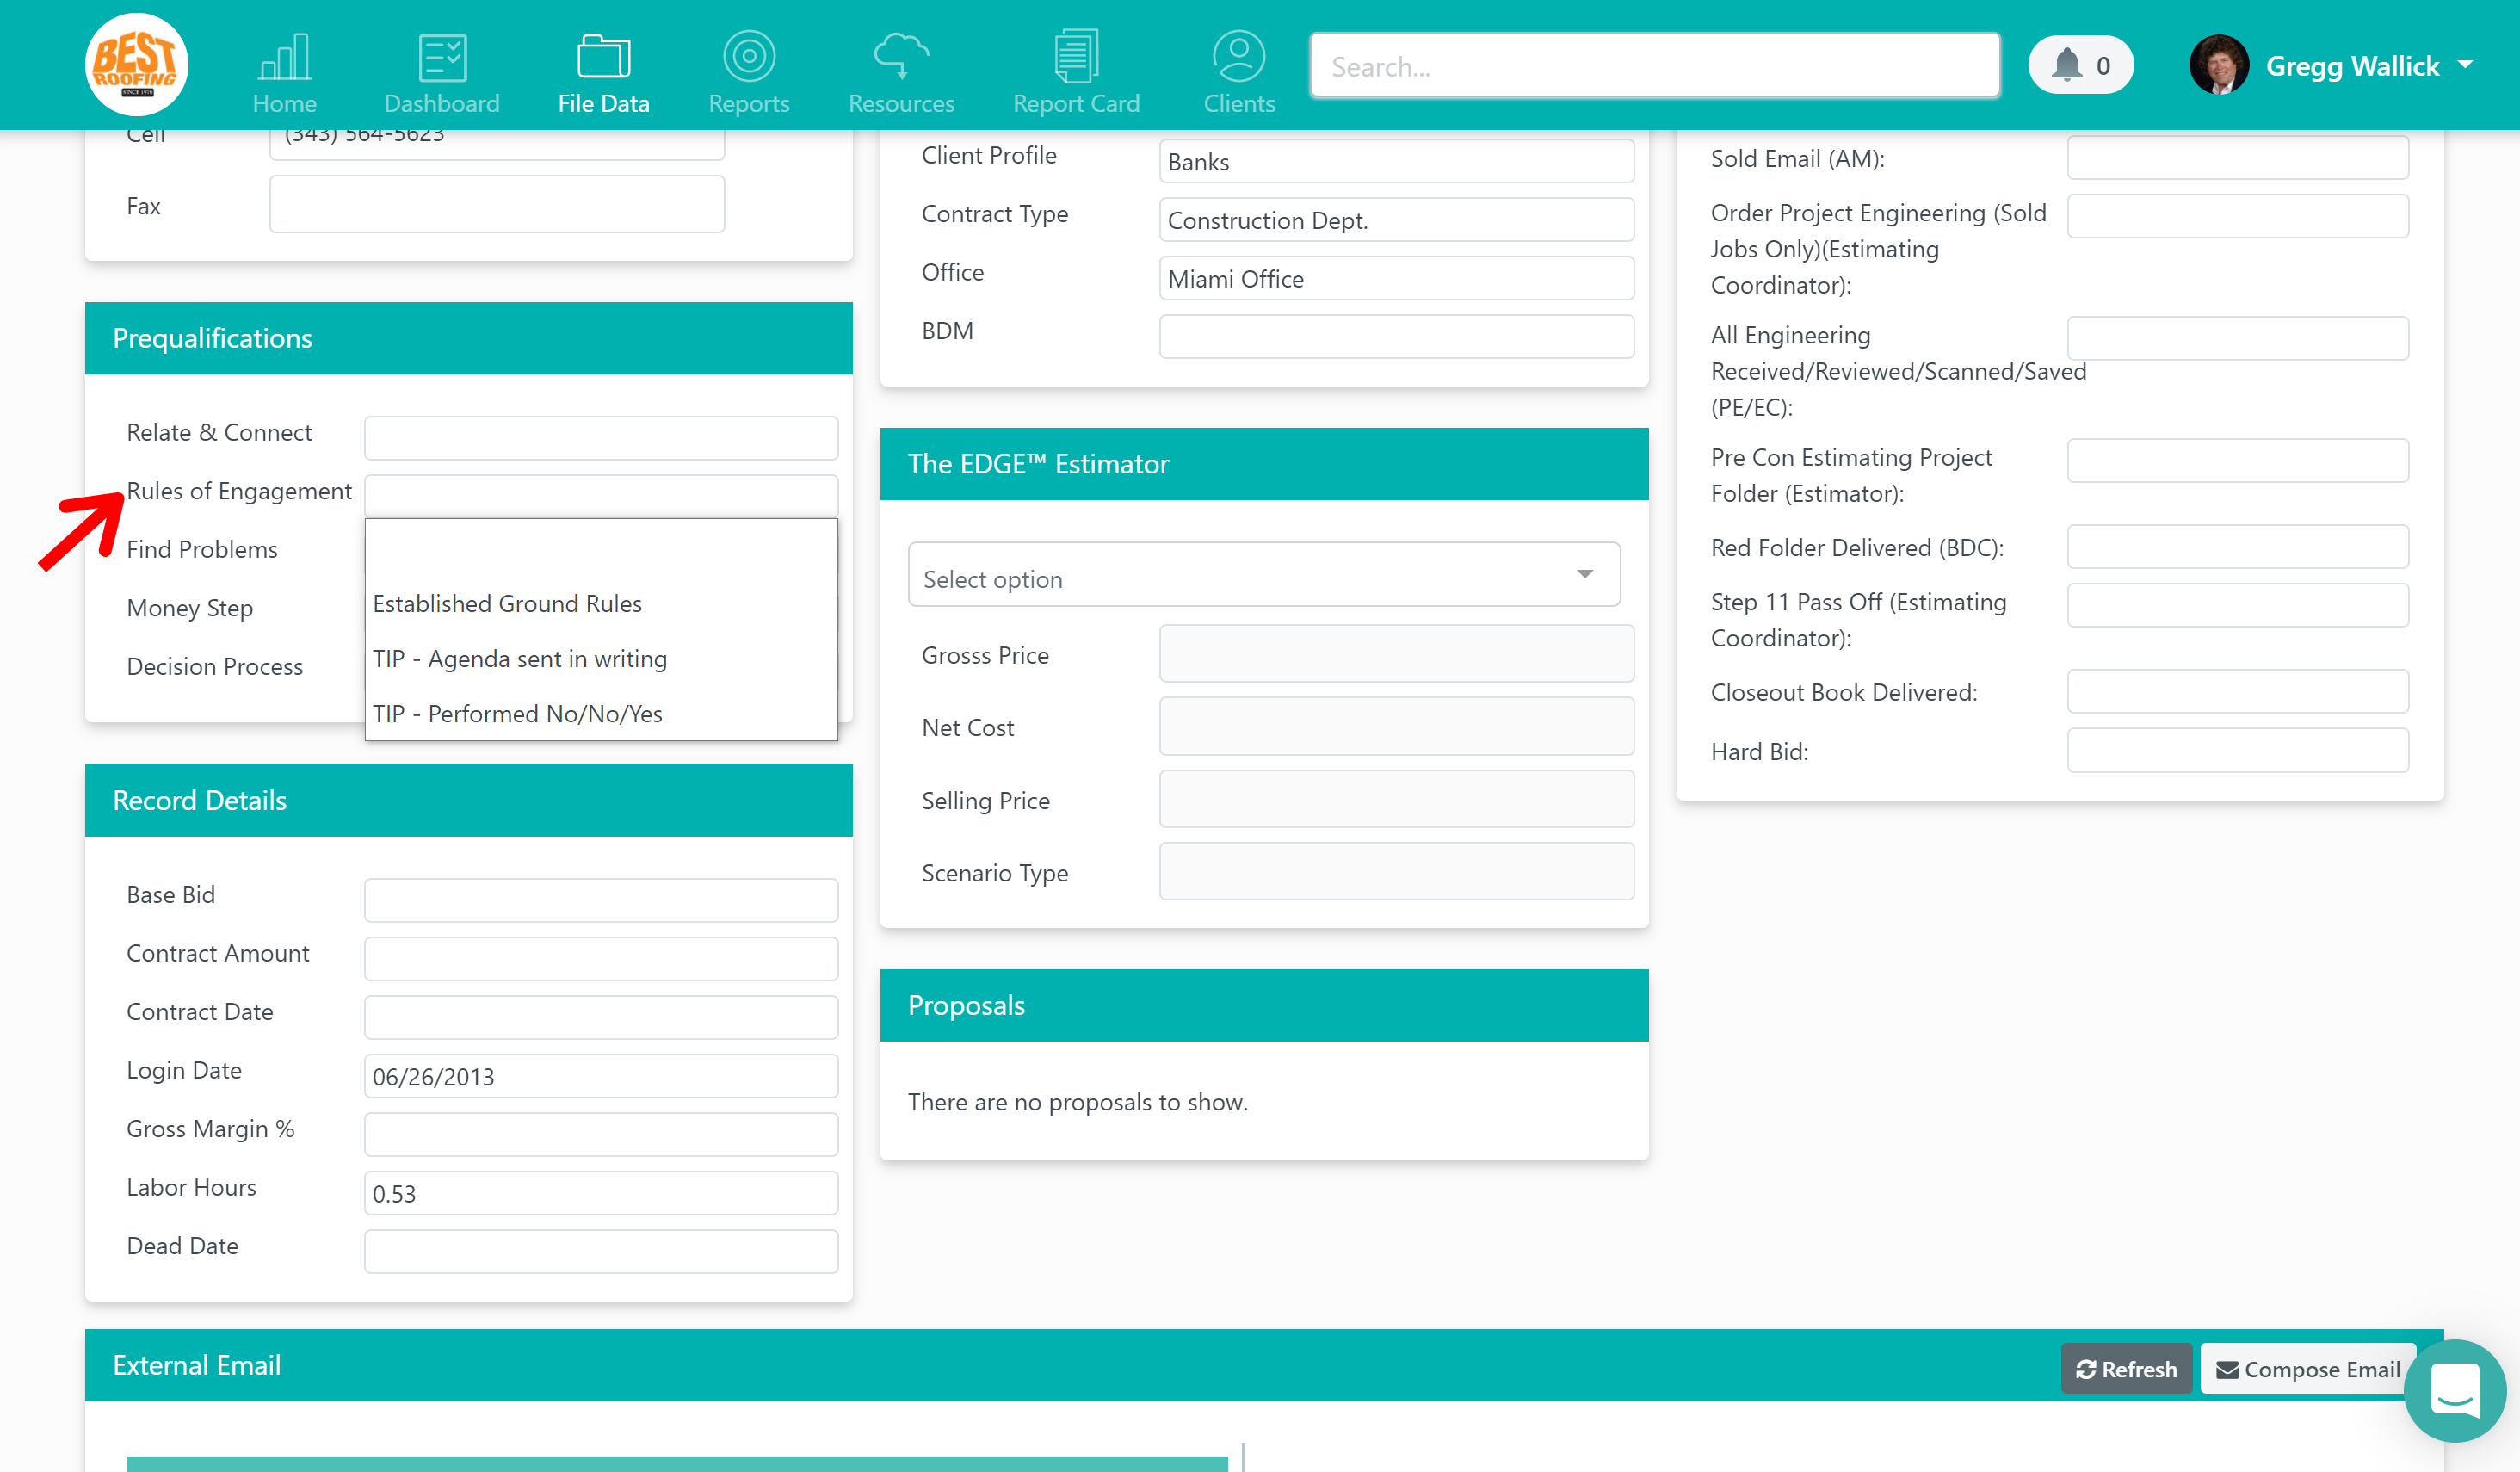
Rules of Engagement
The second field (and second step of the sales process in the Sandler Method) is “rules of engagement.” In this drop-down, you are given the option to select “established ground rules,” which is essentially exactly what you do in this step and selecting this will act as a check box, showing that you’ve completed this step of the sales process. You’ll notice two tips in this scenario which are “TIP - agenda sent in writing” and “TIP - perform no/no/yes,” which is a tactic where you ask the prospect if it’s ok if you tell them “no” during the conversation if you realize they’re not a good fit, if it’s ok that they tell you “no” if during the conversation they realize you’re not a good fit, and that it’s ok to move forward with the process. Just like the relate & connect phase, these just act as tips to help you structure your conversations during this step.
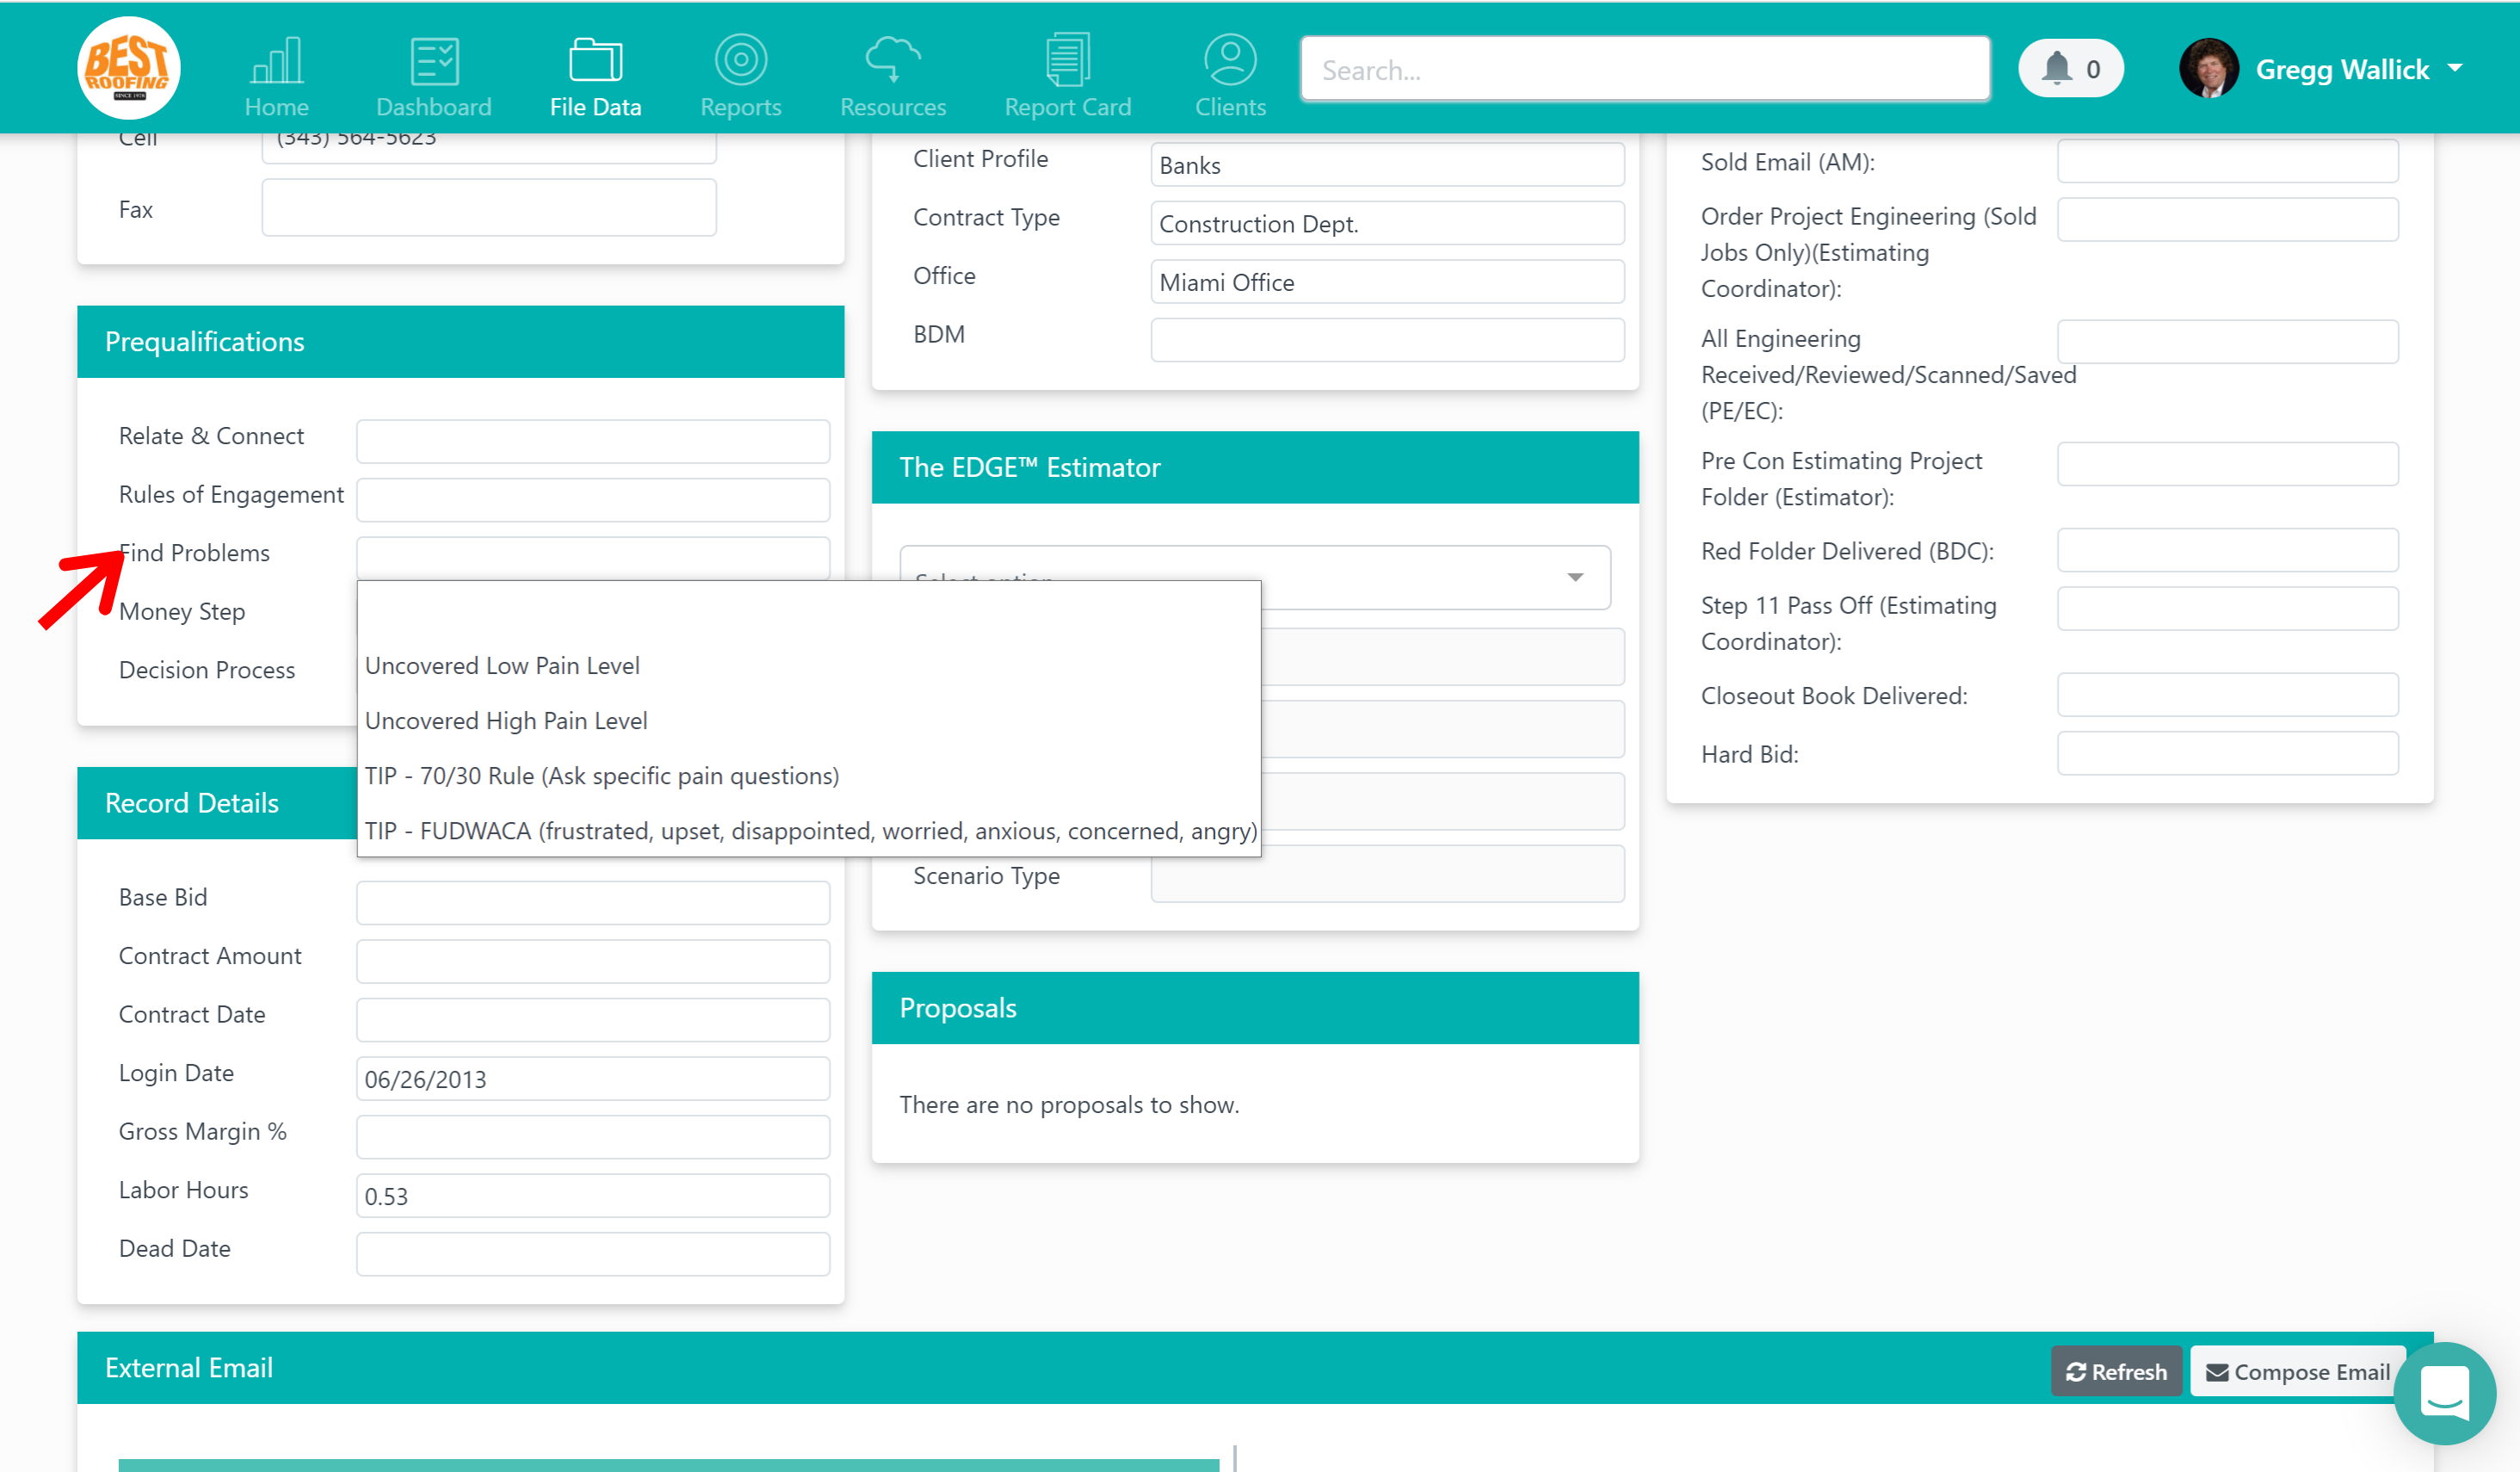
Find the Problems
The third field and third step of the sales process is “find the problems.” In this drop-down, you have the option to select “uncovered low pain level” and “uncovered high pain level” where you can decide how serious and urgent their problems are that you’re uncovering during this phase. You’ll see two additional tips including “TIP - 70/30 rule (Ask specific pain questions)” and “TIP - FUDWACA (frustrated, upset, disappointed, worried, anxious, concerned, angry).” Again, these are tips to help with the fundamentals of your conversation during this phase, reminding you to ask questions about their pain points while also showing empathy and addressing the prospect’s emotions.
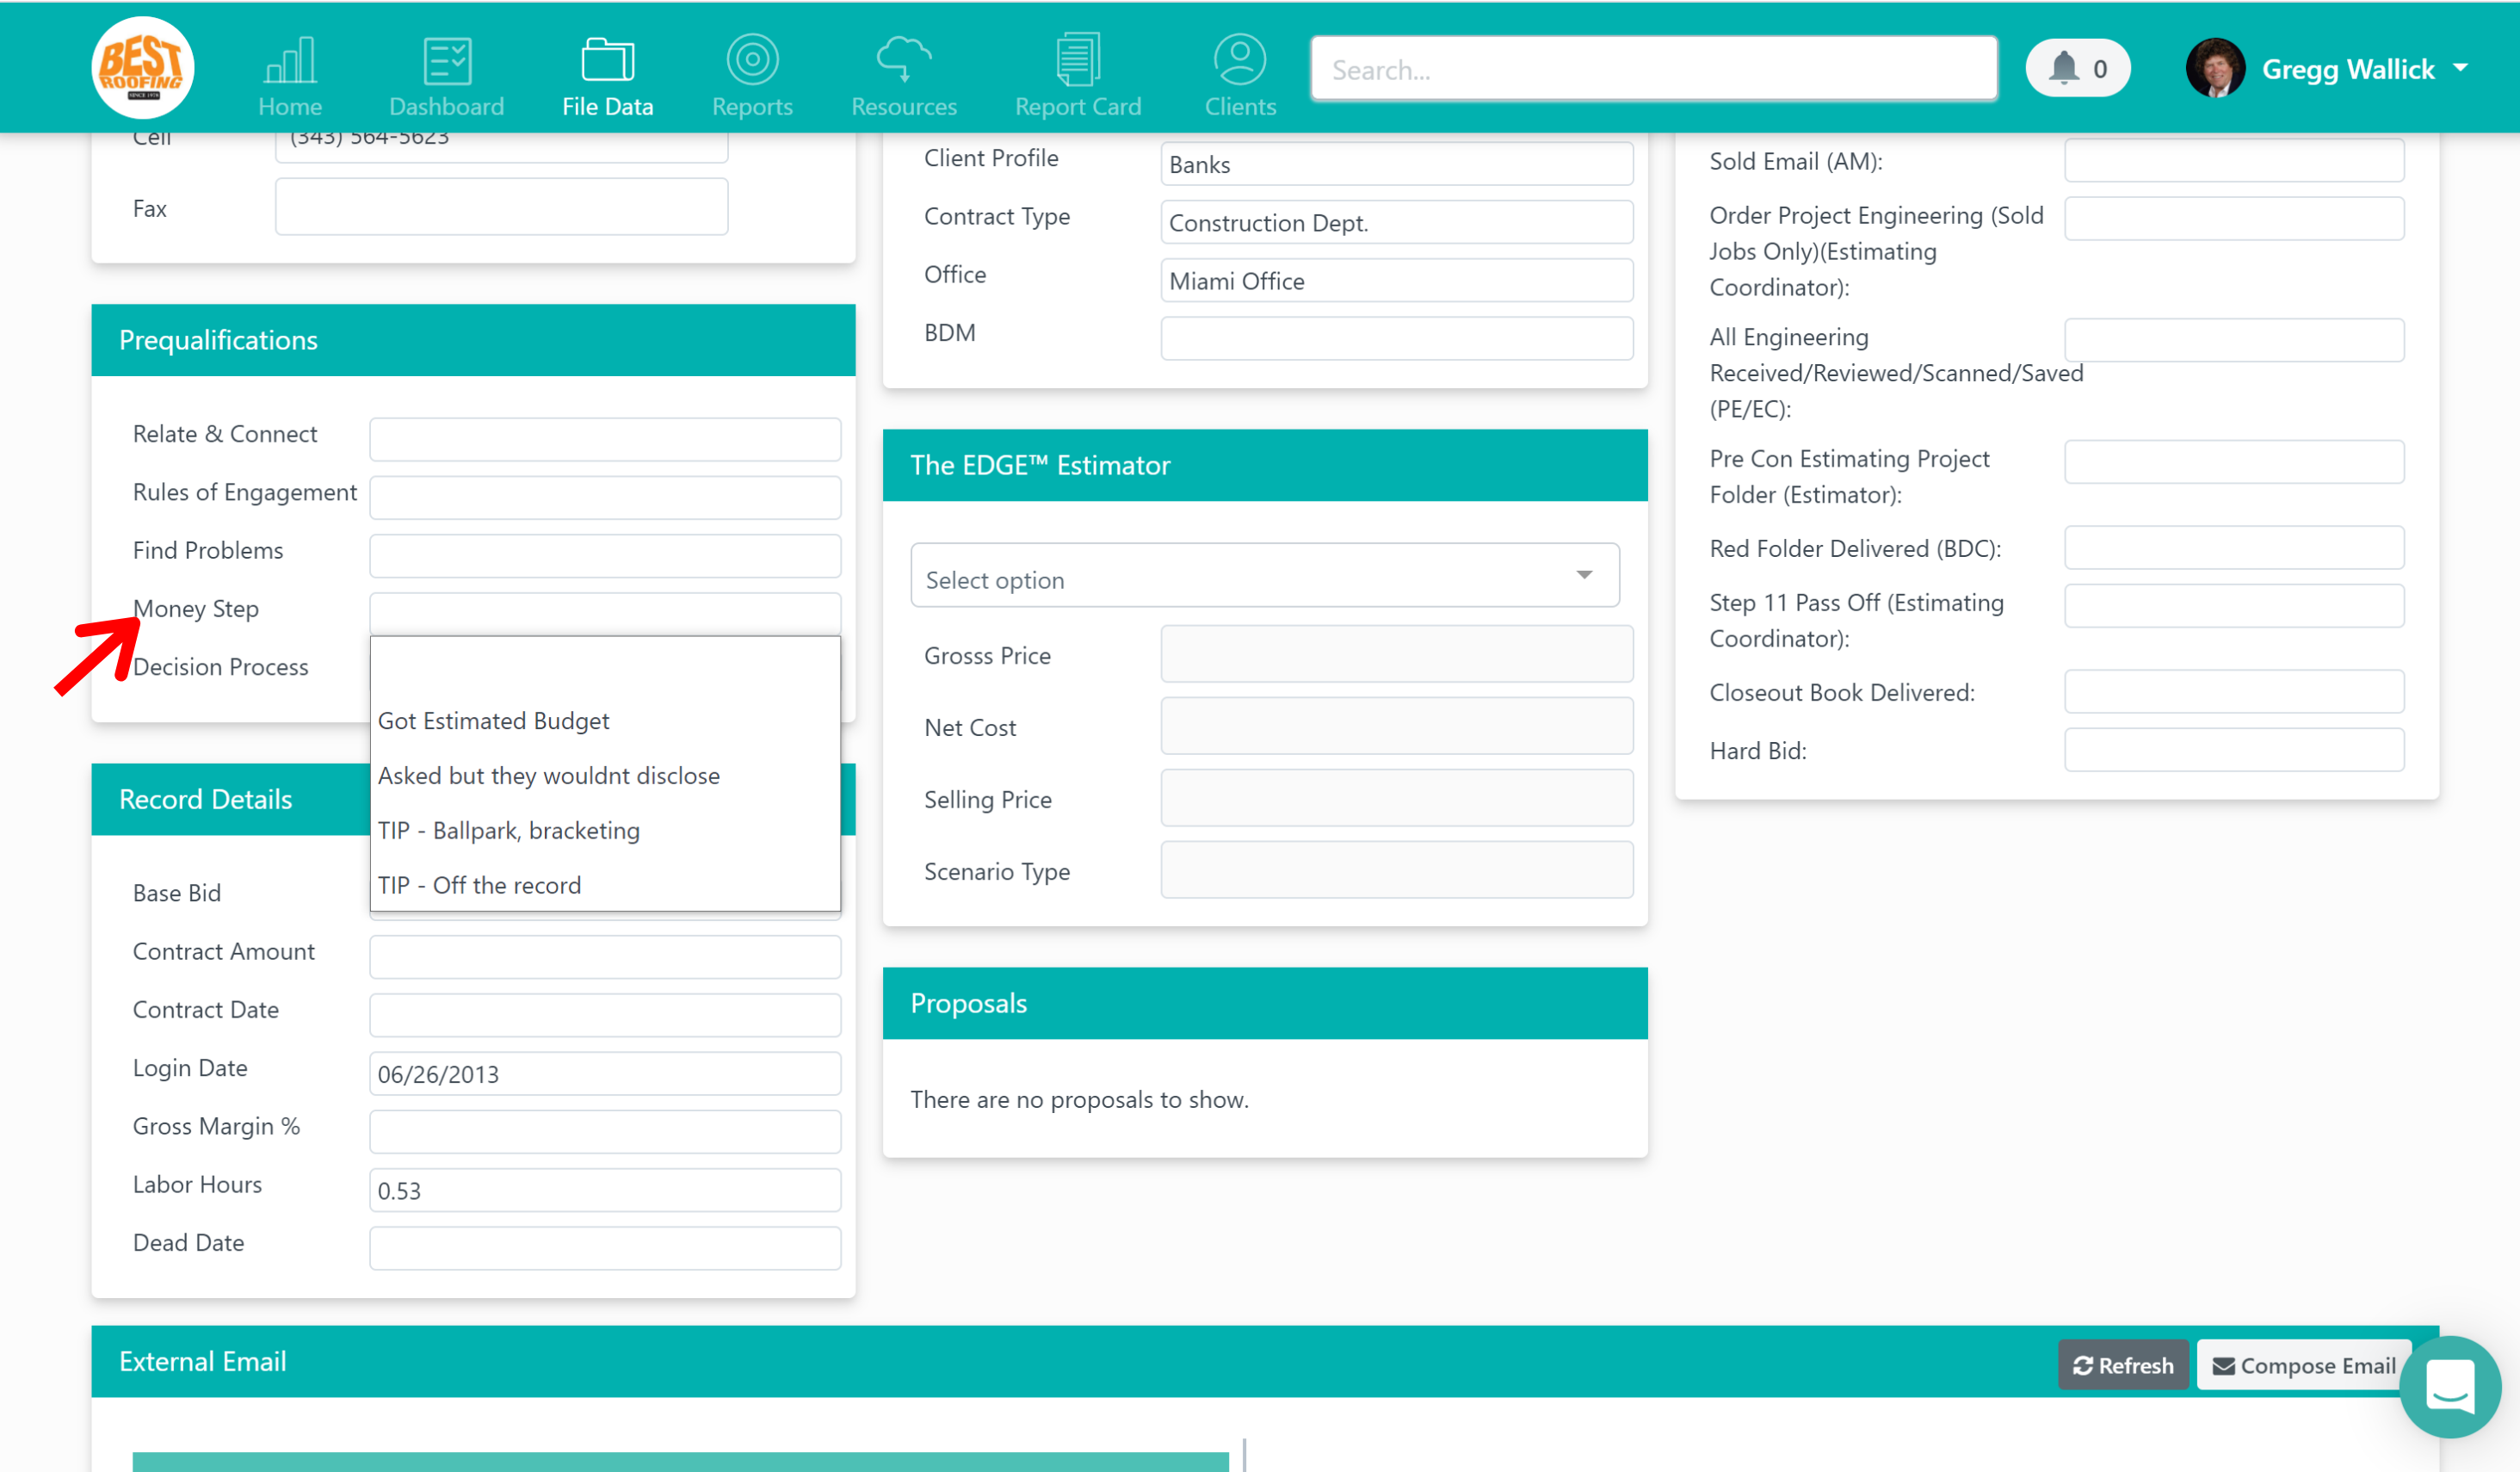
Money Step
The fourth step of the sales process is “money step,” which is where we discuss budgets. In this drop-down, you have the option to select “got estimated budget” and “asked but wouldn’t disclose.” Selecting one of these will help you identify the status in this step while pre-qualifying the lead. Just like the other fields, you’ll see two tips in the drop-down including “TIP - ballpark, bracketing” and “TIP - off the record” to help with the language during this step.
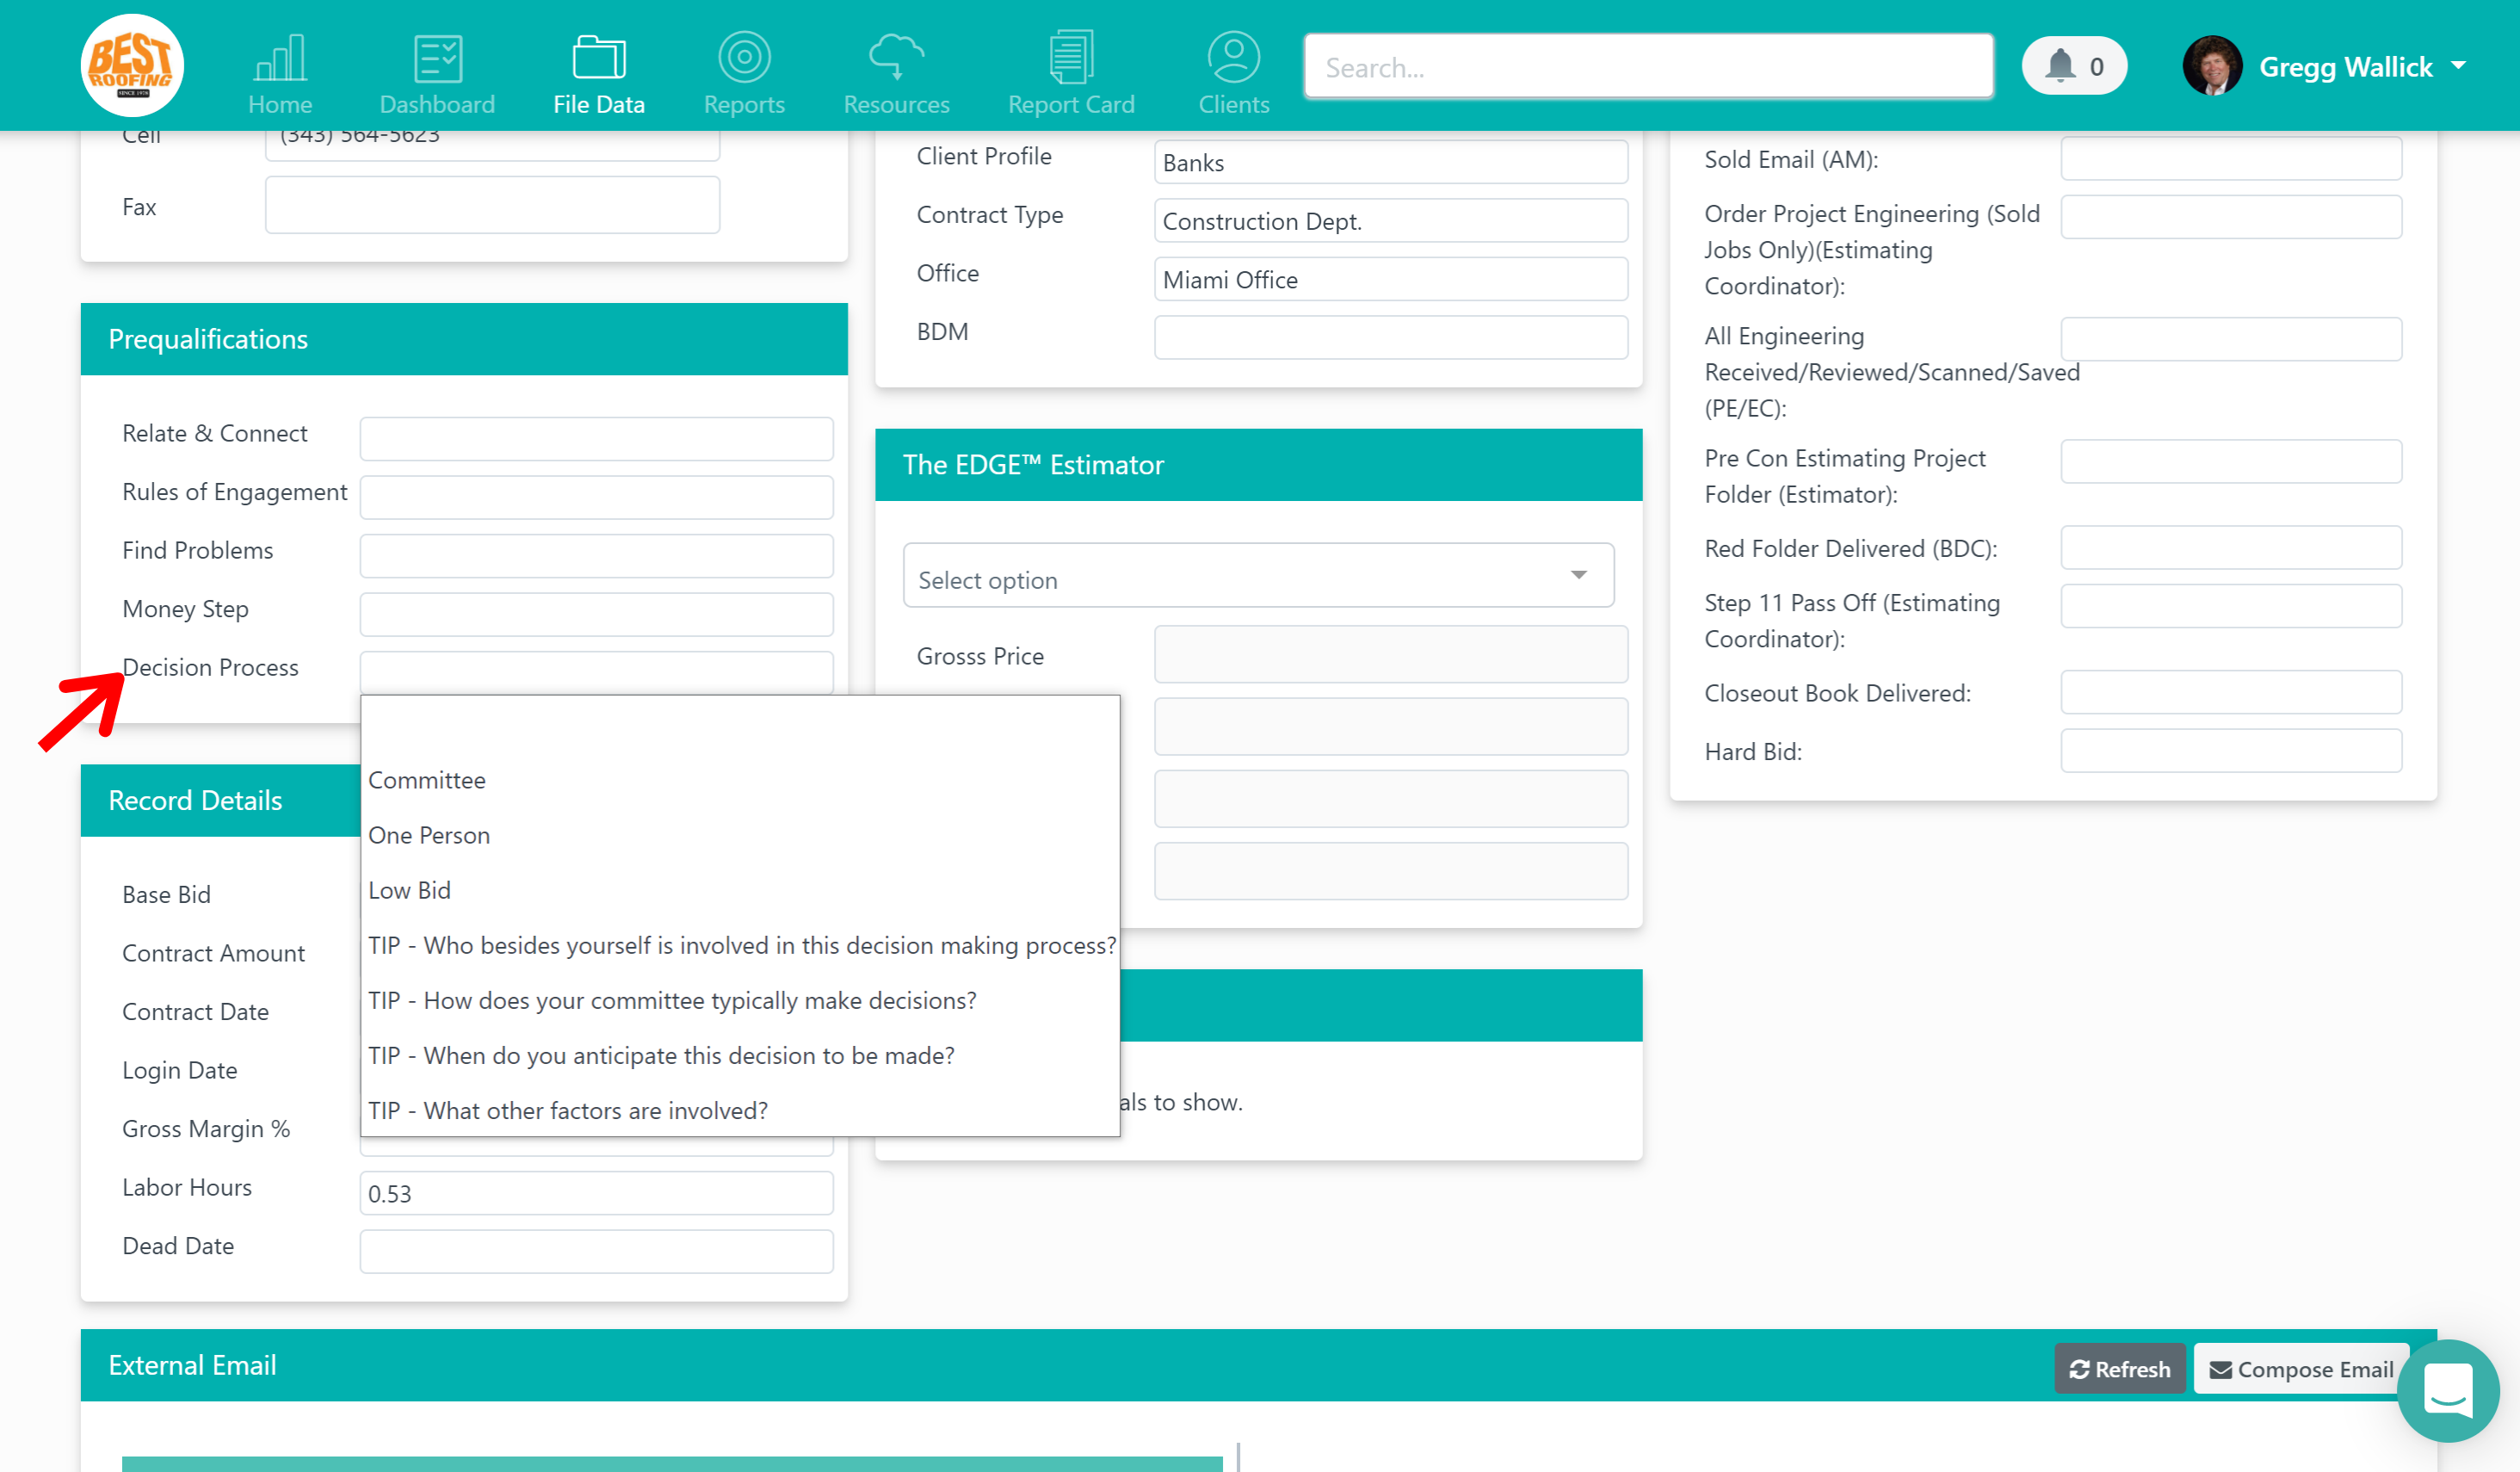
Decision Process
The final step in the pre-qualification phase is “decision process.” This is where you determine who needs to be part of the conversation in order to make a decision. The drop-down options include “committee,” “one person,” and “low bid.” There are four tips in this drop-down to help you ask the right questions during this phase. These tips include “TIP - Who besides yourself is involved in the decision making process?,” “TIP - How does your committee typically make decisions?,” “TIP - When do you anticipate this decision to be made?,” and “TIP - What other factors are involved?”
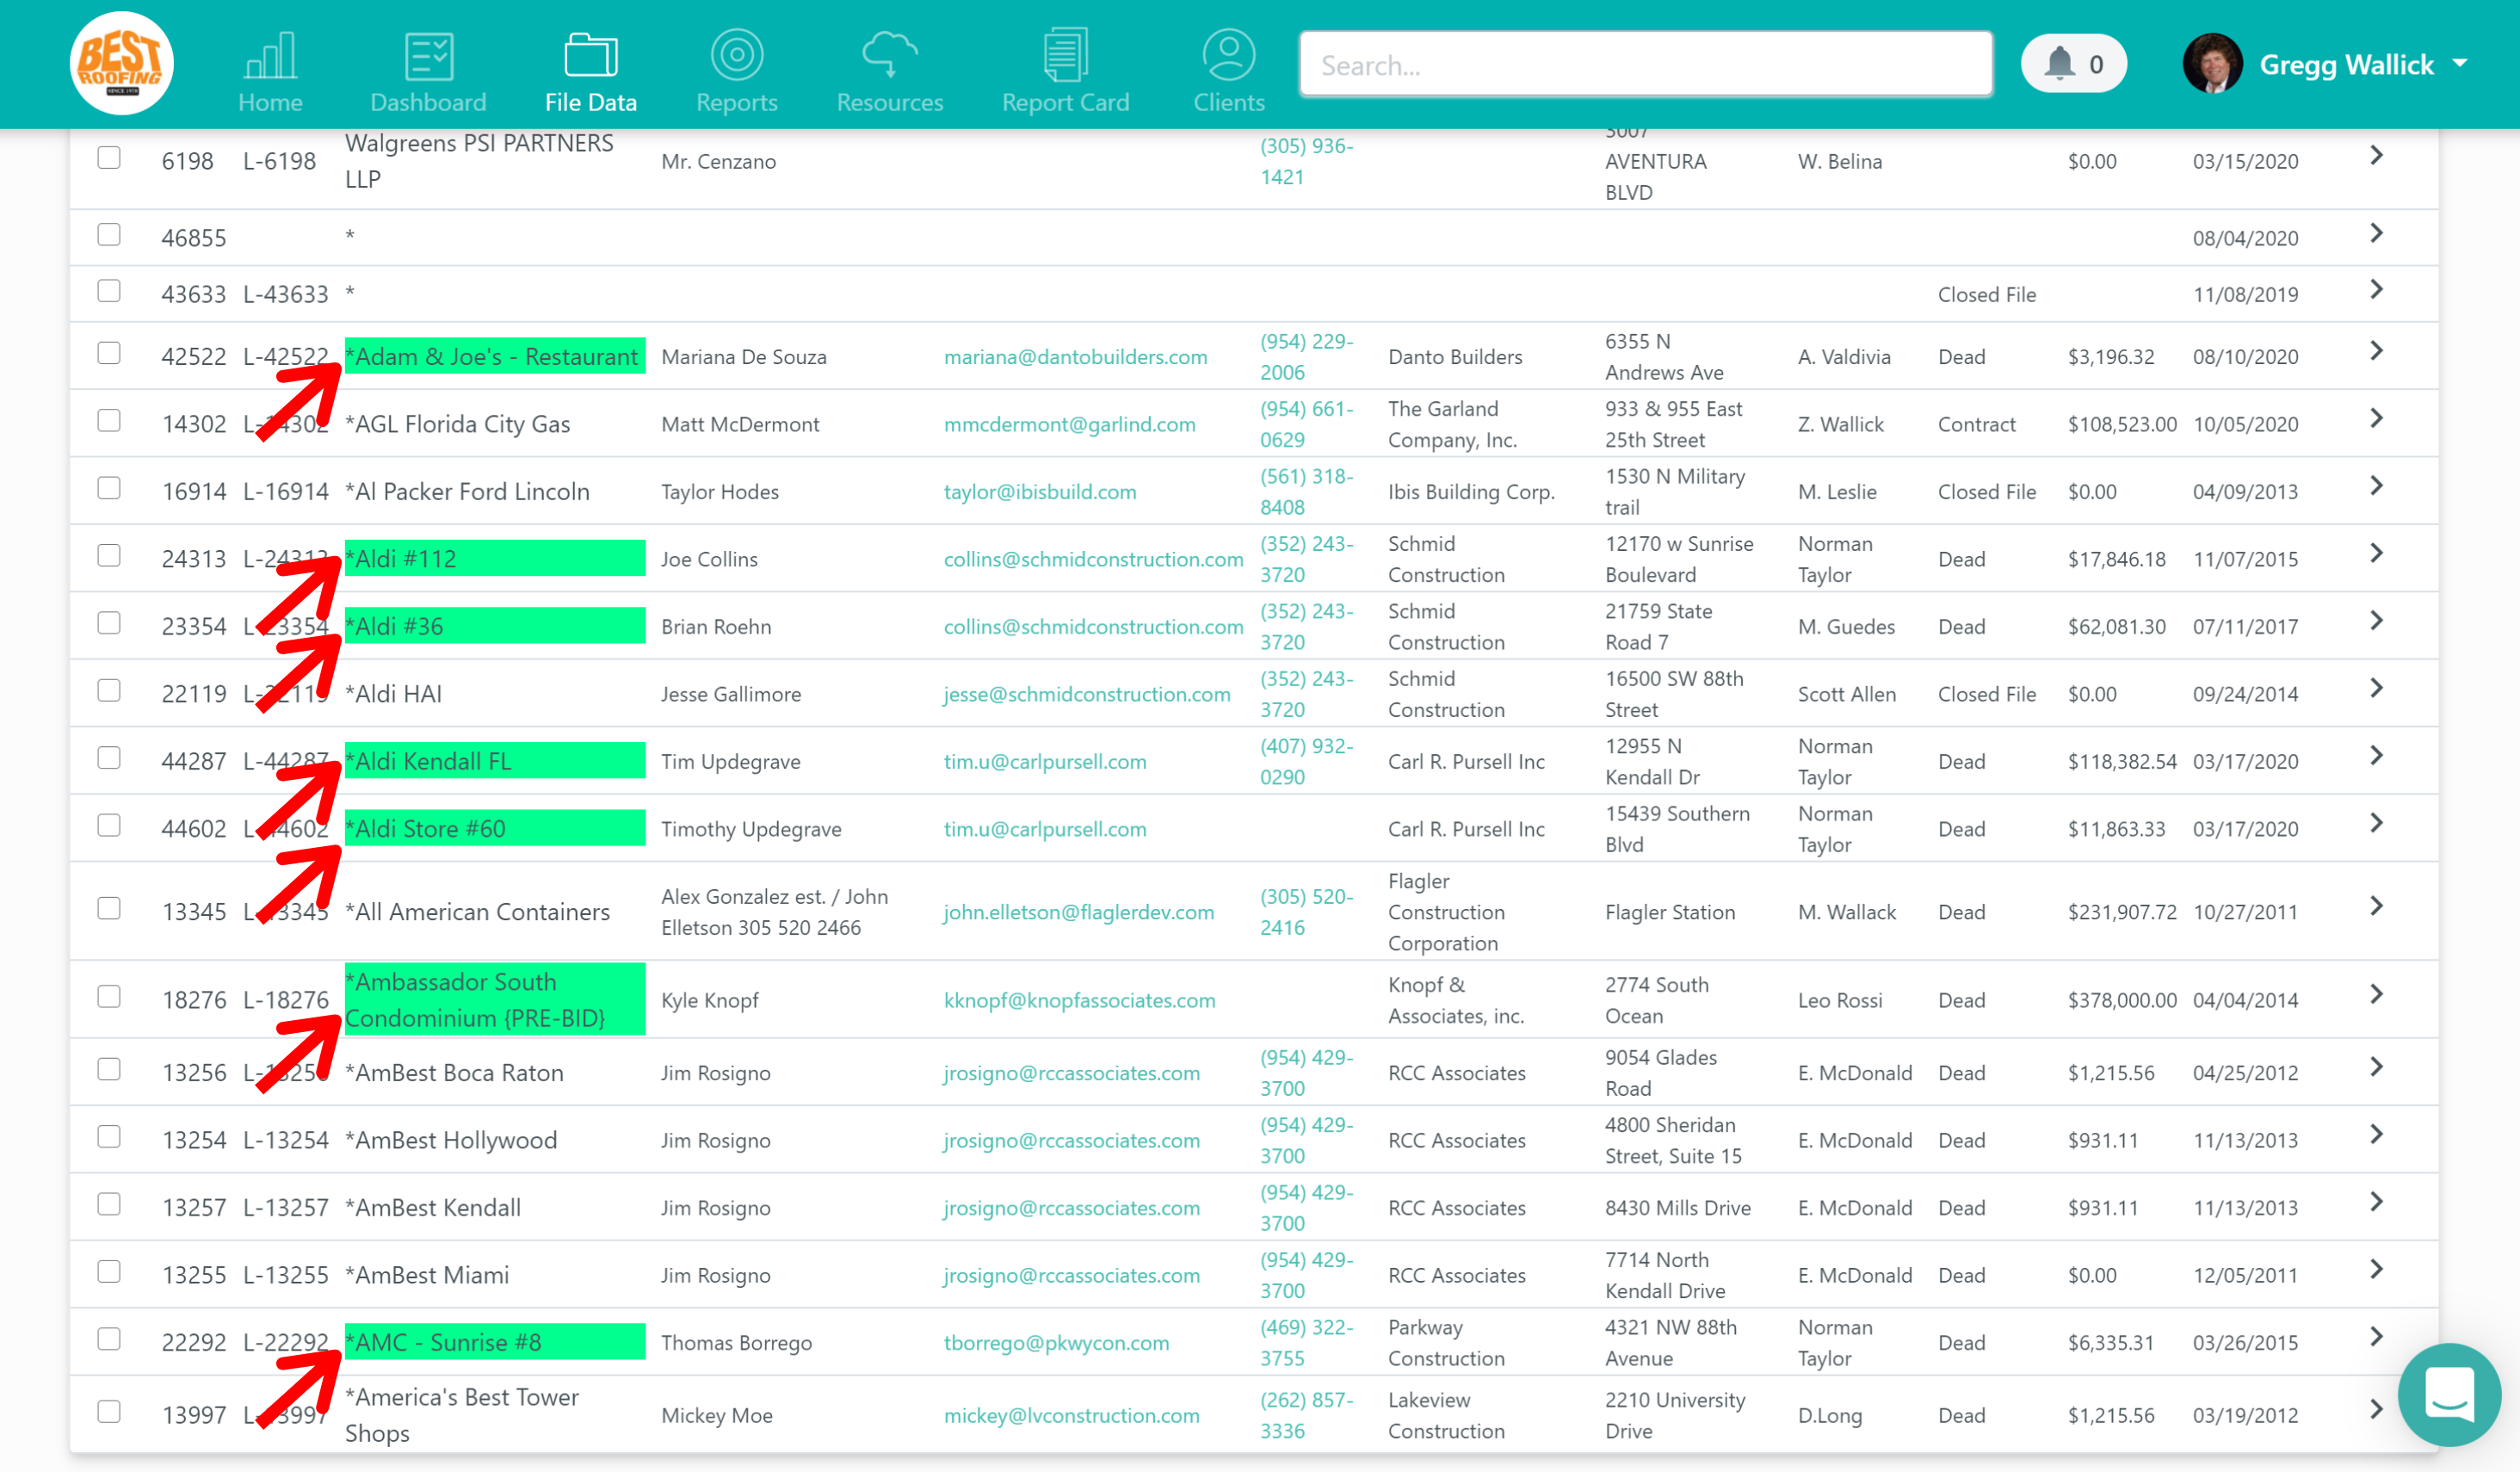
When you select four or more of these fields in this section and hit save, the file name will appear green in your list of files as well as your dashboard so you can easily identify which leads have been pre-qualified.
This section is great for keeping track of important details from your conversations and help you determine next steps in your process.
However, you do have the option to remove this module from your file if you don’t wish to leverage it. Note, you must be an admin in order to do this. To get started, click on the drop-down in the top right corner under your profile photo and click on “company settings.”

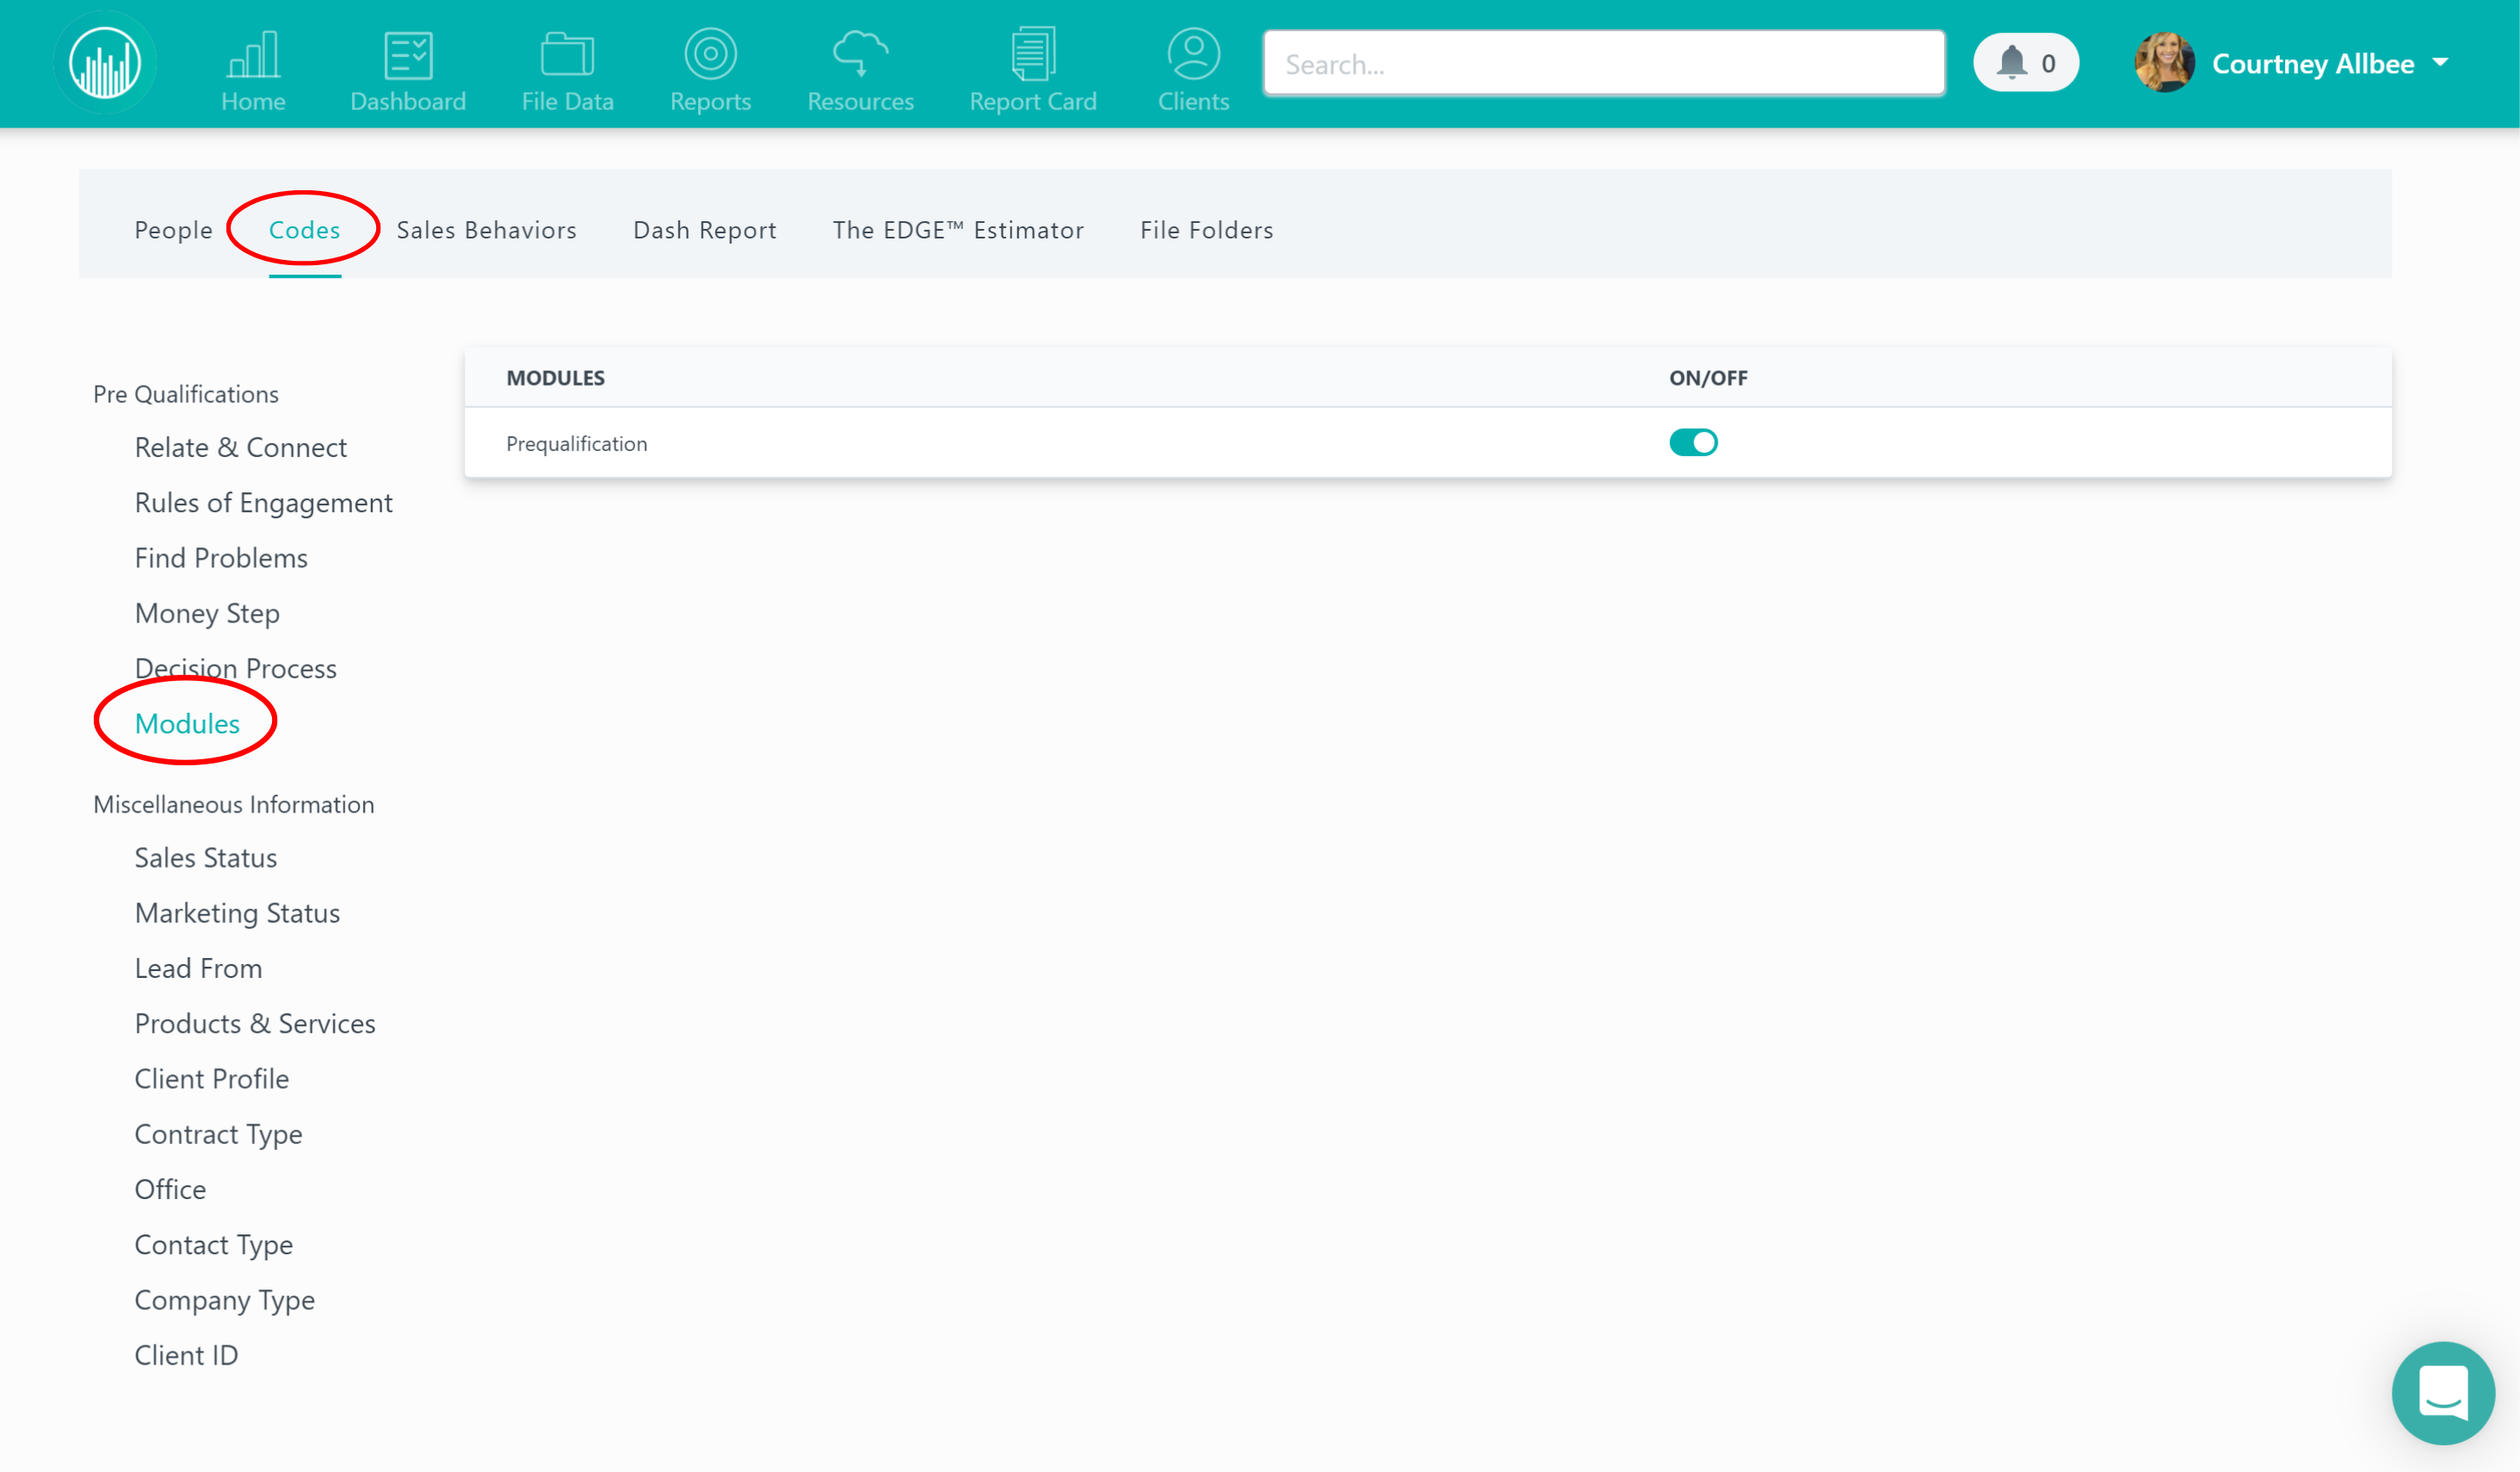
Next, click on the “codes” tab at the top and then “modules.”
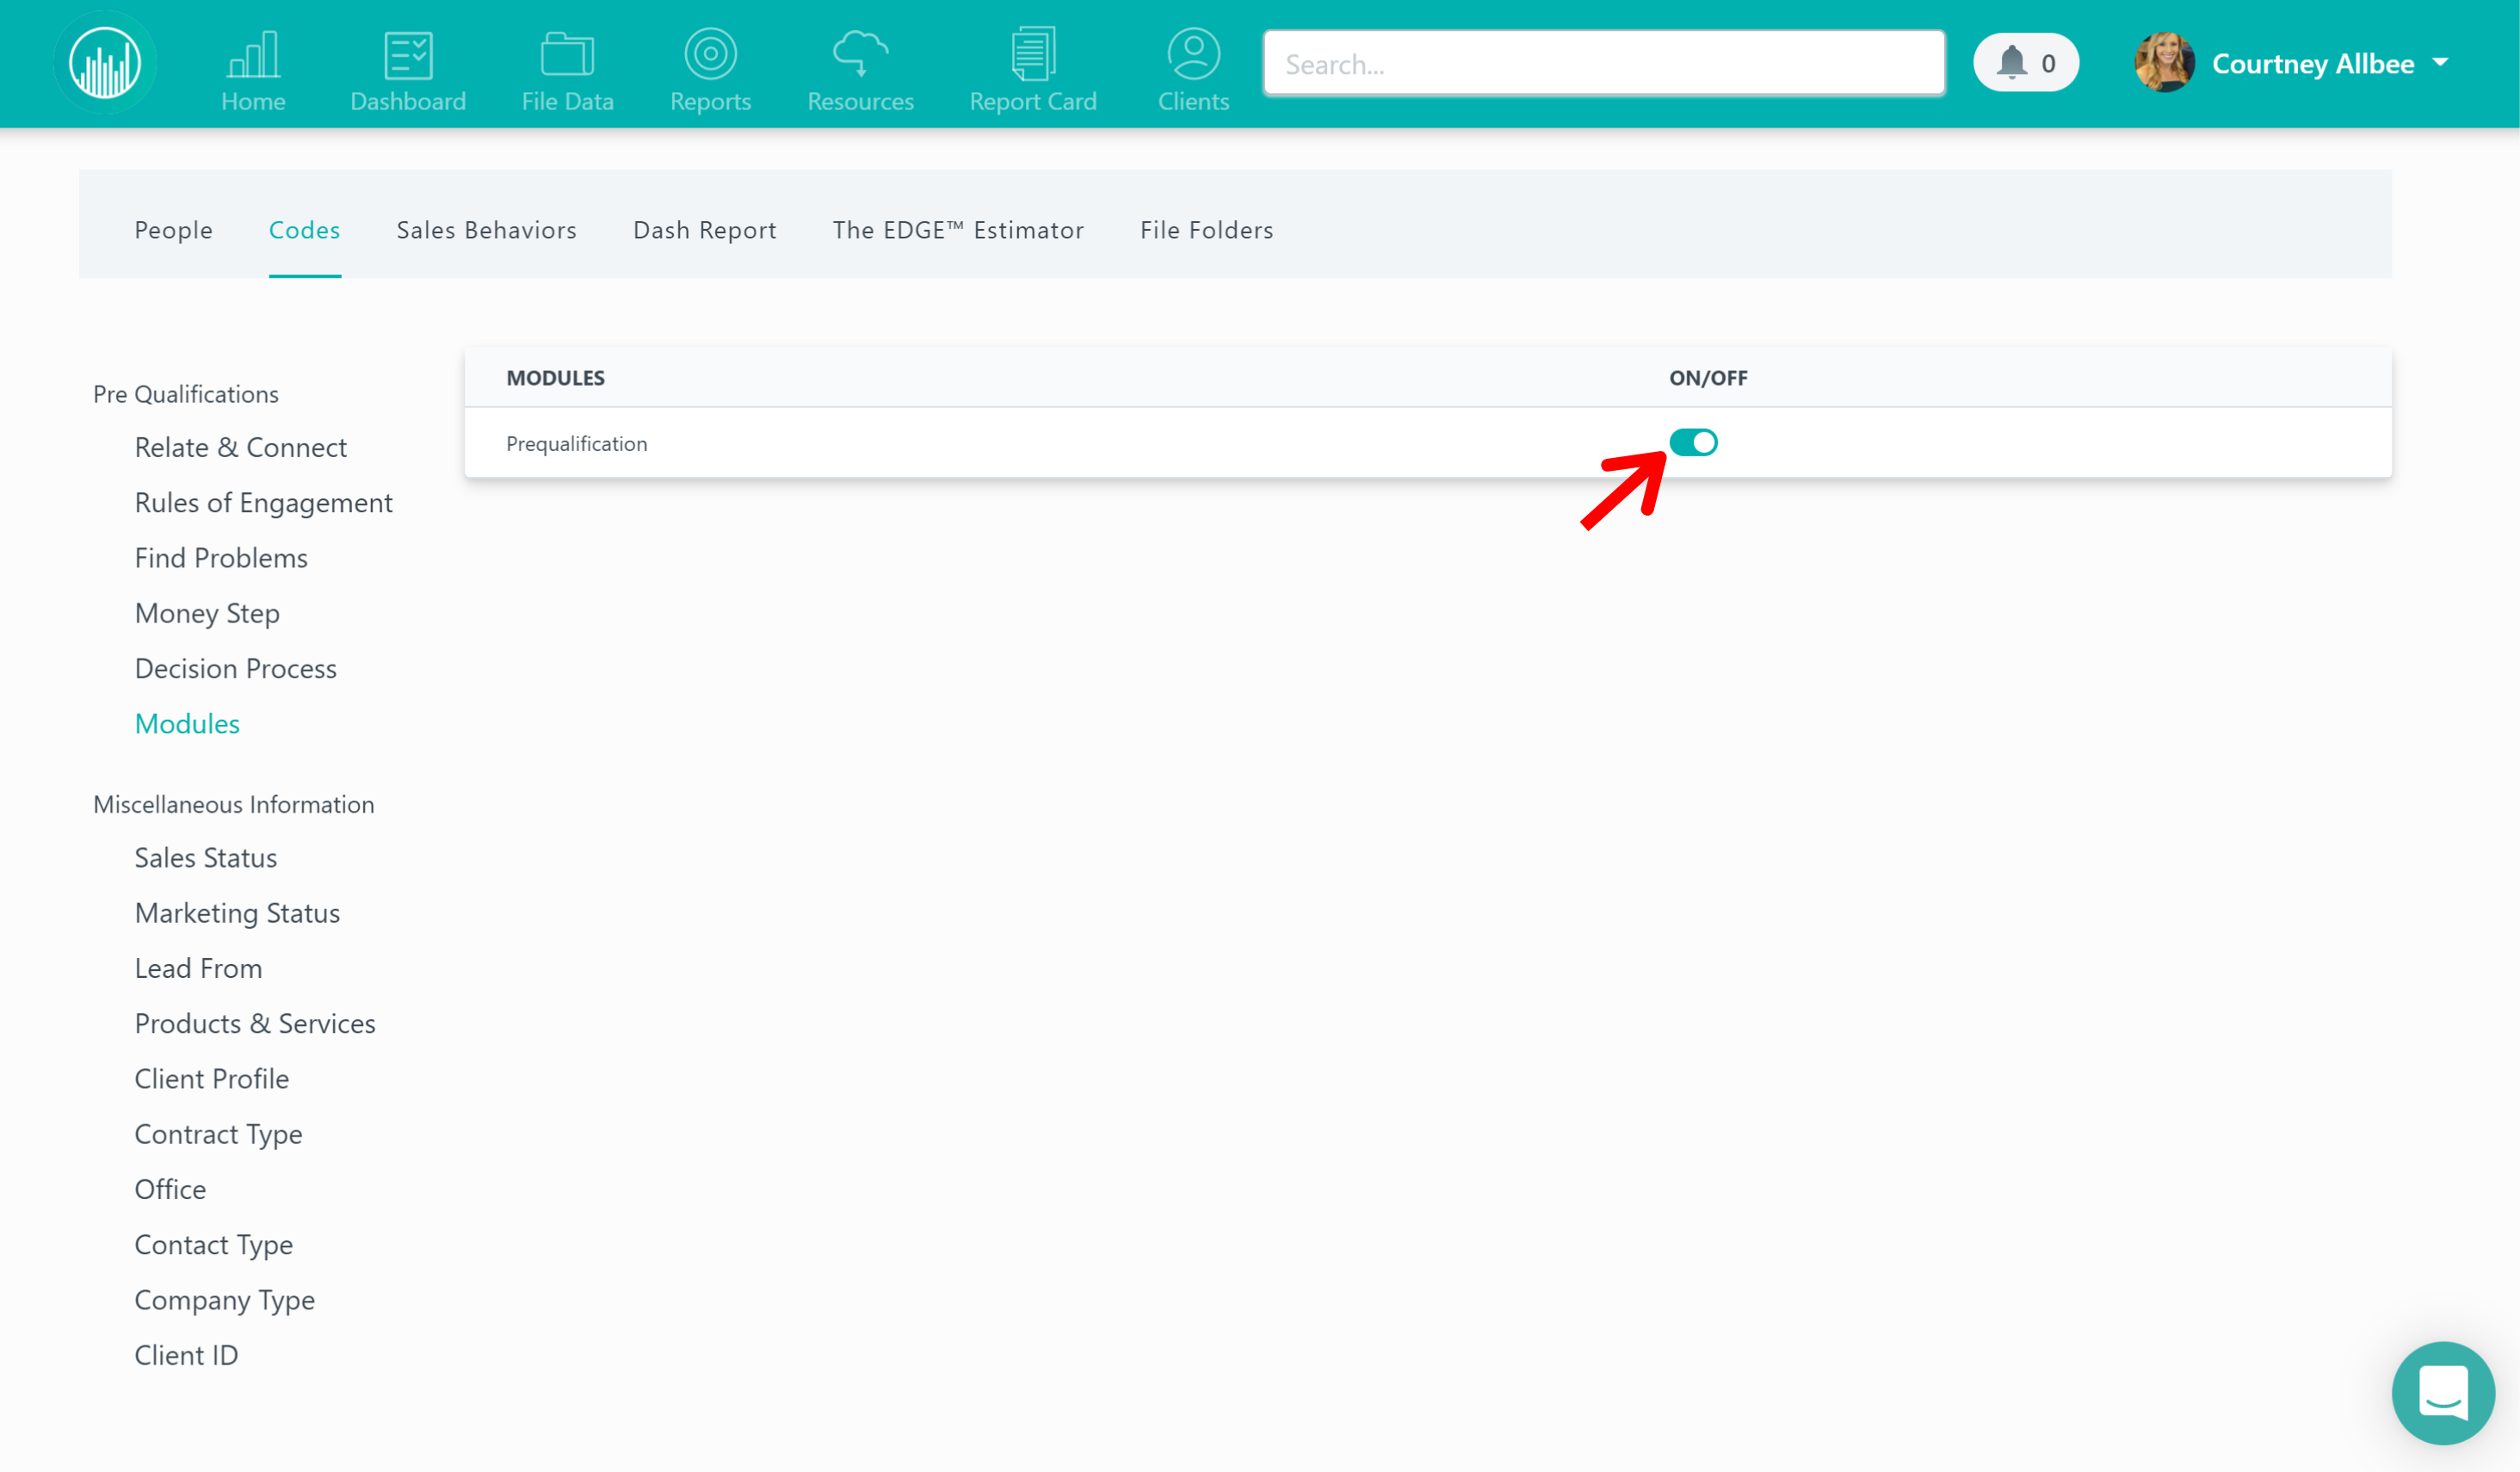
From here, you just click on the switch to turn it off and it will no longer appear in your files.
 Did this answer your question?