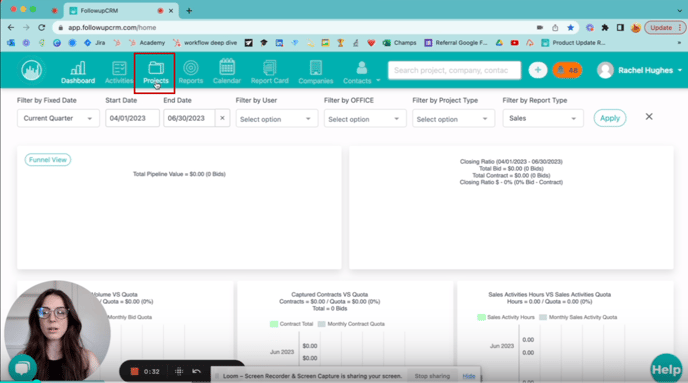
First, from your dashboard, open up Projects, and search for the name of the project that you're ready to send your proposal to.
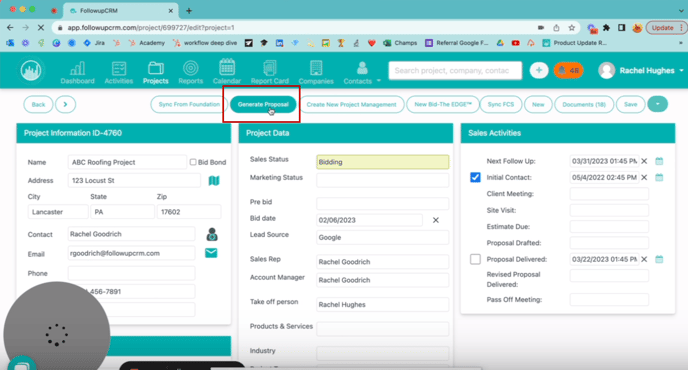
Click Generate Proposal
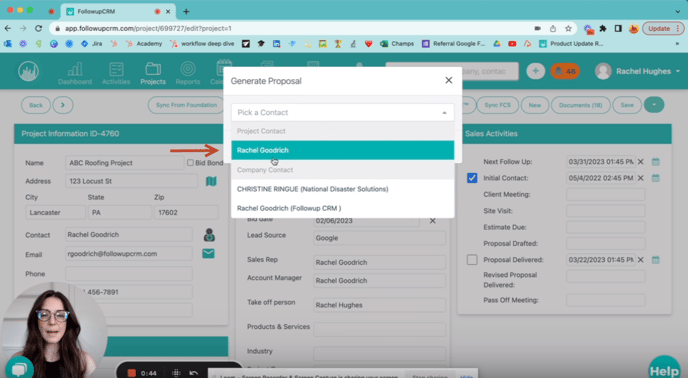
Then, select a contact
Select a template if you have one, and this opens up our Proposal Generator.
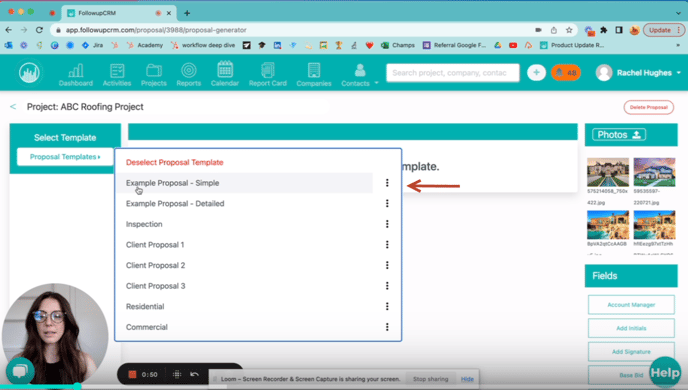
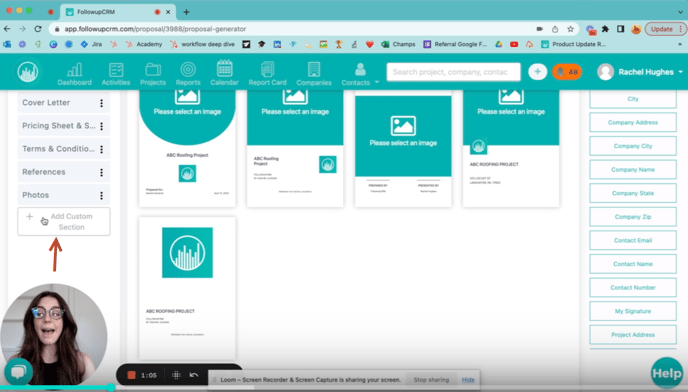
On the left are all the pieces and pages of your proposal, and on the right are all the fields that can go within these pieces and pages.
For our purposes, I'm going to add a new page at the bottom of my proposal called Signature Page. Now remember, you can add these features to any page.
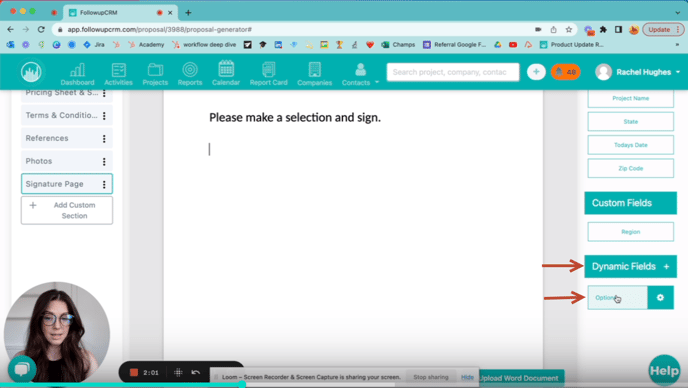
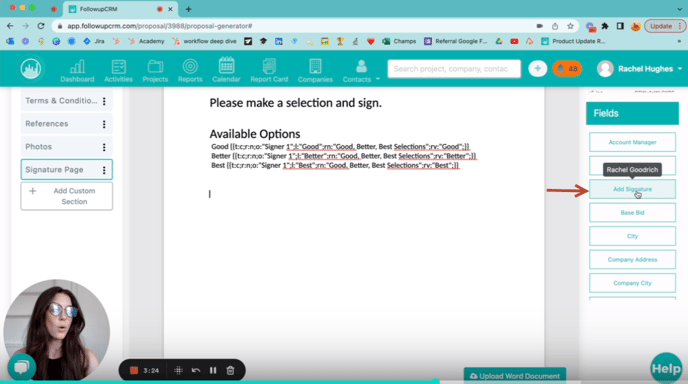
Here is where I will add a short memo to my client, prompting them to make a selection and sign.
Scroll all the way down to the bottom. And now you will see a Dynamic Fields button. This blue button opens up the editor in which you can create this field. And this white button, as you'll see, is how you will actually insert it into the page.
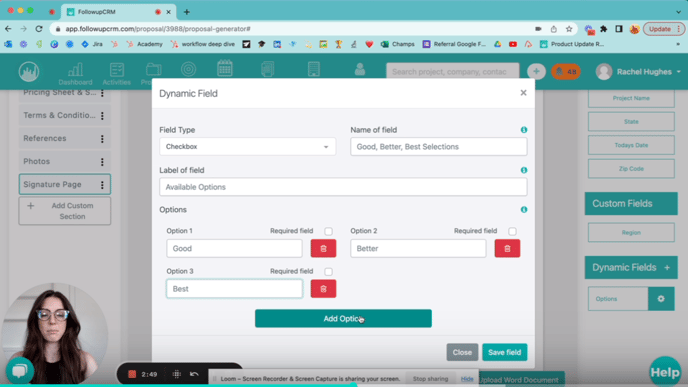
Let's open up Dynamic Fields. The field type can either be a checkbox, a radio, or a dropdown. Let's choose checkbox.
The name of the field is the internal name that you refer to this field by. So let's say, Good, Better, Best Selections.
The label of the field is what the client will see right above their options. So let's say, Available.
And then the options are what you've referred to these options as: Option 1 will be Good, Option 2 will be Better, Option 3 will be Best.
Click Save Field.
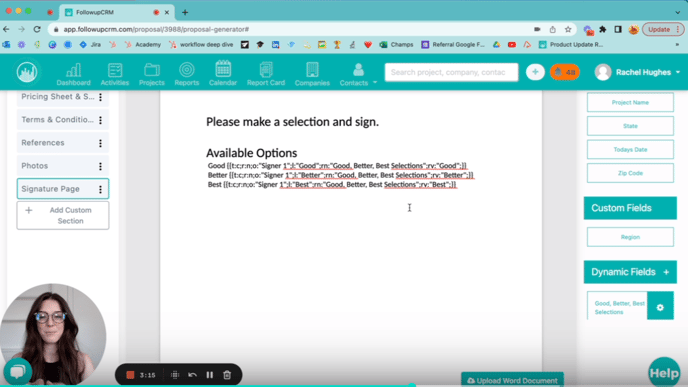
Now when I select this, it will come up right here within my proposal. As always, you can make some formatting tweaks if you'd like. (And it looks this way because this is coded and mapped.)
Later, I'll show you on the client side that your client will now see a nice clean checkbox that they can interact with.
Now, you'll also want to add a signature. So you can come up to this section here and click add signature or add contact signature right here
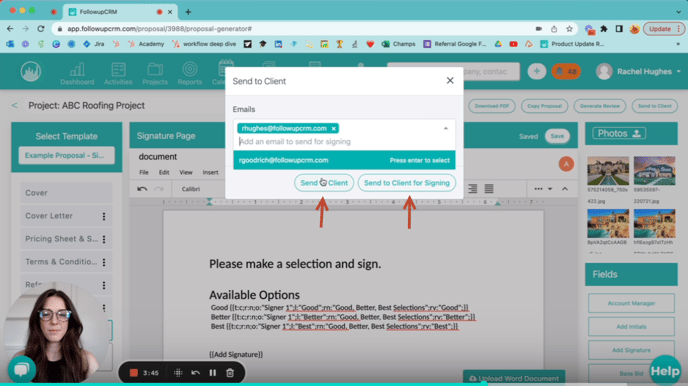
Once you're happy with this page and the rest of your proposal, what you'll want to do is click send to client.
You can either send to the contact that you've already selected. Or for today, I'm going to send to myself and I'm going to select send to client for signing.
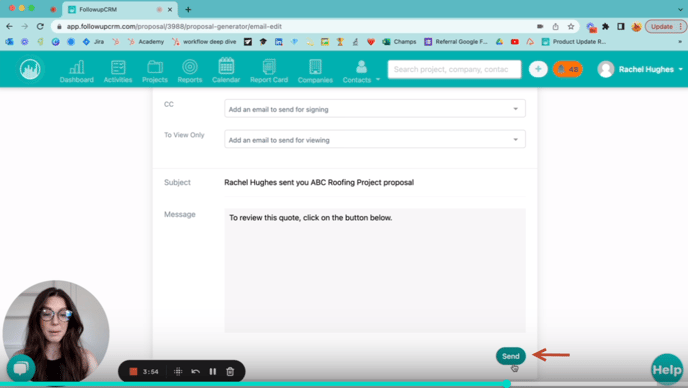
This is what they'll see when they open up their email. Hit send.
I'm going to show you what this looks like on the client side.
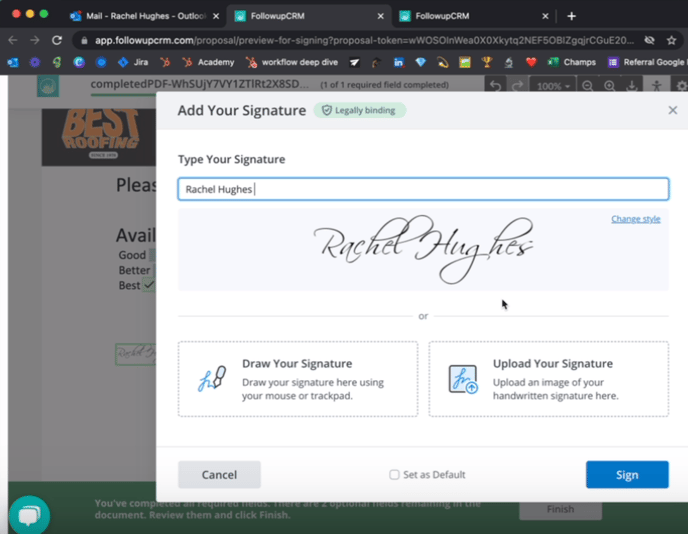
At the bottom, they have the available options where they can select any or all. And they can sign right here.
(Of course your branding will be burned onto these Proposals, not Best Roofing.)
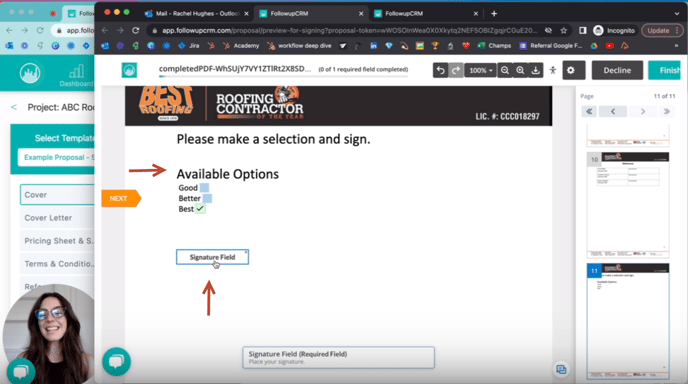
They can even open the Signature Field and modify the signature.
Happy Selling!
Need more help? Sign-up for additional Office Hours Training